WhatsApp campaign creation: Step-by-Step
The Channels / WhatsApp tab in Meiro lets you send personalised WhatsApp messages to targeted customer segments using pre-approved templates and dynamic data from customer profiles.
This guide walks you through the full process of creating and launching a WhatsApp campaign — from setting up the content to choosing your audience and scheduling delivery.
Creating a WhatsApp Campaign
Clicking on the “Create WhatsApp campaign” button at the top of the WhatsApp tab will open the campaign setup screen. From here, you can configure the content of your WhatsApp message, select an audience, and define delivery rules.
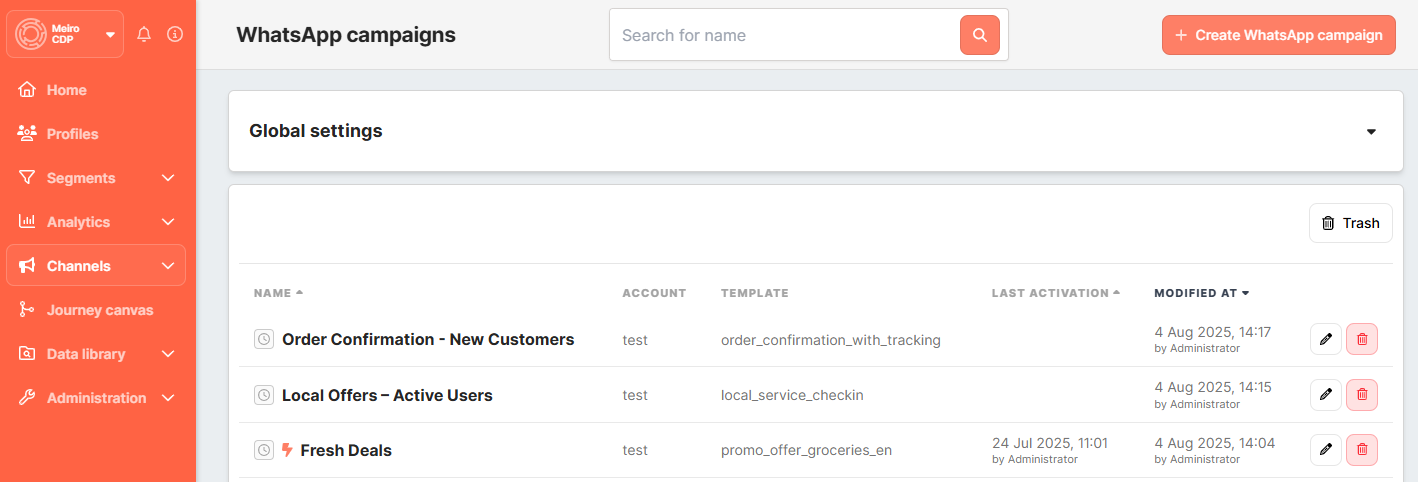
Click on the Create WhatsApp campaign button in the Channels / WhatsApp section. A new window will open with two tabs: Content and Activation.
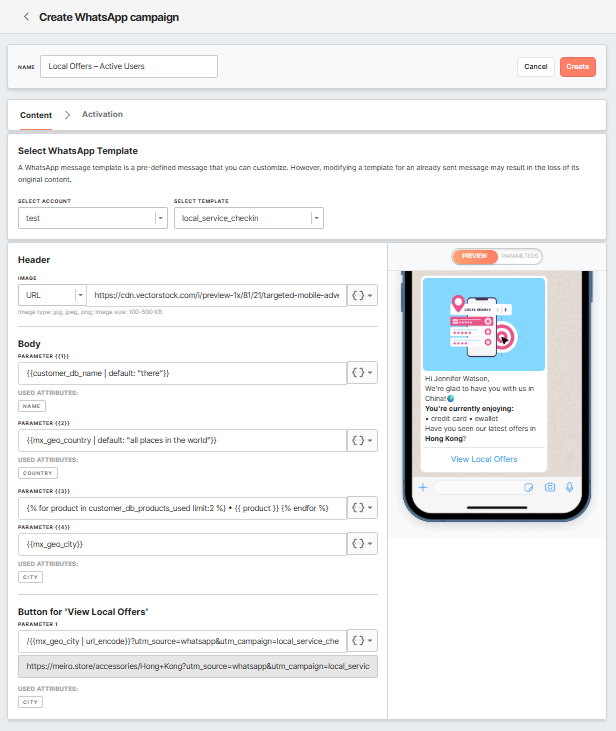
Content Tab
This is where you define the structure and content of your WhatsApp message.
Name(required) |
The name of the campaign that will appear in the list of WhatsApp campaigns. |
WhatsApp Account(required) |
Select one of the registered WhatsApp Business accounts. If only one account is connected, it is selected automatically, and this field will be disabled. |
WhatsApp Template(required) |
Select the pre-approved template you'd like to use for the campaign.
Remember: Templates cannot be edited in Meiro. If you need to change the content, create and approve a new template in your WhatsApp Business account. |
Header(optional) |
The header is the top part of your WhatsApp message and can include personalised text, images, or documents.
Warning: If you use text in the header, it must stay within the 60-character limit — including any personalisation variables (like |
Body(required) |
This is the main text of your WhatsApp message. It can include dynamic placeholders like You can:
Always set default values for optional data to avoid message delivery failures. |
Button(optional) |
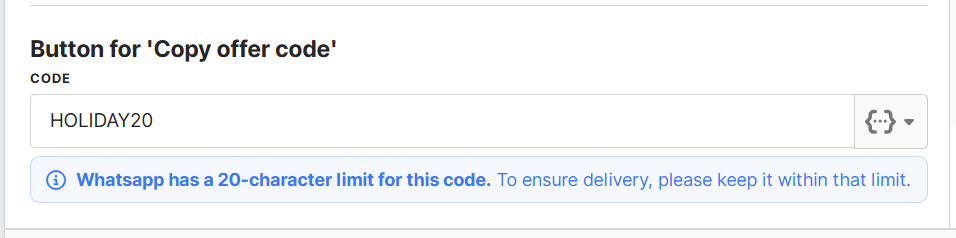
When you select a template that includes buttons, Meiro CDP automatically displays the button configuration fields required for sending your campaign. Because buttons are defined at the template level, most settings are fixed. However, some fields allow you to supply personalised or dynamic values. This section explains how each button type works in Meiro CDP and what you need to configure before sending your campaign. 1. Copy Code and Copy Offer Code Buttons
If your selected template includes a Copy code or Copy offer code button, you must provide a value for the code.
Character Limits To prevent message delivery failures, Meiro shows a helpful information message under the code input:
These limits are enforced by WhatsApp. If the value exceeds the limit, your message may be rejected by WhatsApp and will not be delivered.
Dynamic Values You may use attributes to populate the code dynamically (e.g.,
Important:
Use Cases
2. CTA Buttons (Visit Website / Call Support) If your template includes CTA buttons, Meiro displays them automatically. CTA buttons are fixed at template creation, but some CTA types allow you to personalise the final value:
Visit Website
Call Support
Example: 3. Quick-Reply Buttons Quick-reply buttons require no configuration in Meiro. Meiro captures the user’s selection as an inbound message event, which you can use for:
Using Dynamic Values in Buttons
If a button includes dynamic placeholders (e.g., URLs or code values), make sure that:
If a dynamic value resolves to an empty or invalid value, WhatsApp will reject the message. Fallback values ensure a valid value is always sent. |

Previewing the Message
On the right-hand side of the screen, you’ll see a live preview of your WhatsApp message. This preview shows how the final message will appear to the recipient, using example data to simulate personalisation.
Use the toggle at the top of the preview to switch between:
-
Preview – Shows the message as it will appear with filled-in data.
-
Parameters – Displays the original message with raw placeholders (e.g.,
{{1}},{{customer_name}}).
This feature allows you to verify the layout, wording, and personalisation before testing or sending.
Use default values in parameters (e.g., {{customer_name | default: "there"}}) to avoid rendering issues if a value is missing.
Testing WhatsApp Messages
To test your WhatsApp campaign, you must first click the Save button at the top of the page. Once your campaign is saved, you can proceed with testing.
Testing Options
You can test your WhatsApp message in several ways:
-
Send a test message to your phone number or a colleague’s to check how the content looks in the WhatsApp app.
-
Use profile attributes to ensure that personalised values are populated correctly (e.g., name, booking link).
-
Check that dynamic links are functional.
To start testing, fill in the following fields:

|
Send test to |
Enter a valid phone number, including the country code. The number must be in international format, starting with
Make sure this number has already opted in to receive WhatsApp messages; otherwise, the test message will not be delivered. |
|
Profile ID |
Enter the ID of any customer profile stored in your CDP. The system will use this profile’s data (e.g., name, order number, etc.) to personalise the test message. You can find the profile ID in the URL when viewing a customer’s profile in Meiro. |
WhatsApp Template Consistency Statuses in Campaigns
When managing a WhatsApp campaign in Meiro, the system checks whether your campaign’s template matches the version stored in WhatsApp Business Manager.
If the template has been changed, removed, rejected, or is still awaiting approval, Meiro will display a status banner to let you know what’s wrong and how to fix it.
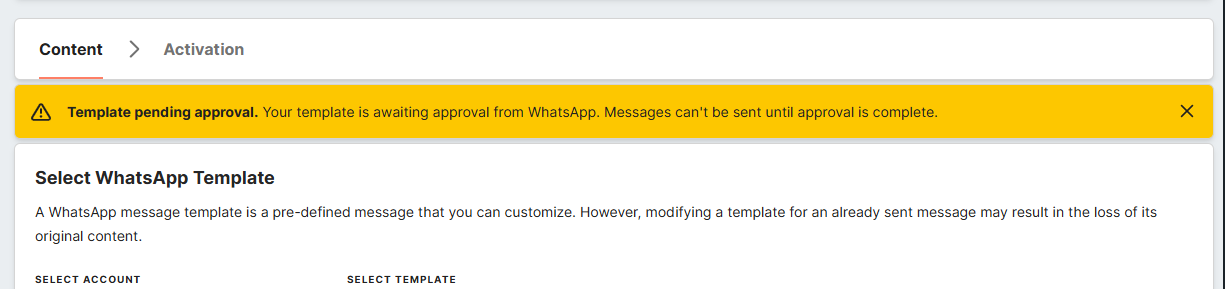
Yellow Banner Statuses (Non-blocking or Informational)
-
Template pending approval
-
The template is awaiting WhatsApp’s approval.
-
Messages cannot be sent until approval is complete.
-
-
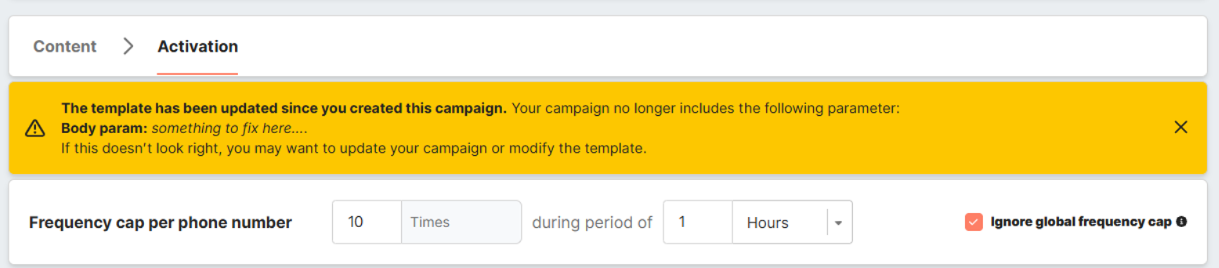
Template updated – inconsistent with campaign (parameter removed)
-
A parameter was removed from the template. The corresponding field is removed from the campaign form.
-
Action: Simply save the campaign to remove the banner.
-
You can still send tests, activate campaigns, and deliver messages because the parameter is omitted during activation.
-


Red Banner Statuses (Blocking — must be fixed)
-
Template updated – inconsistent with campaign (parameter added)
-
A parameter was added to the template, so the campaign is missing a required value.
-
Missing or changed fields are highlighted in the form.
-
Action: Fill in the missing value and save the campaign.

-
-
Template rejected
-
The template was rejected in WhatsApp Business Manager.
-
Action: Retry the approval process in WhatsApp.
-
Recommended: Remove campaign schedules until approval is complete.
-
-
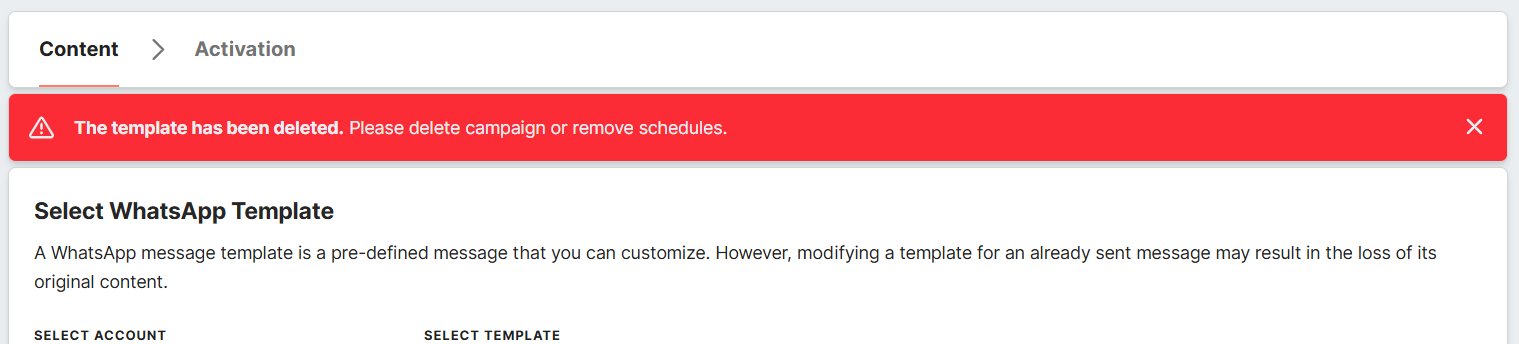
Template deleted
-
The template no longer exists in WhatsApp Business Manager.
-
You cannot edit the campaign content.
-
Action: Copy or delete the campaign. If keeping it, remove all schedules.

-

Activate Your Campaign
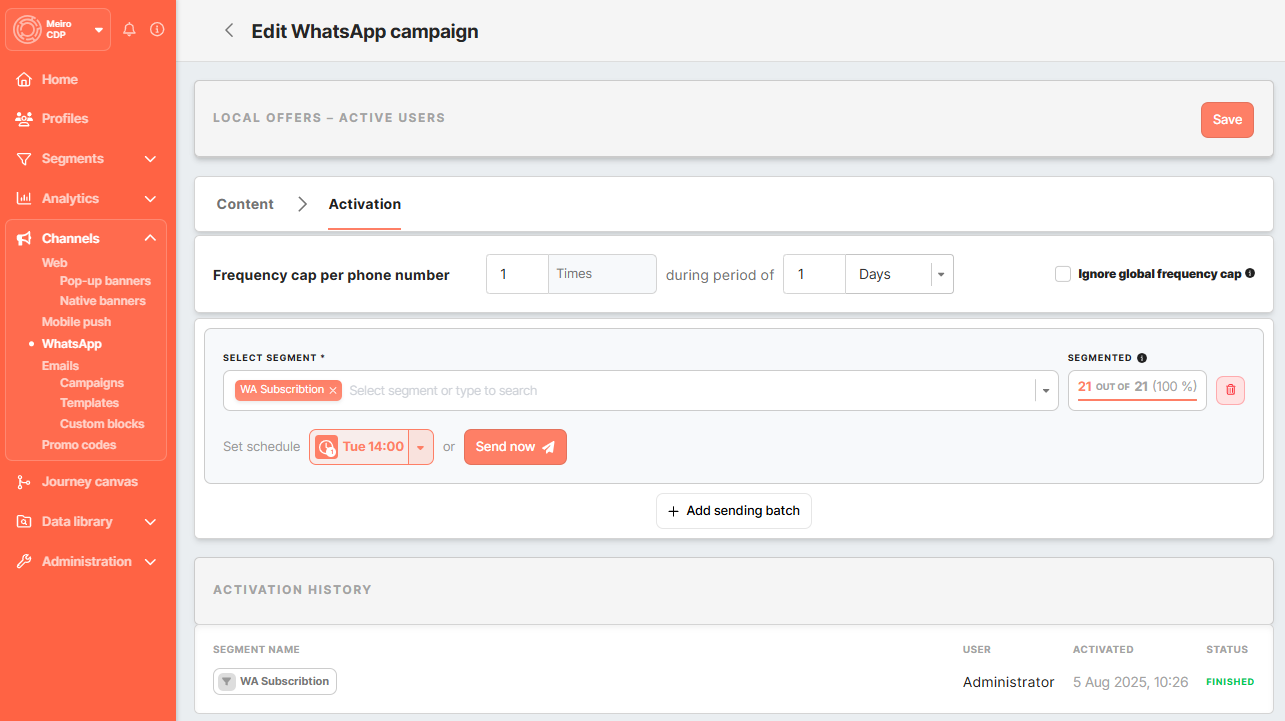
Once your WhatsApp message content is ready and tested, you’re just one step away from launching it. In the Activation tab, you’ll define how and when your message should be delivered — including segment selection, frequency rules, and scheduling.
Learn more: Activating a WhatsApp Campaign – Step-by-Step
No Comments