How to enable value from list in destination parameters
This article will explain how to enable a value list under destination parameters using the CDP Destination Loader.
1. To get started, navigate to the Meiro Integration and create a workspace with needed loaders.
In the example, we will create one value for Account ID in the dropdown with the File processor. Here are a few key points to consider:
- Ensure that your file has the same name as the variable in the destination export workspace.
- The first column in your file should represent the value that will be sent to the workspace from the destination.
- The second column should represent the value visible in the segment export user interface.
- Do not include headers in your file.

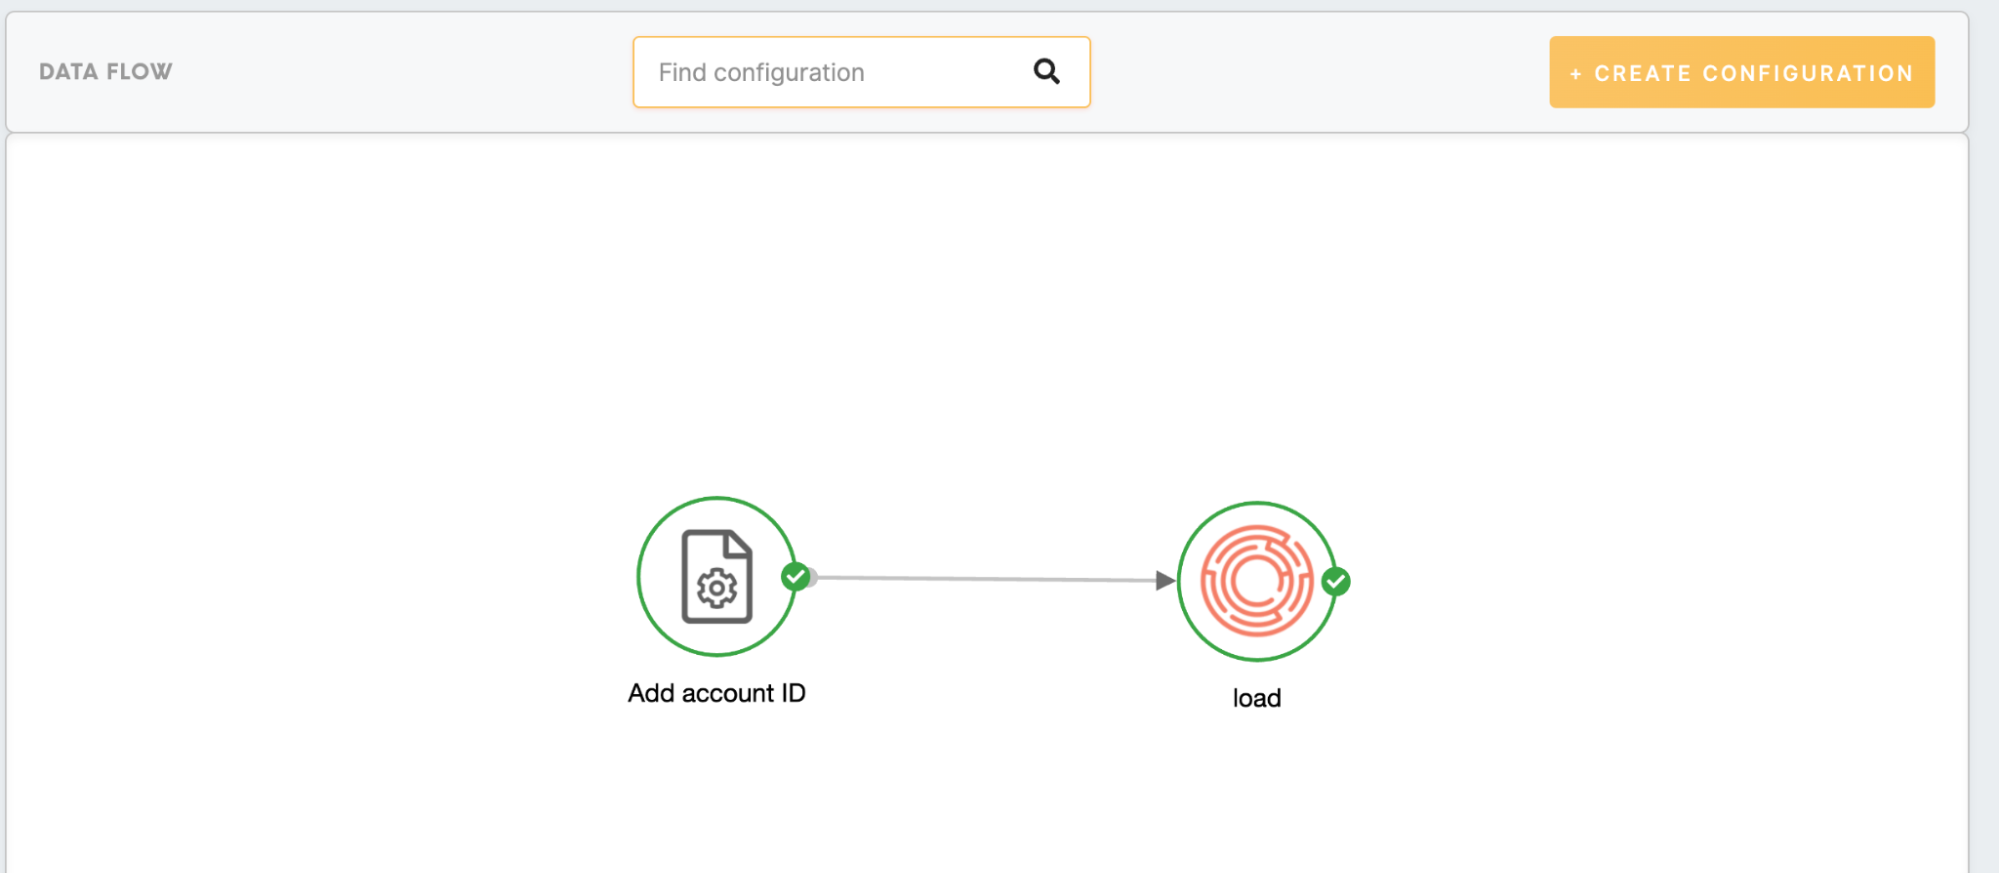
2. Add the CDP Destination Loader, which allows you to update your destination parameters with a dropdown list of values.
3. Configure CDP Destination Loader.
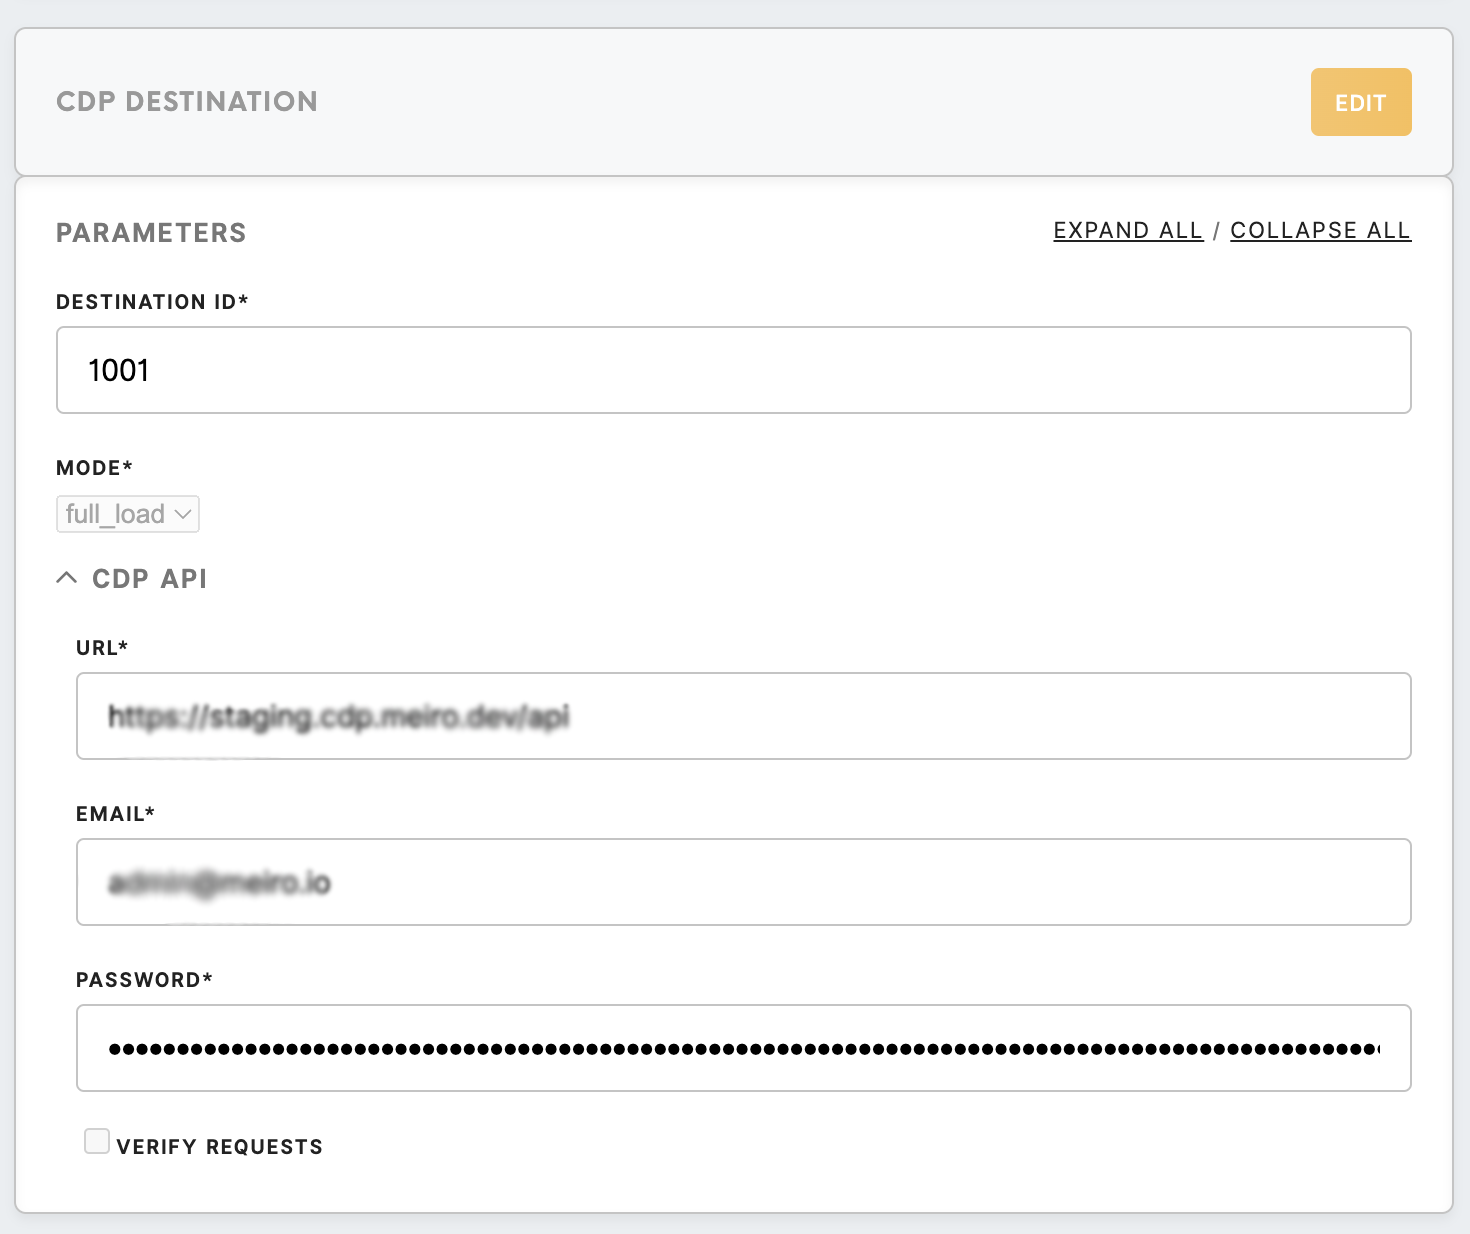
- Enter the Destination ID (same as in CDP). For example, “1001.”
- Select the mode according to your needs. Choose "full load" if you are starting from scratch or "upsert" if you are adding another value and need to have two.
- Provide API Access by filling in the URL, email, and password fields.
- Save configurations.
Learn more: about how to configure CDP Destination Loader in this article.
4. Connect your File processors with the CDP Destination Loader and run. This step finalizes the setup and enables the dropdown selection for destination parameters.
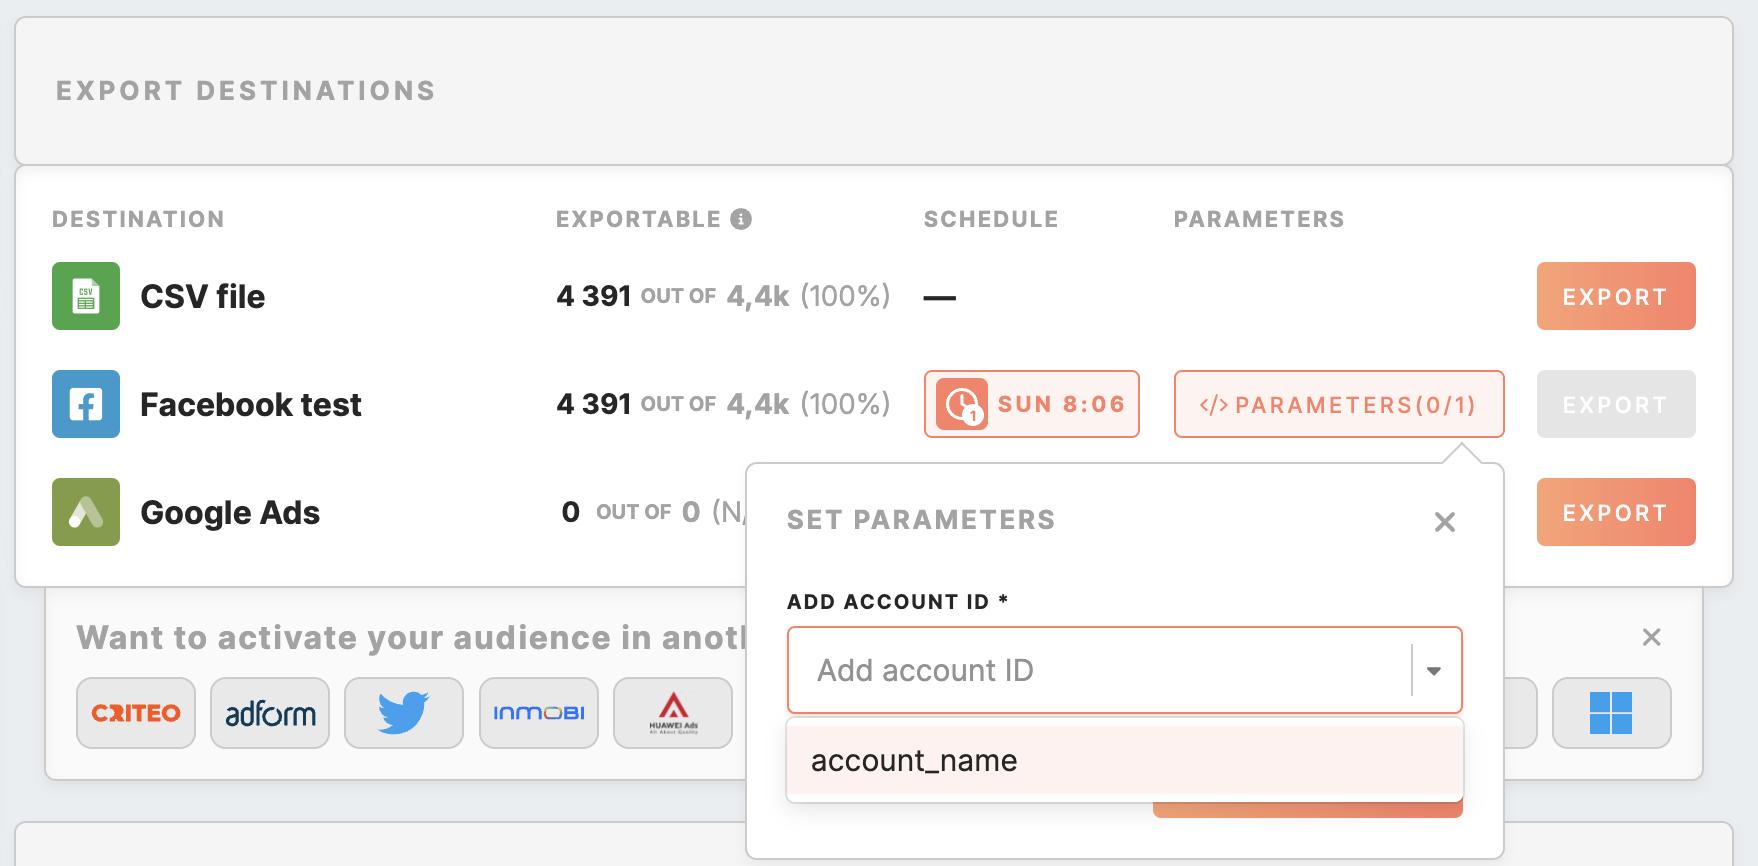
With these steps completed, you've successfully enabled a dropdown selection for destination parameters.
Remember: If you change the destination settings in CDP, you must reload the values for the dropdown.
No Comments