Email campaign creation: step-by-step
Creating an email campaign
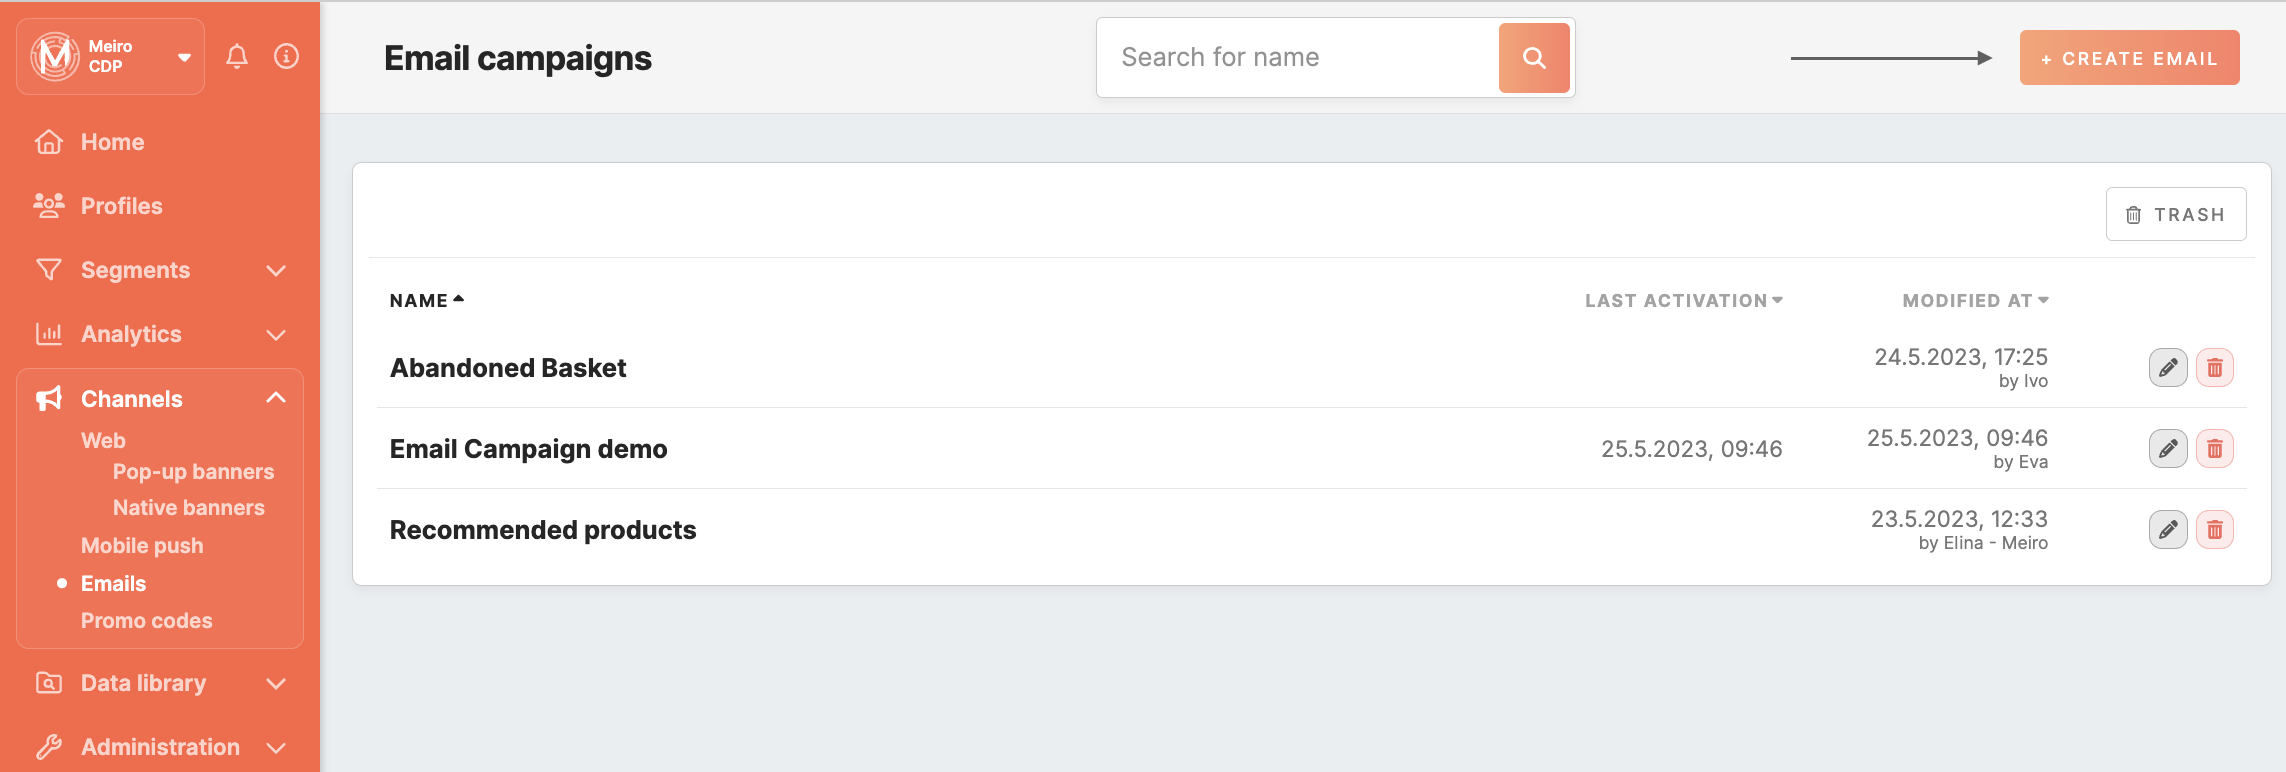
You can create an email campaign through the Channels > Emails tab. Clicking the Create Email button at the top opens the Email settings form.
Alternatively, you can use a template under the Emails / Templates tab to speed up the email campaign creation process.
During campaign creation, you can configure the email as either a Marketing or Transactional campaign, depending on whether the message is intended for promotional communication or important service-related communication.
A new window with the content form will be opened:
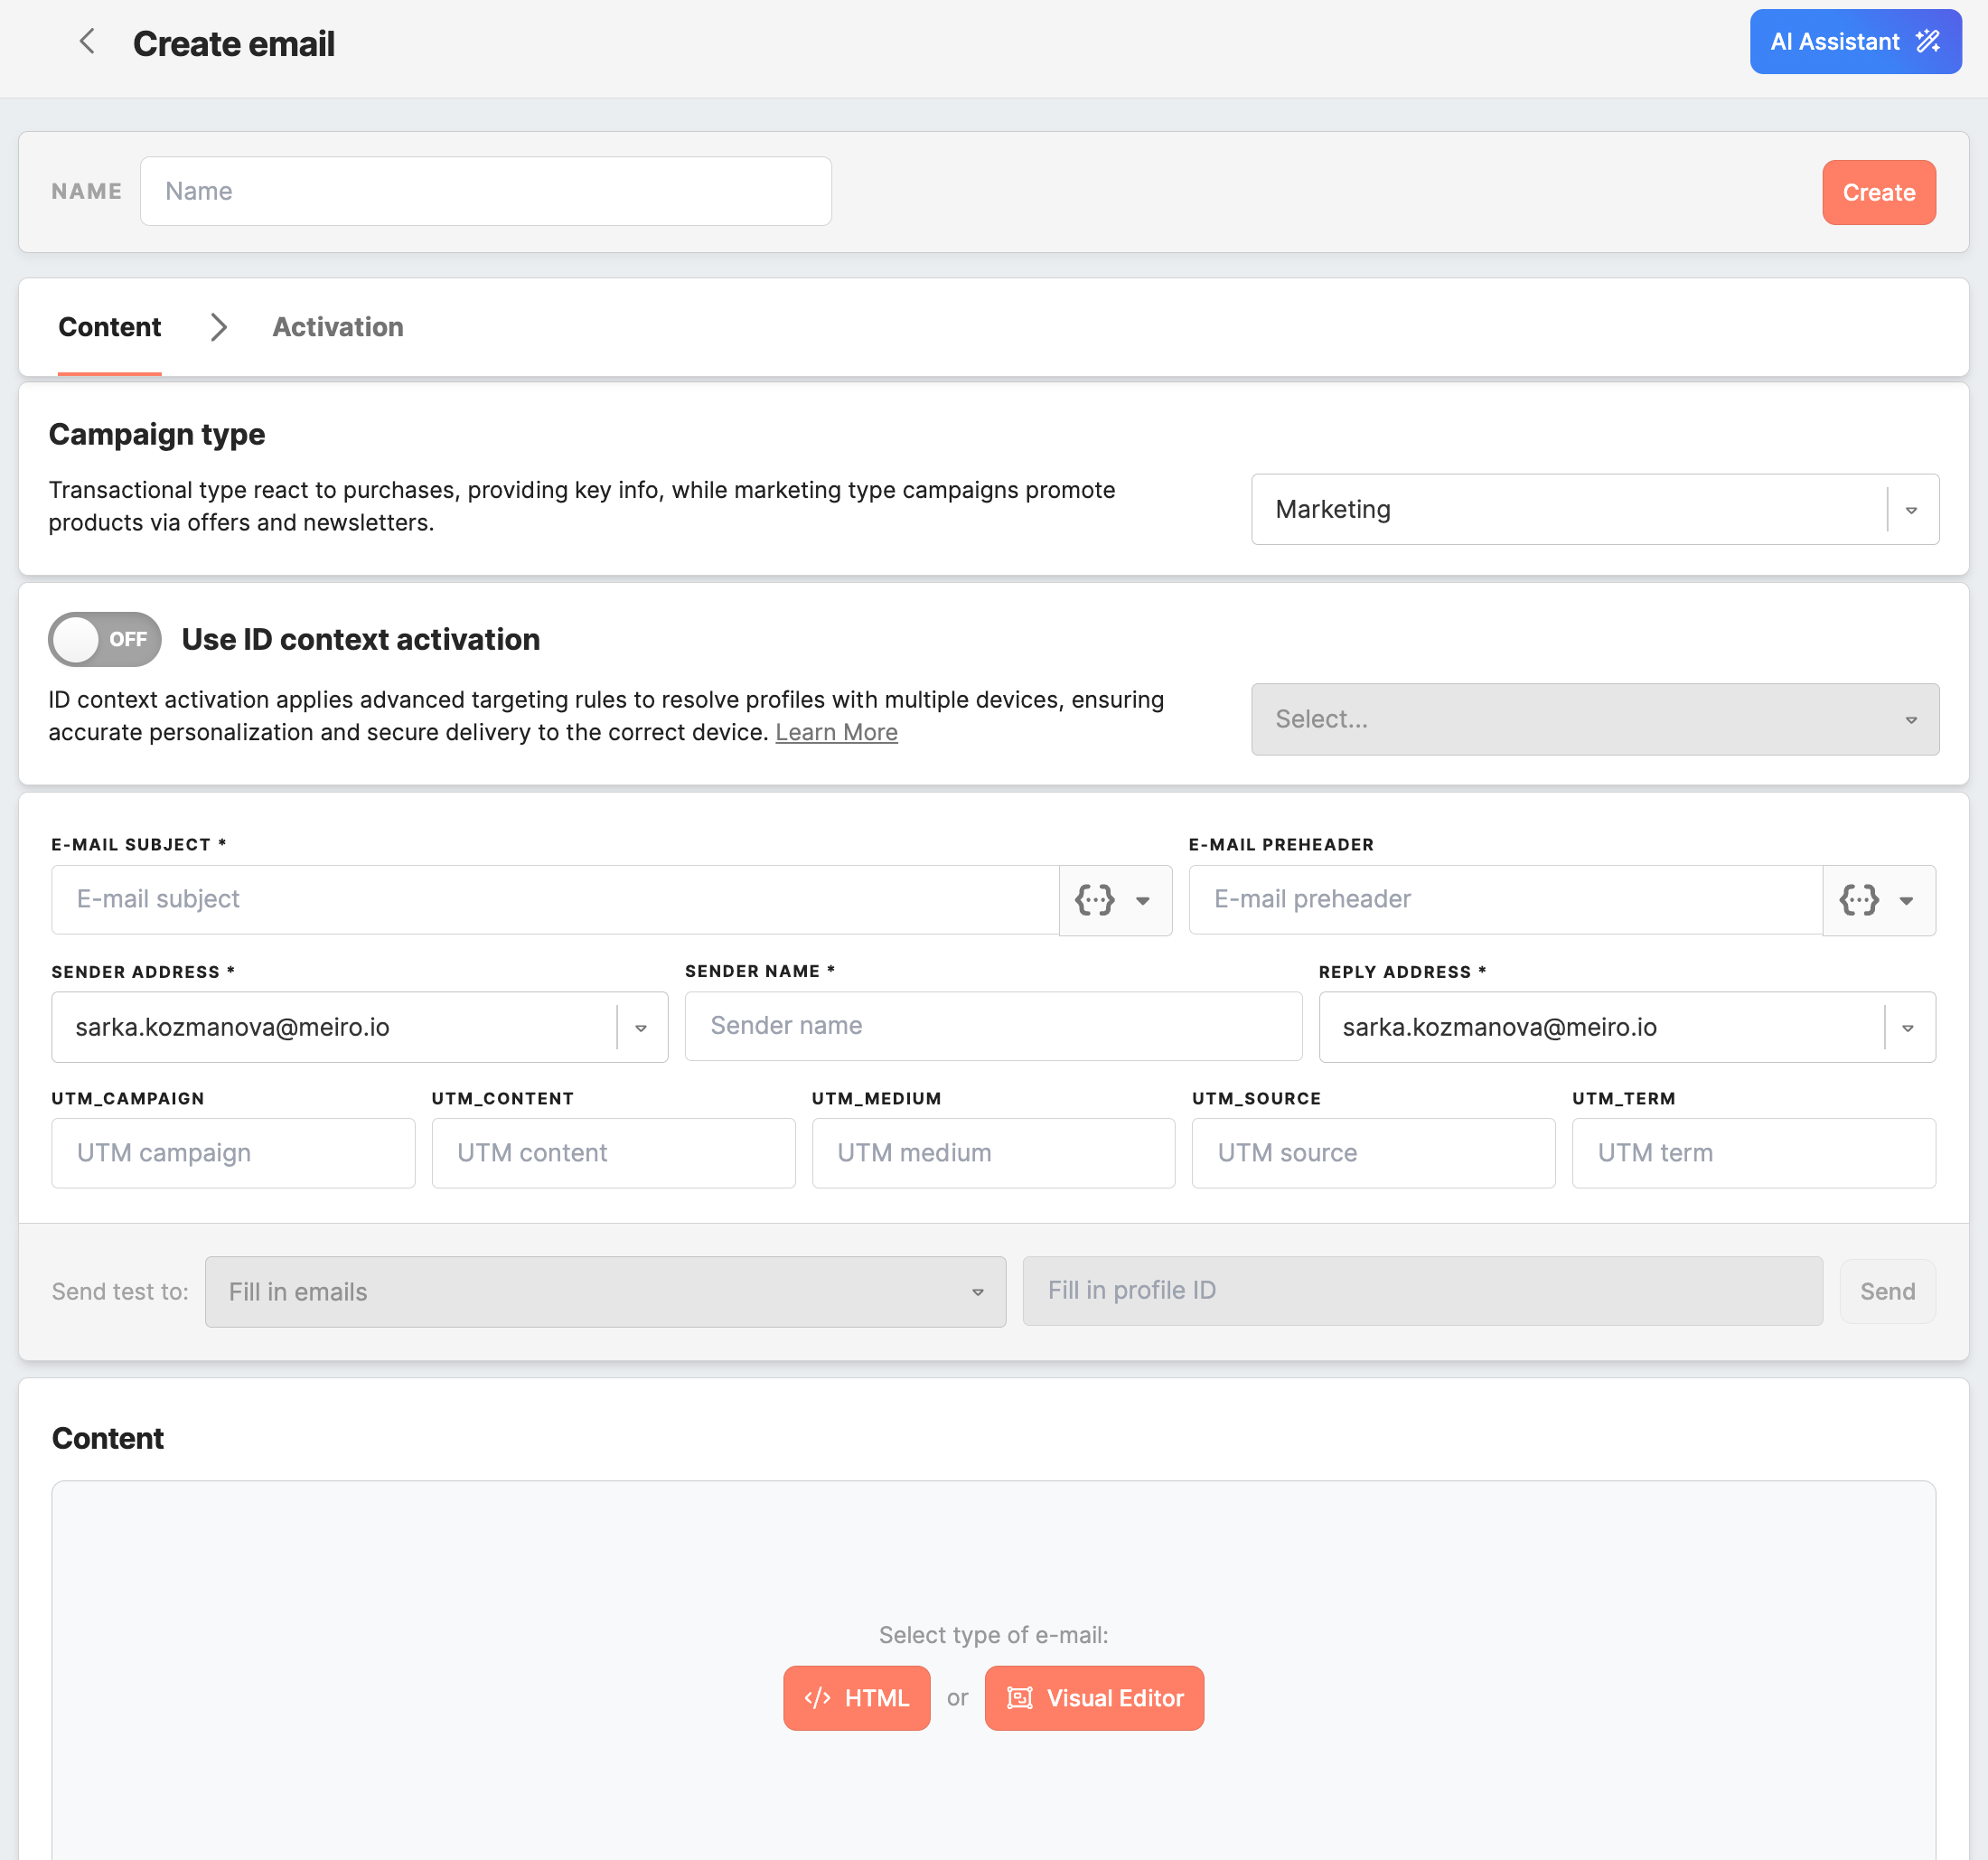
When creating an email campaign, you can choose the campaign type depending on the purpose of your communication. Email campaigns can be created as either Marketing or Transactional.
Marketing campaigns are intended for promotional communication, newsletters, product updates, announcements, and other engagement-focused messages. These campaigns follow the standard marketing communication rules configured in your workspace, such as consent checks, unsubscribe requirements, and frequency cap settings.
Transactional campaigns are intended for essential operational communication, such as order confirmations, shipping updates, password resets, booking updates, or other service-related messages. These messages are sent to deliver important information to a recipient and are handled differently from marketing communication.
Remember: Transactional emails require ID context activation. You can create and edit the campaign without selecting an attribute, but activation is only possible after you enable Use ID context activation and select the attribute that contains the recipient’s email address.
This distinction helps you choose the correct sending behavior for each type of message and ensures that important service communication is configured appropriately.

Creating an email template
Once you have filled in the required and necessary fields, you can move on to creating your email content. At this point, you will have two options to choose from:
-
Use the Visual Editor to construct a new email: this option allows you to use a drag-and-drop interface to create an email layout and add text, images, and other design elements to your email.
- Use the HTML builder to construct a new email: This option enables you to build an email using HTML code. This method is best suited for users who are proficient in coding and want to have greater control over email design and functionality.
Regardless of which option you choose, both builders offer different advantages and can help you create professional-looking emails that resonate with your audience.
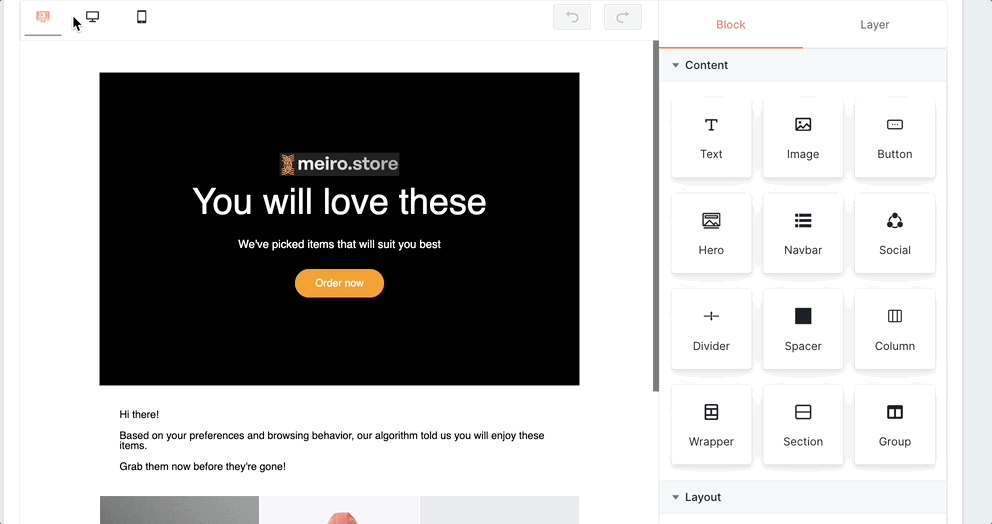
Step-by-step guide for Visual Editor
Here is a step-by-step guide on how to use the Visual Editor:
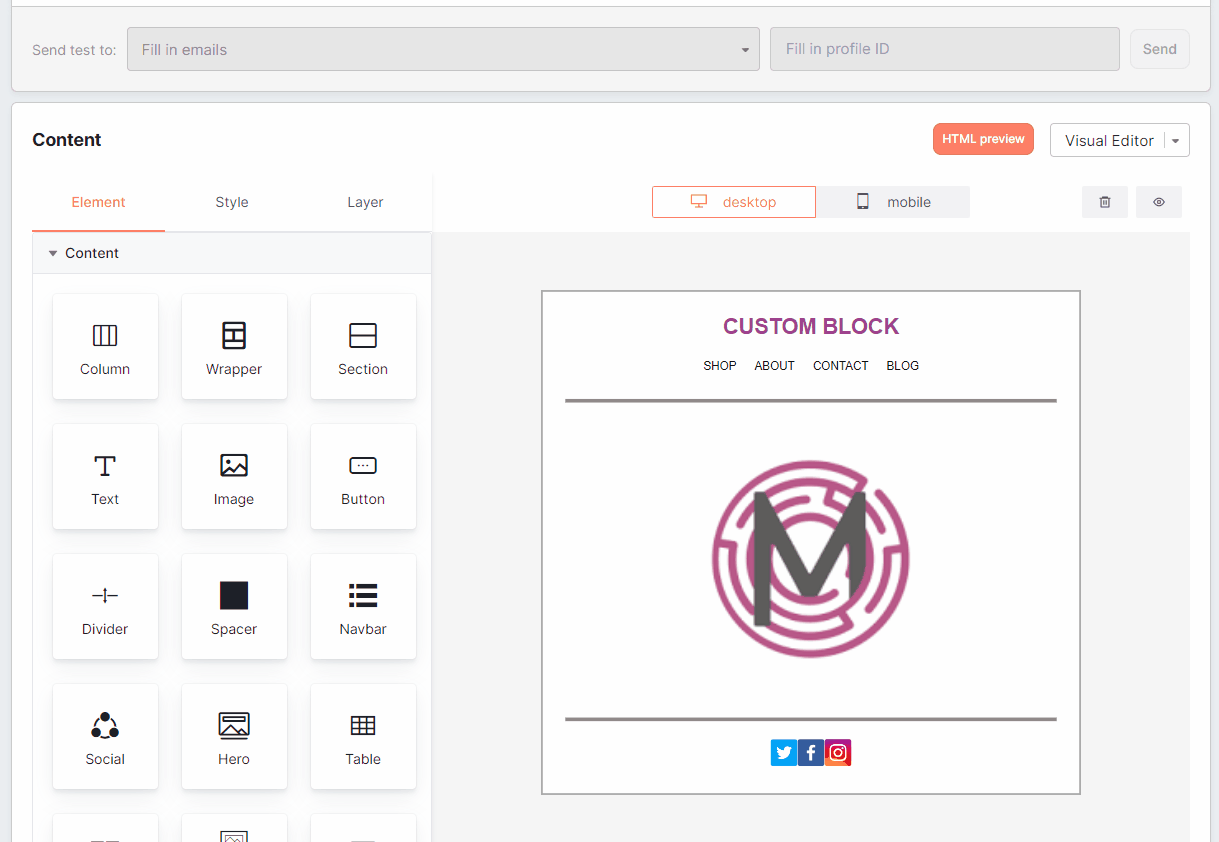
1. Start by clicking on the "Visual Editor" to proceed with creating the template. The editor is divided into two main sections: the right-hand panel and the main editor window.
2. The right-hand panel contains a variety of content blocks, including text blocks, images, buttons, social media icons, and more.
3. To add a content block to your email template, click on the block on the right-hand panel and drag it to the desired location in the main editor window. You can then customize the content block by clicking on it and using the configuration tab that appears.
4. You can personalize an email campaign using the attribute picker. When the email is sent, the attributes will be replaced with the profile attributes value, e.g., first name, last name, abandoned product in the basket, etc.
To use the attribute picker, click on the attribute picker icon. This will open a list of available attributes for you to choose from. Select the attribute you want to use, which will automatically be inserted into your email content. You may add attributes to the text, images, and button blocks. If you need to refer to a multi-value compound attribute, you need to iterate over an array of values using the iteration block in the email editor. 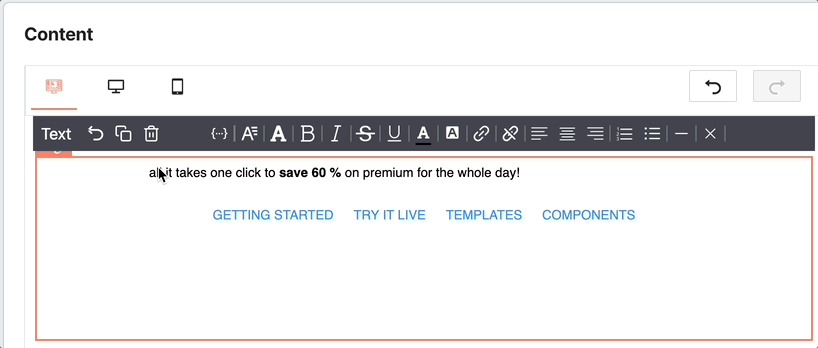
5. To preview your email, click the "Preview" button at the top of the editor. This will allow you to see how your template will look on different devices, such as desktop computers and smartphones.
Remember: If you'd like to see the HTML code of your visual email, you can use the HTML Preview button. This feature is helpful for applying custom CSS styles and gaining better control over your design elements.
Remember: You can search within the code editor by pressing CTRL+F (Windows/Linux) or CMD+F (Mac) to locate or replace text quickly.
6. Once you've finished designing your email, click the "Create" button. Use the ‘save as template’ button to save the content of already created email campaigns as a custom template.
Learn more: about the content blocks and their configurations available in the Email Editor.
Step-by-step guide for HTML builder
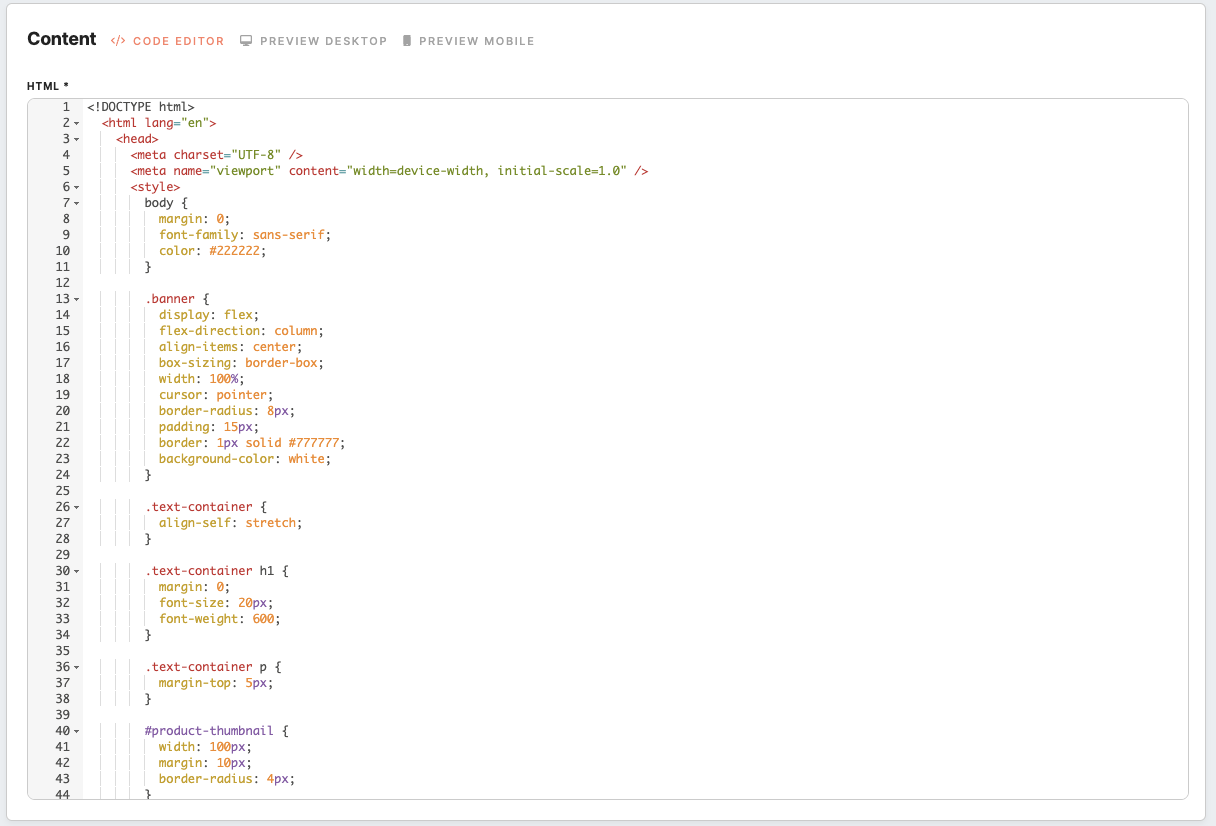
If you already have HTML Email templates created before, you can copy and paste them into our editor to get started. The HTML builder offers advanced customization options for those with a strong understanding of coding.
Here is a step-by-step guide on how to use the HTML Builder:
-
Once you choose a layout for HTML Builder, you will be directed to the email editor interface. To create an email, you can insert HTML code and other design elements here.
-
Personalize an Email using liquid syntax to the attributes. This syntax allows you to insert profile-specific information into your emails dynamically.
- To preview your email template in real time, click the "Preview" button at the top of the editor. You can make adjustments as necessary to ensure the email looks and functions the way you intended.
-
Once you've finished designing your email, click the "Create" button. Use the ‘save as template’ button to save the content of already created email campaigns as a custom template.
Remember: You can search within the code editor by pressing CTRL+F (Windows/Linux) or CMD+F (Mac) to locate or replace text quickly.
Personalize Emails
Personalization refers to the practice of tailoring messages for individual customers based on their unique data. This can involve addressing customers by name, adapting email content to specific segments, offering recommended products, and tailoring campaigns based on their individual purchasing history or preferences.
Learn more: about how to personalize emails in this article.
Controlling the Unsubscribe Footer
When creating an email campaign in either the Visual Editor or HTML Builder, you can choose whether to include or exclude the unsubscribe block using the toggle in the editor toolbar.
This option supports two common email communication types:
Marketing emails
Marketing emails are promotional in nature and should include unsubscribe options for compliance and recipient choice. In most cases, this means keeping the unsubscribe footer and one-click unsubscribe button enabled.
Transactional emails
Transactional emails are used for important service-related communication, such as order confirmations, password resets, account updates, or booking notifications. Because these emails are not promotional, the unsubscribe block is excluded.
A confirmation message appears when disabling the footer, reminding you how this setting affects message type and delivery behavior.
Remember: To send transactional emails without unsubscribe options, use a dedicated sender address configured for transactional communication.
Learn more: For details on customizing and setting up the unsubscribe link itself, see Unsubscribe customization →
Preview & test
Preview
You can switch between the mobile and desktop views of your message to view and edit content. Remember, it is important to ensure that the code is written in a way that provides a visually pleasing appearance on smaller devices as well. You can check how the content will display on a mobile phone without sending a test message.
Test
To test your email, you must first save it using the "Save" button located at the top of the page. Once you have saved your campaign, you will be able to proceed with testing.
You can choose to test your email template in various ways. For example, you can send a test email to yourself or to a group of users to confirm that your design, images, and text appear as expected on different email clients and devices. You can also test your email with attributes to make sure that the personalized content is populated correctly. Furthermore, you can check the links in your email to make sure they work correctly.

To start testing, you need to fill in the following:
Click on the Save button to apply your changes in the email campaign and enable the activation tab.
Learn more: about the activation of an email campaign.
No Comments