Events setup
Entities setup is usually done by the CDP technical consultant.
In the Administration/Entities/Events tab, it is possible to create, edit, show/ hide events that will be used through Meiro Business Explorer (the basis for identity stitching and attribute calculation, displayed for each customer in the Customer Profile Detail tab/ Timeline). In this tab, you can also find system events that are automatically generated after configuring the channels. These system events are distinguished by a specific system tag, and they cannot be hidden.
A full list of events will be visible to users in the Data Library/ Events tab.
|
Learn from this article: |
1. Create event
To create an event, please click on the Create Event button and fill out the form that will be displayed.
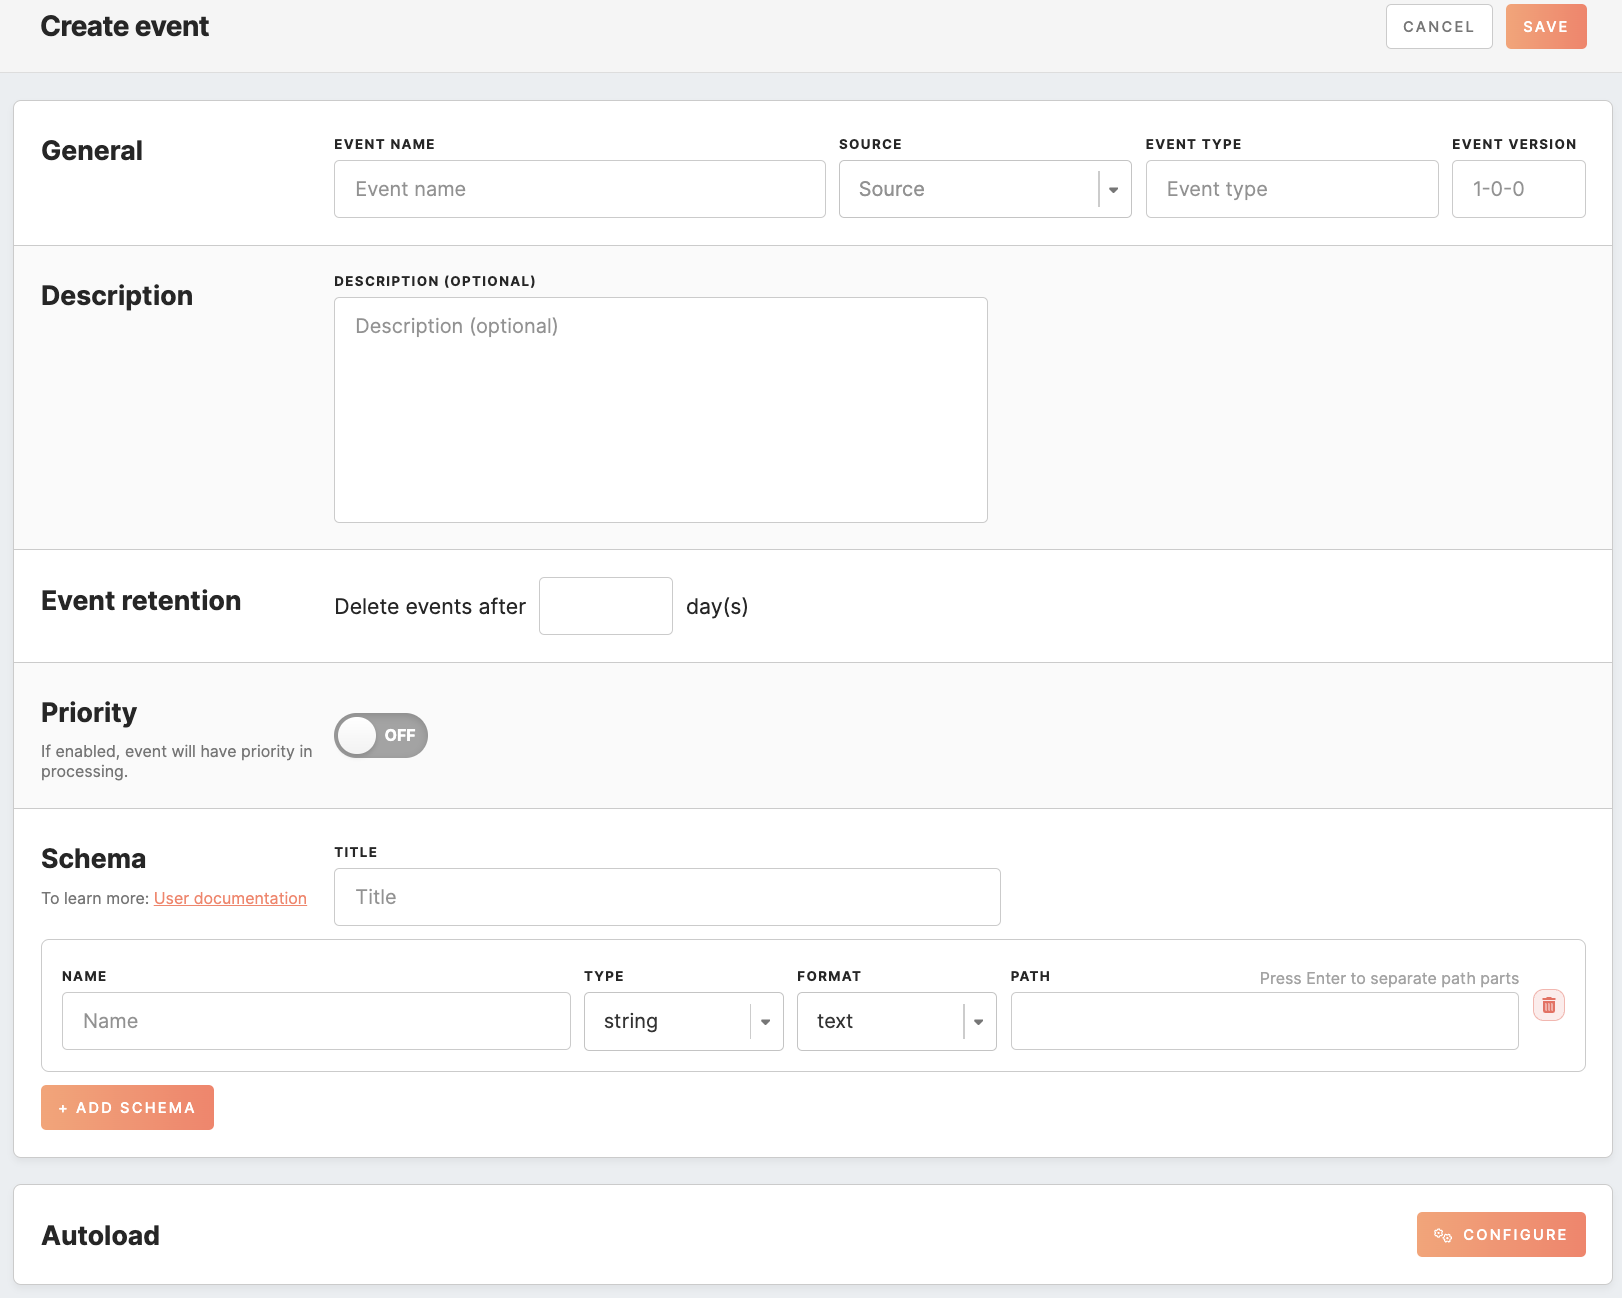
General |
|
|
|
|
|
Event Name |
Name your event that will be displayed across Meiro Business Explorer. It is possible to edit the name later on. |
|
|
|
|
Source (not editable later) |
Pick the data source from which this event comes from. |
|
|
|
|
Event Type (not editable later) |
Insert an event type (for example, web_pageview, web_transactions, etc.). |
|
|
|
|
Event Version (not editable later) |
Assign the version of this event that you can refer to later. |
|
|
|
|
Description (optional) |
An optional field to draw a description of an event. A list of events and descriptions will be visible within the Data Library/ Events tab. |
|
|
|
Event Retention (optional)You can define how long events should be stored in Meiro CDP directly in the Event configuration screen.
This field allows you to control data lifecycle and storage usage. Storing events indefinitely may increase storage costs and impact performance, so configuring a suitable retention period is recommended.
There is no universal best-practice value; retention depends on:
By default, Event Retention is set to 0, which means events are stored indefinitely.
Learn more: about event retention in this article. |
|
|
|
|
PriorityIf the toggle is activated, the event will receive priority in processing. Once enabled, the corresponding events will be indicated in the events list by a green check icon, indicating their higher processing status relative to others. |
|
|
|
|
SchemaThe schema describes the way how event payload should be displayed in the user interface. It is possible to set multiple items that will be displayed. |
|
|
|
|
|
Title |
Set the title of the payload. The event title is the further specification of the event. For example, event type "Order Status Updated" may have the title "The customer's order changed the status to Awaiting bank payment" to specify the event further. The title will be visible under this name across Meiro Business Explorer. It is possible to edit it later on. |
|
|
|
|
Add items to display in the payload |
Name: Name your schema item. It will be visible under this name across Meiro Business Explorer. It is possible to edit it later on. Type: Set the item type (string, datetime, number). It is possible to edit it later on. Format: Pick one of the available formats (text, link, list). It is possible to edit it later on. Path: JSON path that points to value in payload corresponding to this payload item. It is possible to edit it later on. |
|
|
|
Warning: It will not be possible to edit Source, Event Type and Event Version later. In this case, hiding the event and creating a new one is recommended.
Remember: Newly created events will appear with the New badge that will stay for the next 7 days.
Autoload
In this section, you can set the extraction of customer events from the ME database to MBE. This will eliminate the need to use MI for integrating data from ME to CDP, resulting in simplified deployment. Additionally, this approach reduces the probability of errors during configuration and speeds up the process.
Remember: One event type can have only one integration.

Autoload configuration
Click the ‘configure’ button to enable configurations of the CDP to the ME database.

Remember: Disable the toggle when you want to save the event with the prepared configurations and enable it when you are ready to start loading events to MBE. If you need to delete configurations of this integration, use the ‘remove’ button.
Remember: You can search within the code editor by pressing CTRL+F (Windows/Linux) or CMD+F (Mac) to locate or replace text quickly.
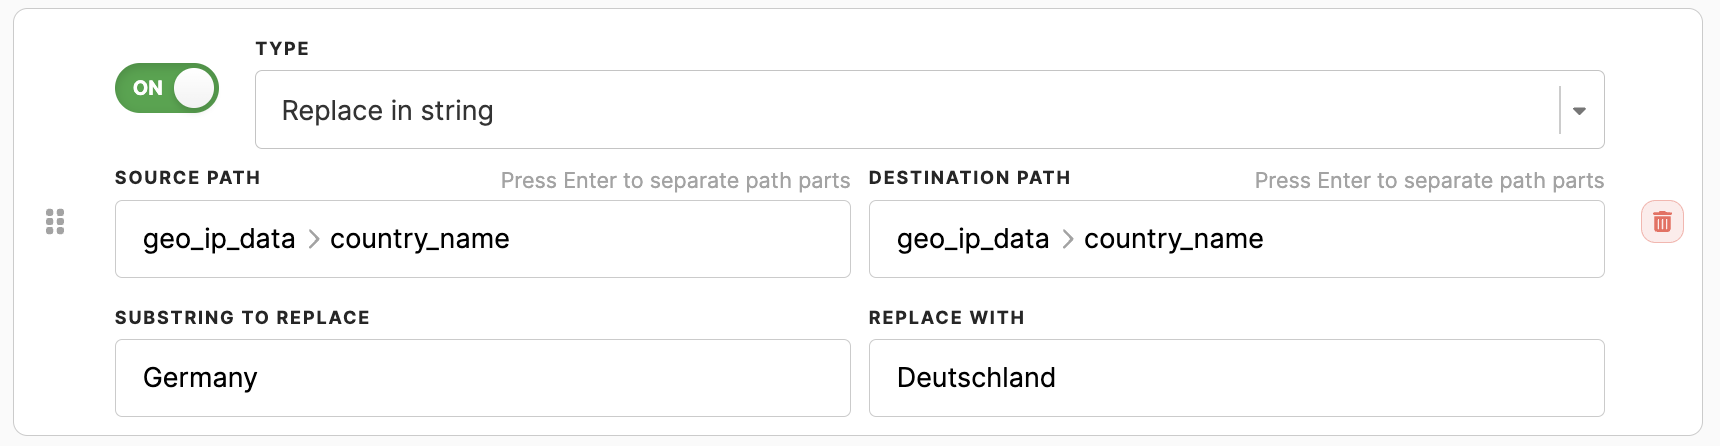
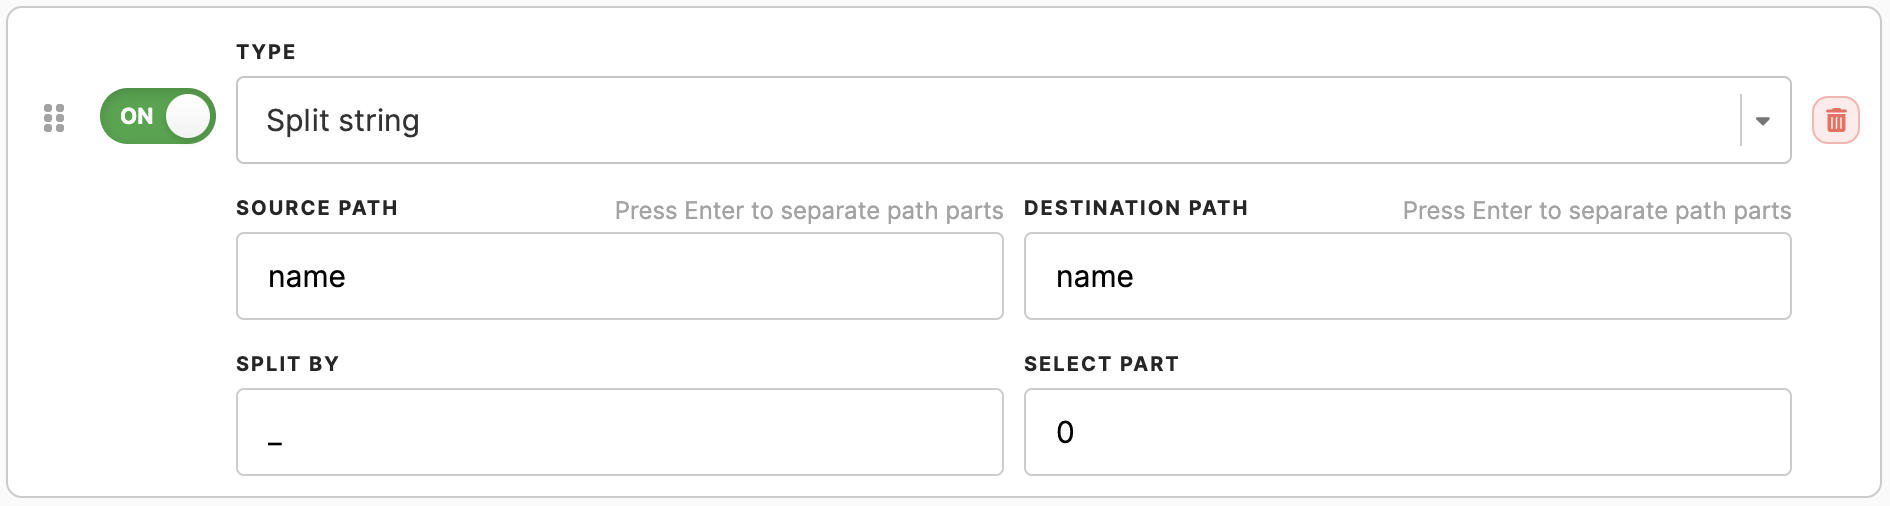
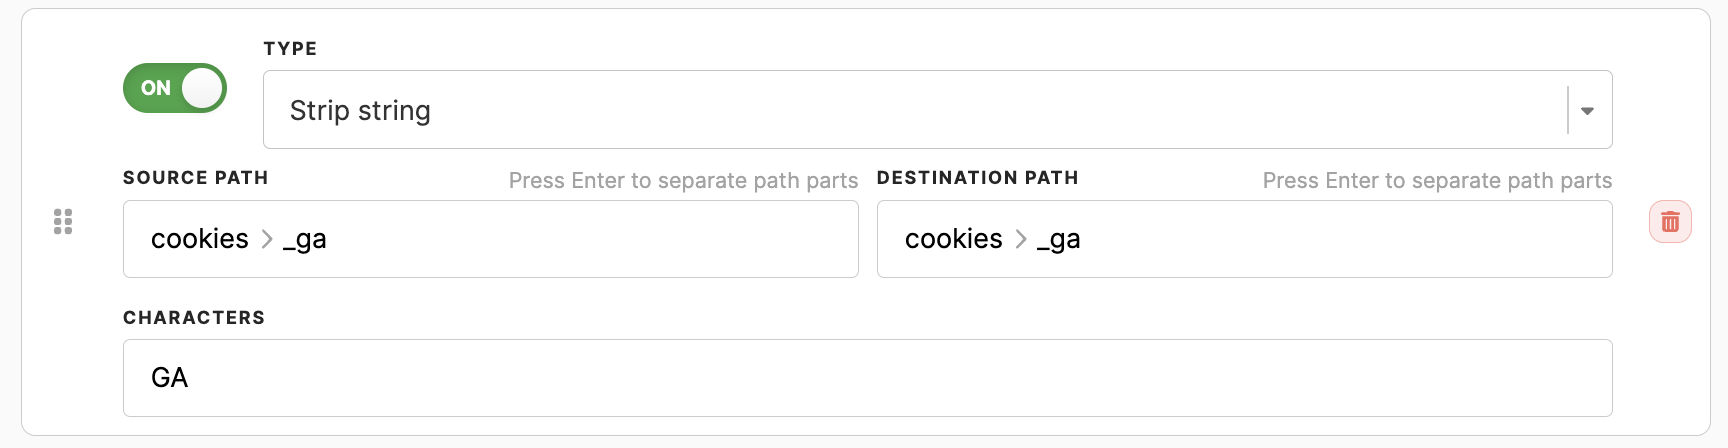
Transformations

In this section, you can specify the transformations the raw customer profile events might undergo to get the real payload. It is possible to use multiple transformations to achieve the desired result of the payload, and each transformation can be enabled or disabled individually using a toggle located next to each transformation.
Transformations support only value objects and they do not support analyzing and iterating through array objects.
Remember: the order of transformations is important, as each transformation is applied one by one to the payload in the respective order.
Below, you can find available transformations for definition.


Test run
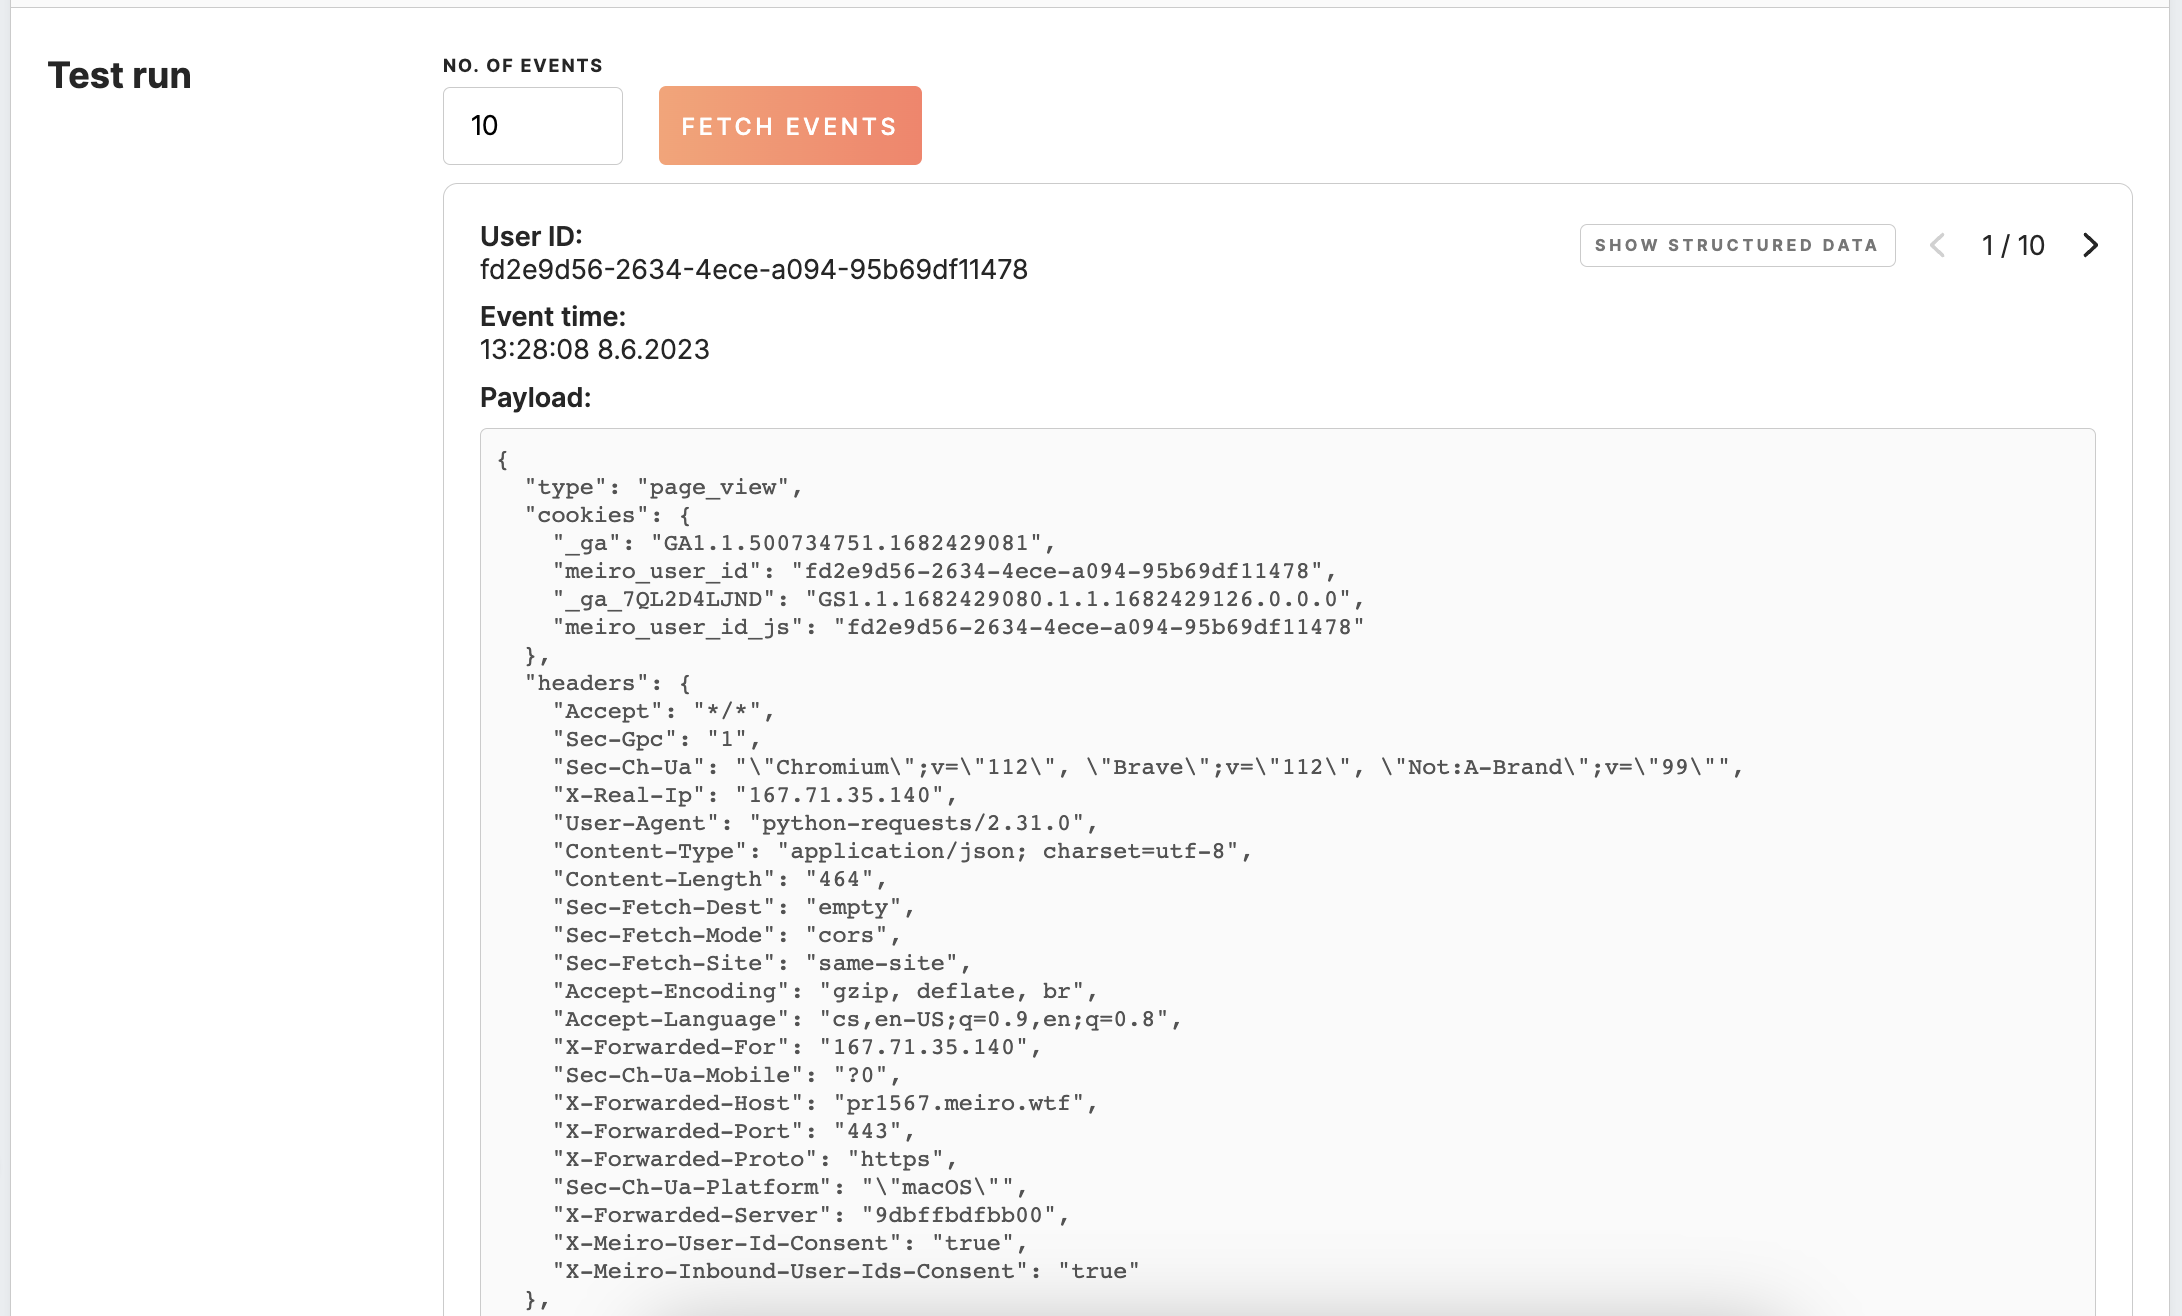
In the "test run" section, you have the option to click on the "fetch" button to experiment with the event using the specified settings. You can specify the desired number of events to fetch, with a maximum limit of 1000 events. As a result, you will receive an array containing the most recent values for the event time, user identifier, and payload.
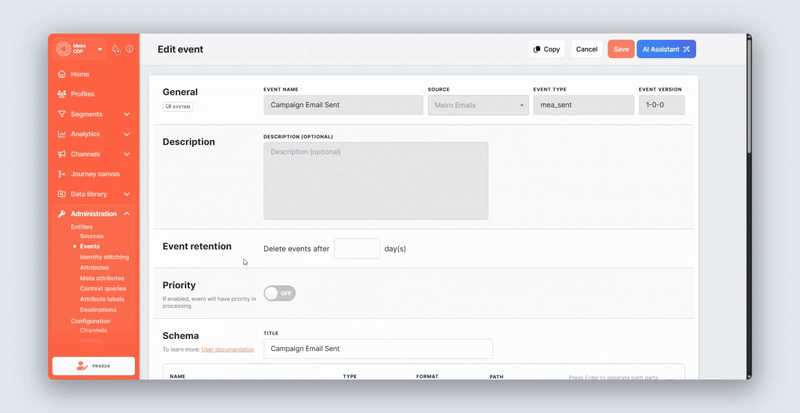
2. Edit/ show-hide events
The events list displays all events along with their sources, dates of addition, and retention days.
- Event Priority: Events marked with a priority have a priority check icon enabled.
- Autoload Configuration: Events with enabled autoload display a check icon. If an event lacks autoload configuration, no check icon will appear on the list.
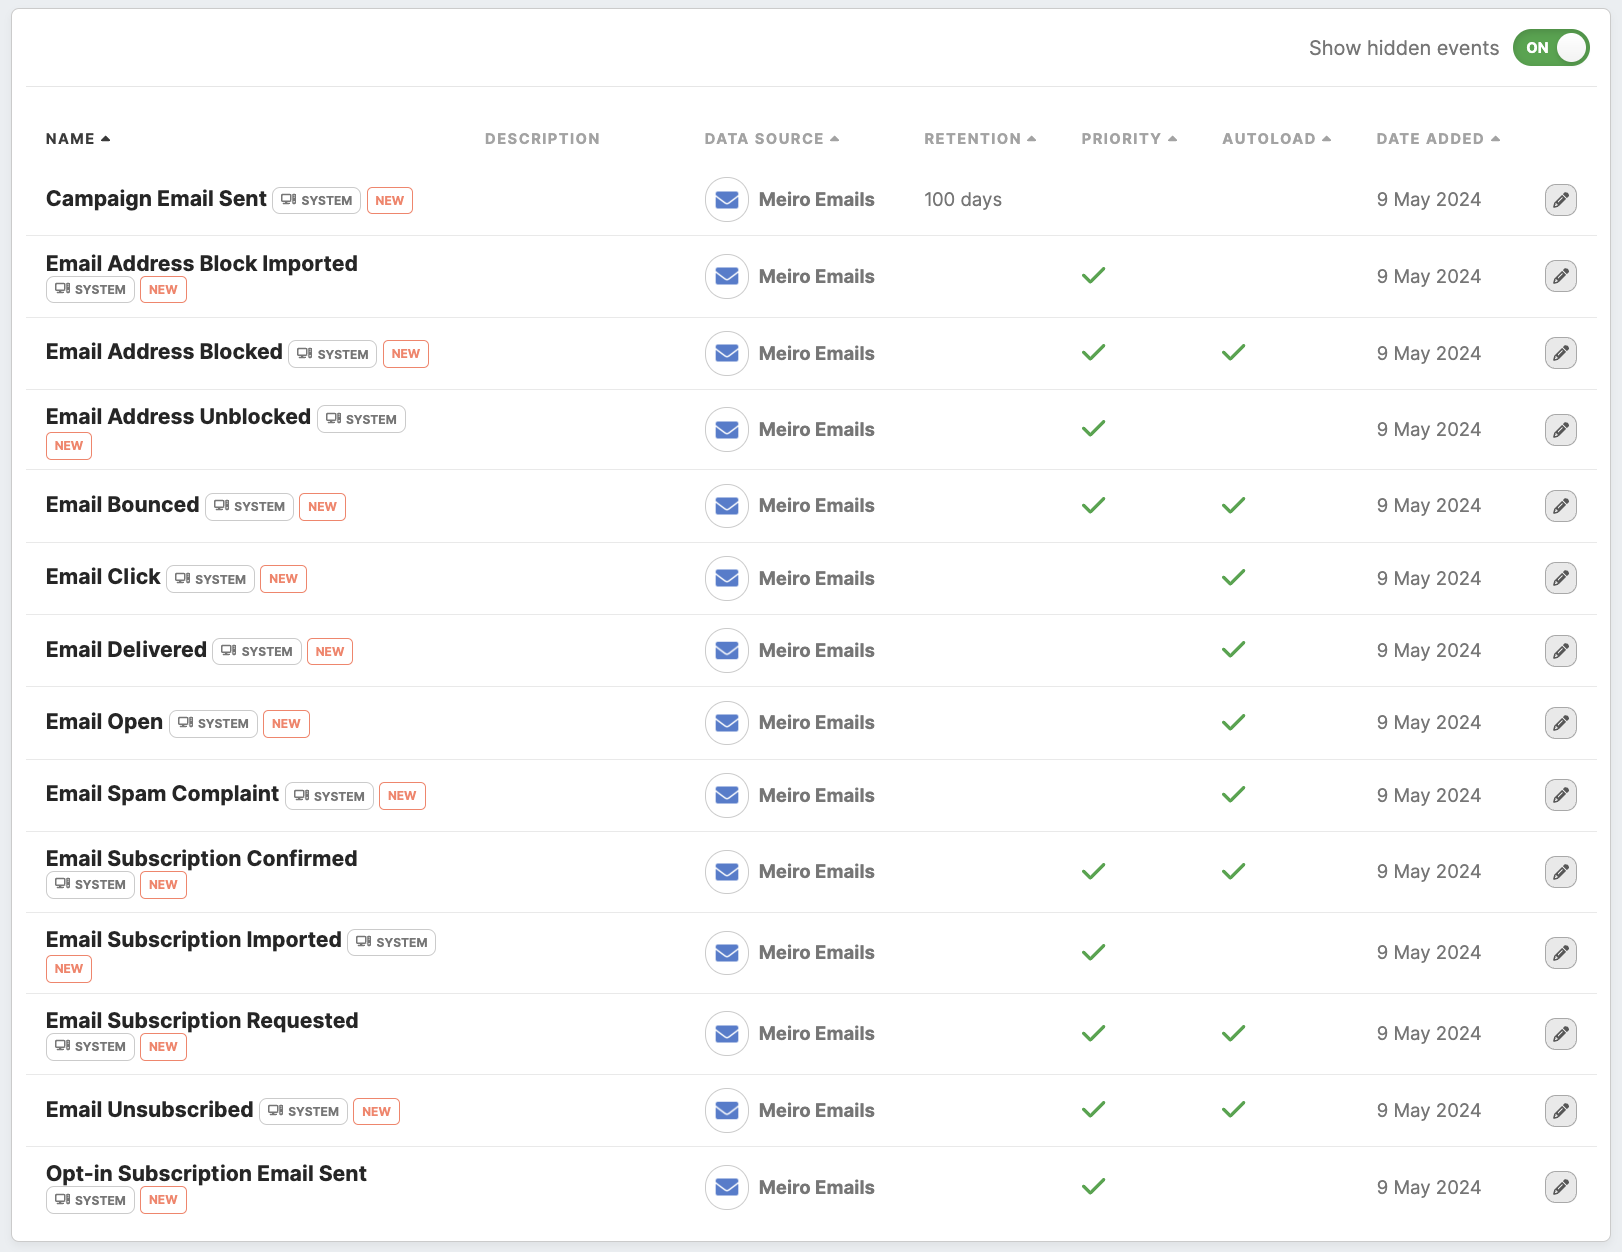
You can edit events at any time. If necessary, you can hide events from the Meiro interface:
Hiding an Event:
- Effect: When an event is hidden, it becomes invisible everywhere in the Meiro Business Explorer (MBE), except within the Administration tab.
- Processing Impact: Hiding an event does not affect its data processing. Hidden events continue to be collected and remain available for stitching rules.
Warning: Fields that cannot be edited include Source, Event Type, and Event Version. If these fields are incorrect, it is recommended to hide the event and create a new one.
Events marked with a system tag cannot be hidden. On the detail page, you can edit only the Schema section or copy the event to create a new one.

3. Event example
An example of an event listed in the Data Library/ Events tab:

For this event:
- Event Name: Account created on web
- Event Source: Bank website
- Event Type: picked from the drop-down list (in this case "account-created")
- Event Version: the version of this event (for example 1-0-0)
- Schema Title: Bank web account created
- Schema Name: Device family
- Schema Type: string
- Schema Format: text
- Schema Path: JSON path to this event
No Comments