Mobile Push campaign creation: step-by-step
The Channels/ Mobile Push tab allows sending personalized push notification messages to a segmented audience originating from Firebase-enabled mobile applications.
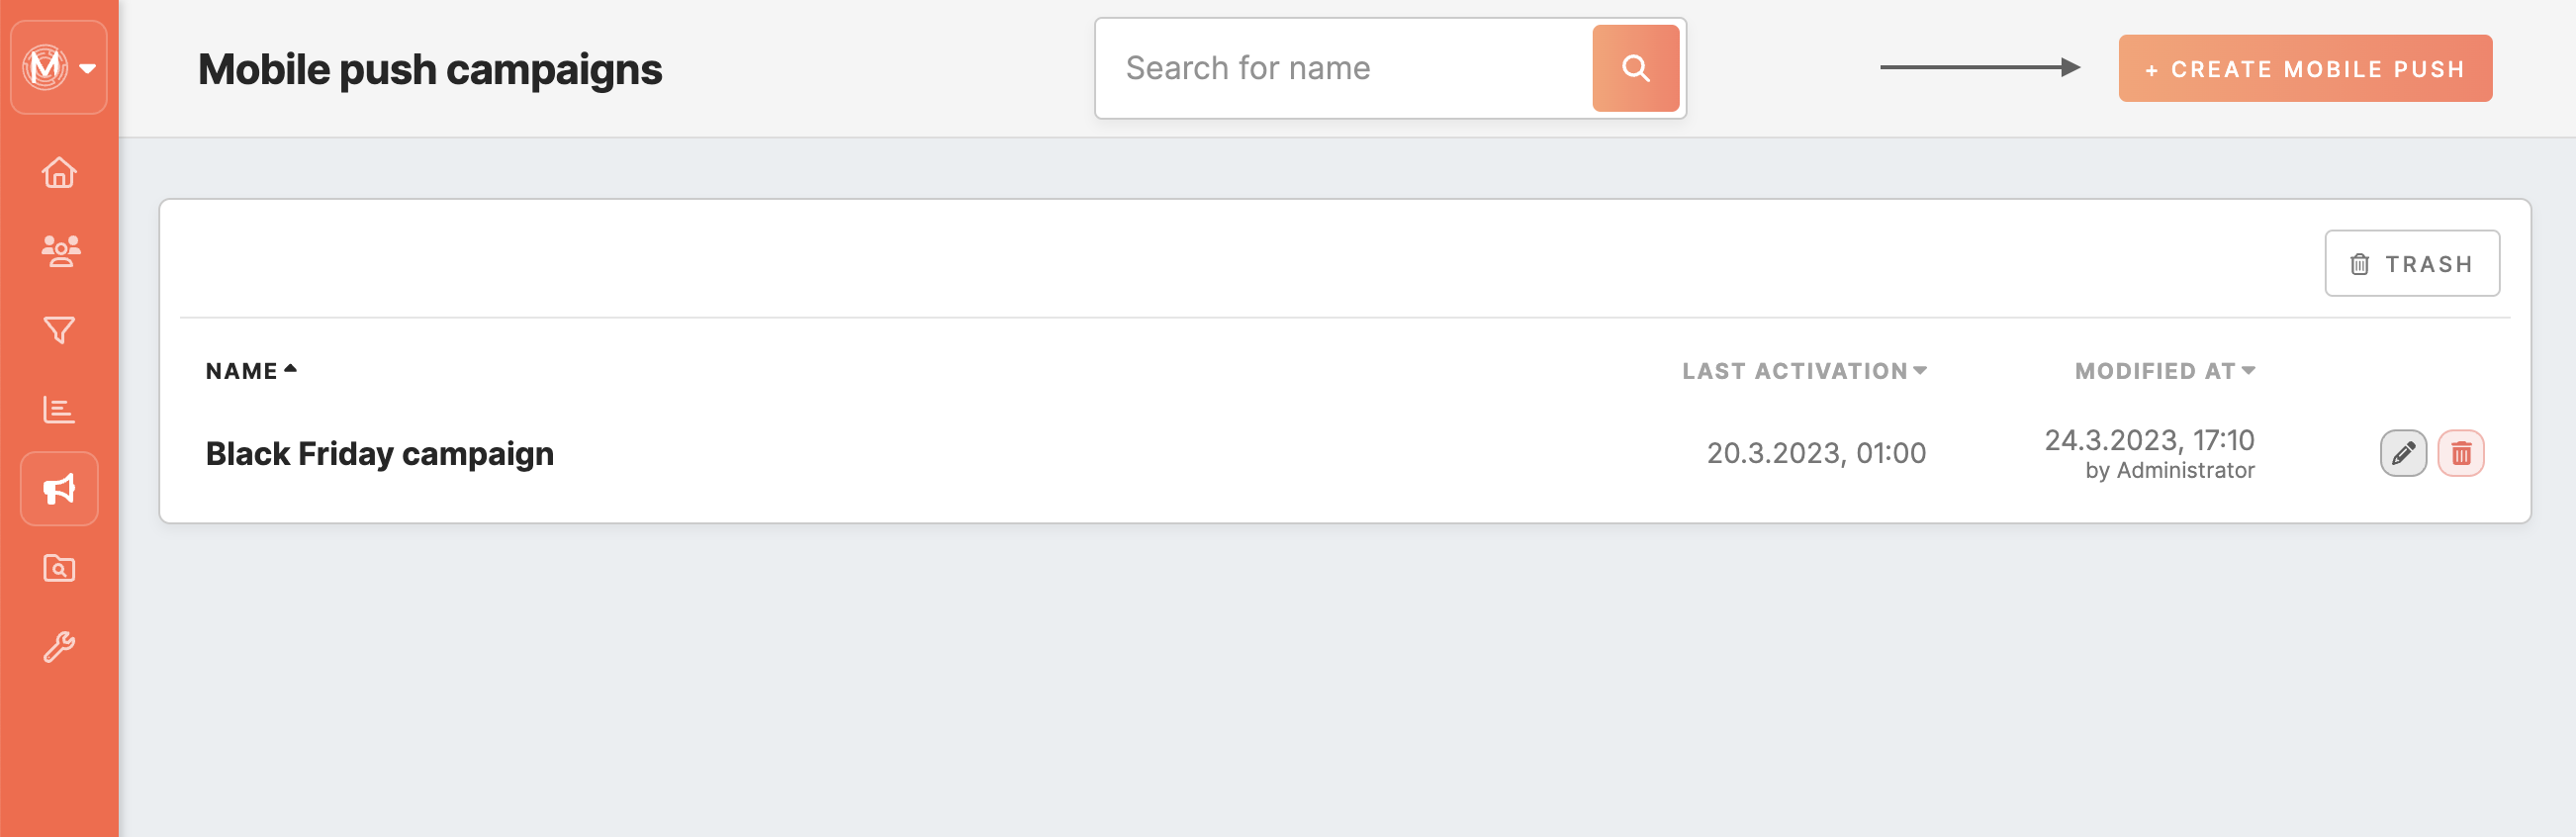
Creating a Mobile Push campaign
Clicking on the 'Create Mobile Push' button on the top of the Mobile Push tab will bring you to push notification settings. It is possible to insert content for Mobile Push, select a segment created beforehand, send a notification immediately to the customers, or set a schedule.
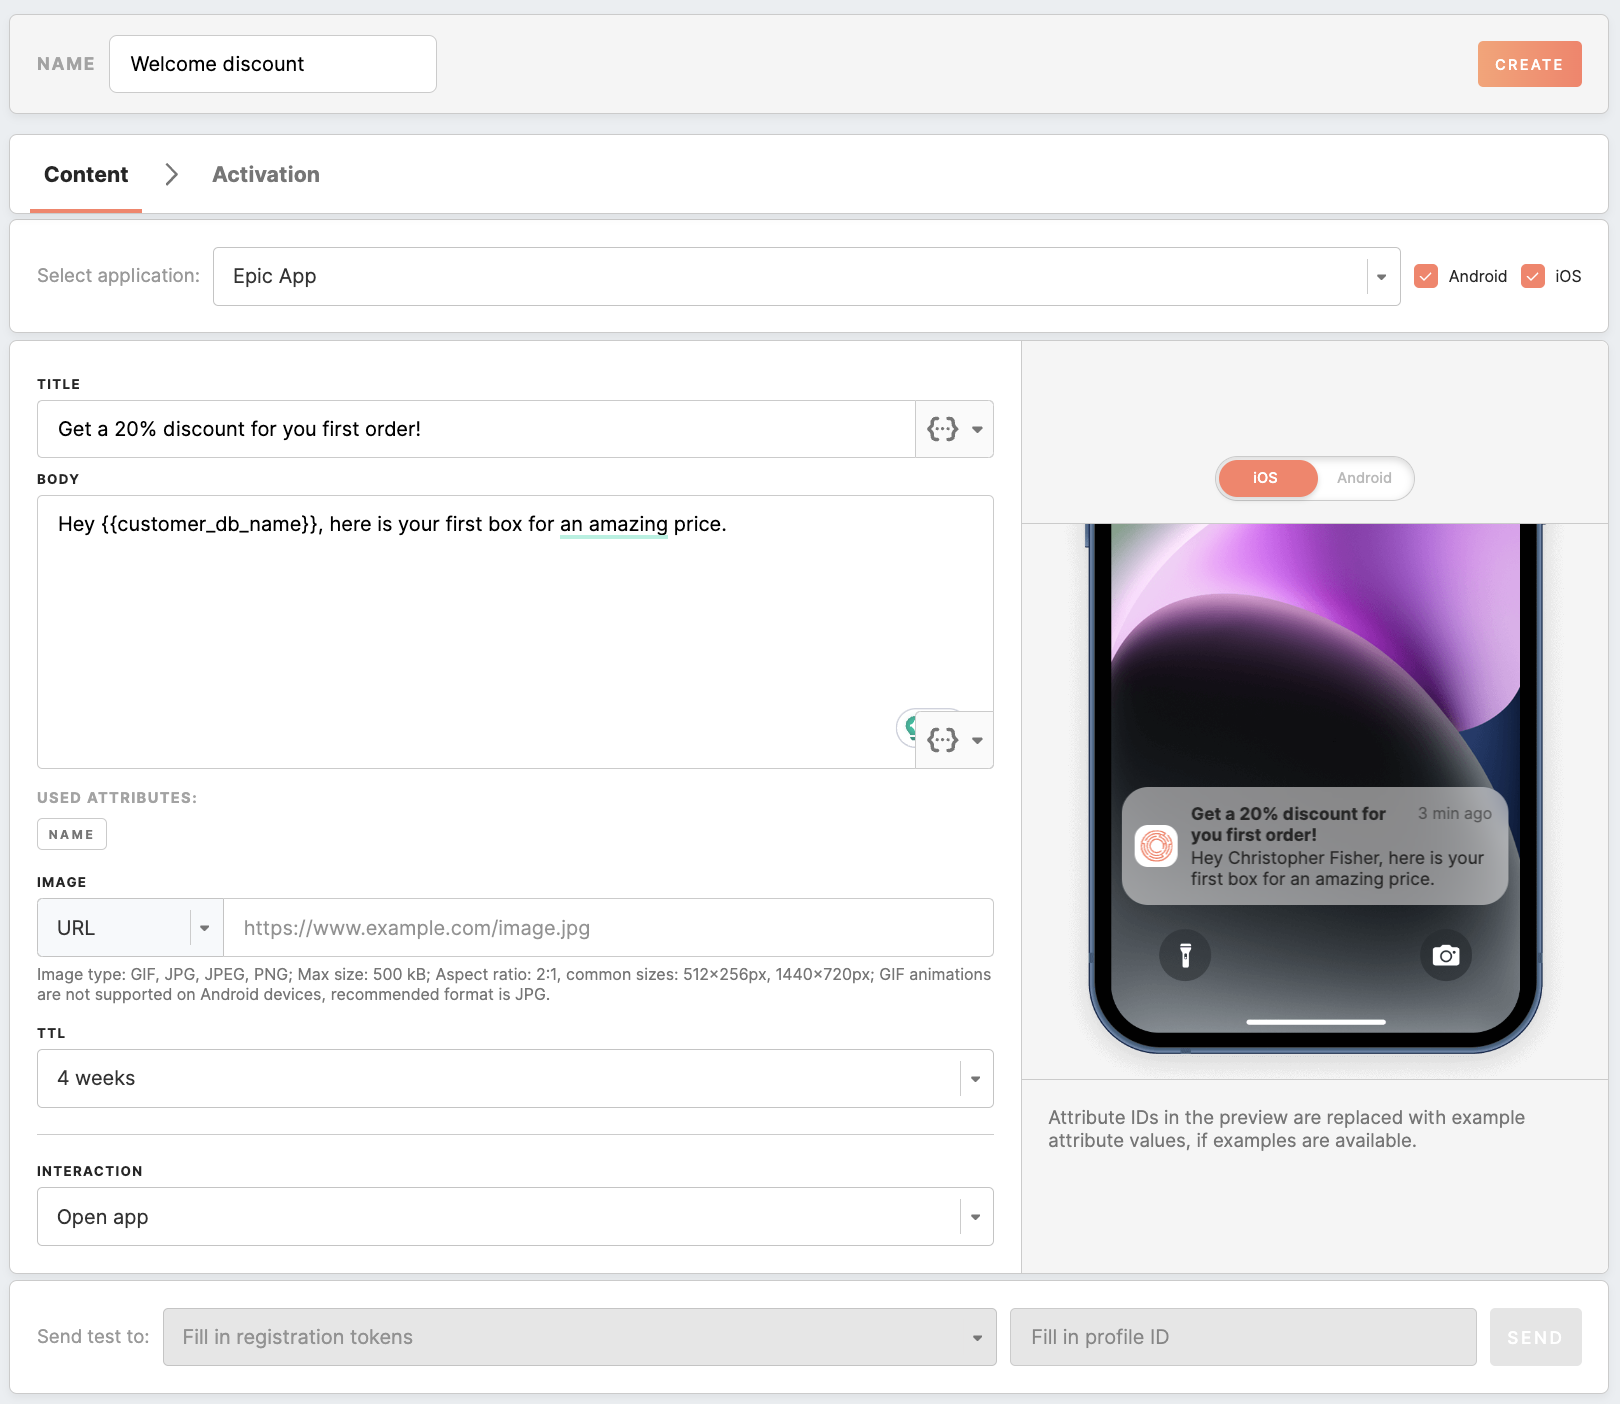
A new window with the content form of a mobile push campaign will be opened:
Warning: the notification might be truncated on iOS devices if the title and body combined exceed 178 characters in length. The notification might be truncated on Android devices if the title exceeds 65 characters in length and the body 240 characters.
Meiro AI Assistant
The "Meiro AI Assistant" button provides AI assistance in creating a Mobile Push campaign. You can use it to generate ideas for push notification campaigns to communicate effectively with customers.
Learn more: about how to benefit from AI assistant.
Personalize Mobile Pushes
To personalize a Mobile Push, you can use attributes in the title and body, deep links and image URLs of the Mobile Push template.
Learn more: about how to personalize Mobile Push content with CDP Attribute Data in this article.
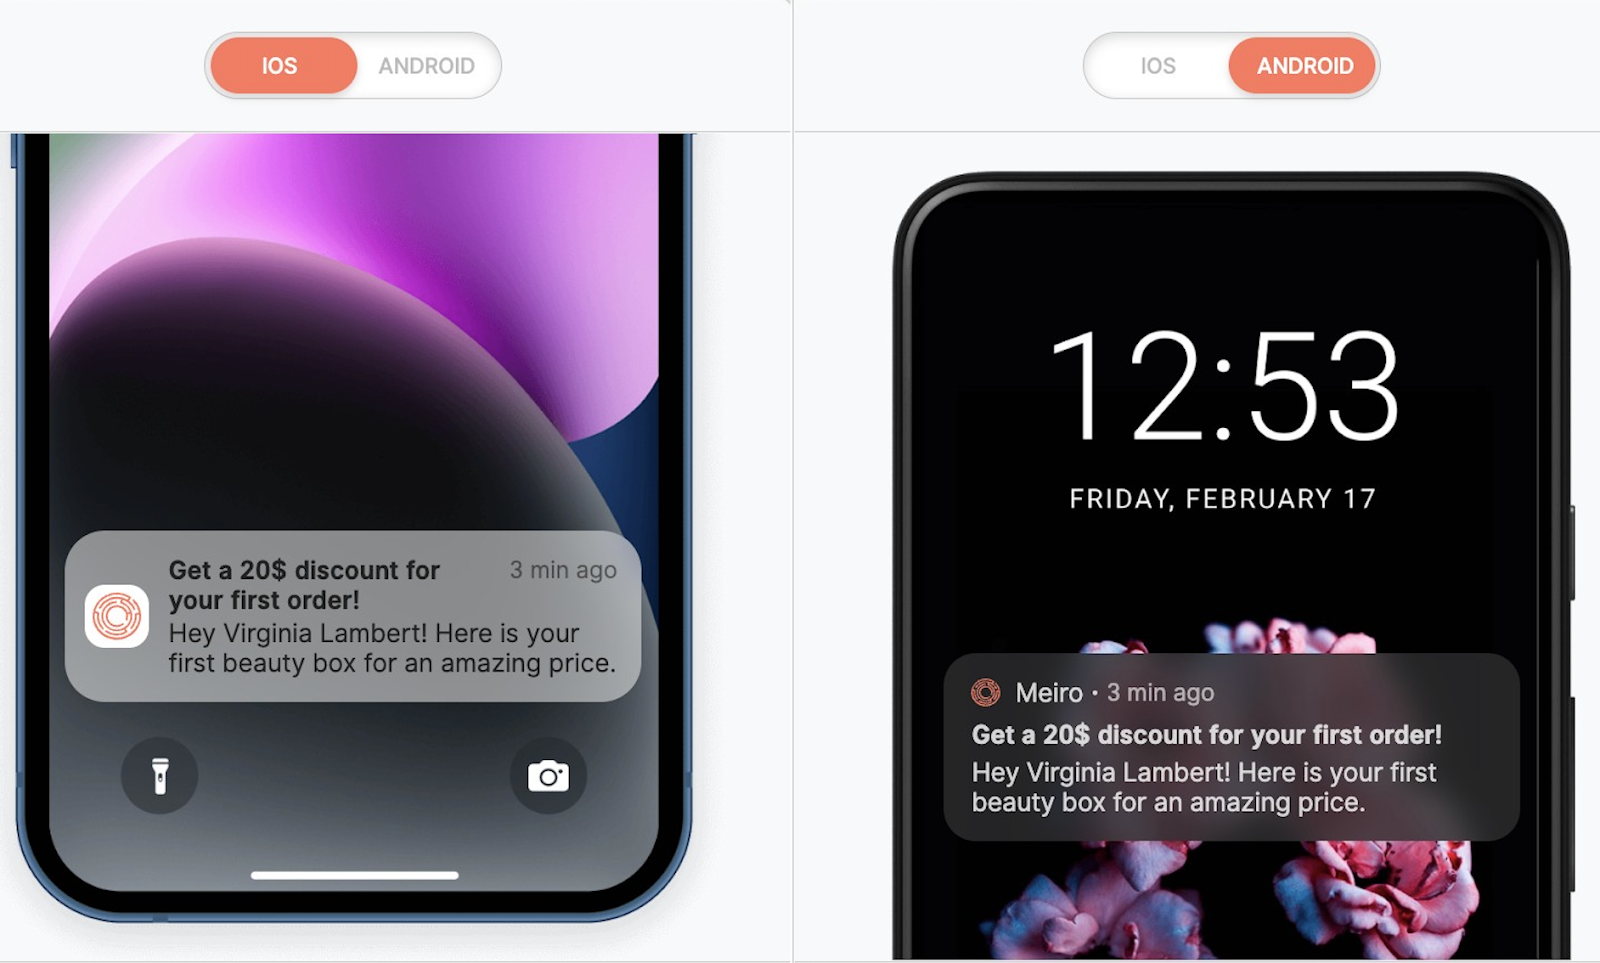
Preview
Users can see dynamic text appearing on the preview on the right. It is possible to switch previews between iOS and Android. If a user does not have the right to see the PII attribute set in “Attribute visibility protection”, then the PII attribute used in the Mobile Push will be displayed to the user on the preview as *protected information*.
Sending test of mobile push
To test your mobile push, you must first save it using the "Save" button at the top of the page. Once you have saved your campaign, you can proceed with testing.
Testing Options
You can choose to test your mobile push campaign in several ways:
- Send a test notification to yourself or other users to verify the correct appearance of images and text.
- Test with customer attributes to ensure that personalized content is properly populated based on the profile data.
- Check embedded links to ensure they function as expected.

To start testing, you need to fill in the following:
| Sent test to | Enter the registration token of the testing user (e.g., cn0JWYMfSGuJxdt-WdWCQR:APA91bGNIAebxr4-Q5rst3ey1DuYnTIpc6aJp0pqGjUhNnweLWQJqycQ _7oZLFj5dw6mgto1r_lLfUdwzyR0Tm-S3d203BKvhqSp2fGOKuGC4gst0c-xW30OG9BfPoHegaWRv5E4OUYZ). |
| Profile ID |
Use any customer profile ID from your CDP. This allows you to test how the notification will appear with the attributes specific to that profile. For instance, you can check how personalized elements like names or default values will appear when an attribute is present or missing (e.g., Remember: each customer profile has a unique ID, which you can find in the URL on the customer profile detail page. |
Important Clarifications:
- You can use any profile ID for testing. The purpose is to see how the message will appear to that specific profile, including how it handles missing or available attributes.
- There is no need to use a segment when sending test notifications. Enter the registration token and a profile ID in the appropriate fields to see how the message will look to that profile.
After completing these fields, click the "Save" button to apply the changes in your Mobile Push campaign and enable the activation tab.
Learn more: about the activation of a mobile push campaign.
No Comments