Tutorial: How to use the sandbox in the Postgres processor
In this tutorial, we will explain how to use the Postgres processor and its sandbox feature:
- Add the Postgres processor to your workspace
- Connect the Postgres processor to the previous component
- Use the sandbox feature
- Use the SQL query in the Postgres processor
Read more: about the Postgres processor in this article.
1. Use either a loader or a processor to load the data you would like to your workspace.
Learn more: how to work with loaders and processors, you may refer to this article.
2. Add the Postgres processor to your workspace. Click on the button Create Configuration and choose the Postgres processor.
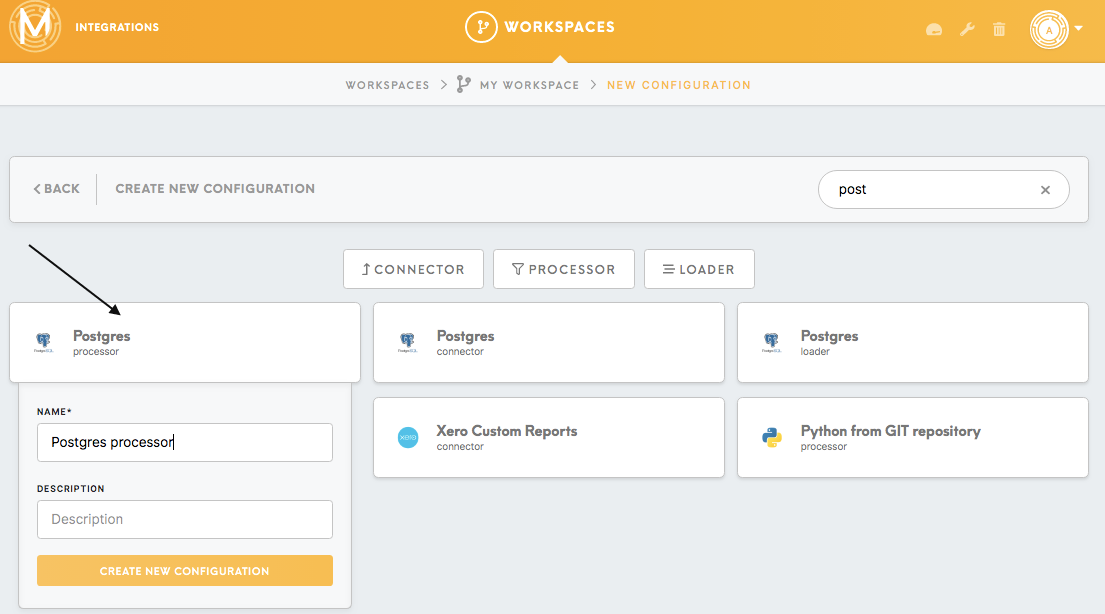
After adding the processor to your workspace, connect it to the previous component by using the edges.

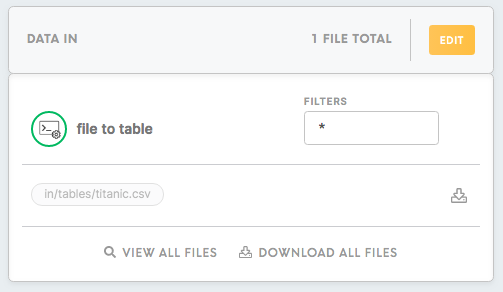
3. After connecting the previous component to the Postgres processor, you will see its data in the bucket Data In.
4. Prepare the sandbox and add the database credentials. Fill out the credentials of the Postgres Server that you will use to load the data and check the prepare sandbox checkbox. You should get all the credentials from the database administrator: Username, Password, Host, Port.

Fill in the Input Mapping credentials.
DB Table Name: The name of the table that will be created in the destination Postgres database. For example: titanic.
Input Table: The name of the table from the bucket Data In that will be processed. For example titanic.csv
Delimiter: For CSV files, it will be a comma.

6. Save the credentials and run the configuration.
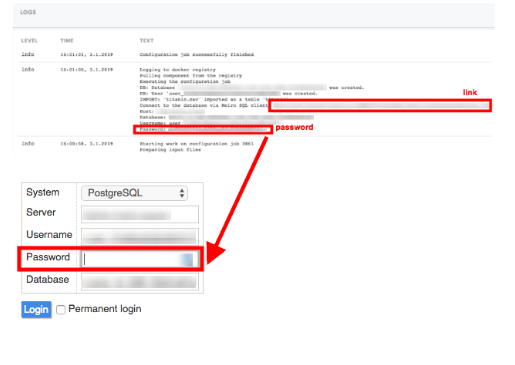
7. Open the sandbox.
Go to the Activity/Logs section and click on the Meiro Integrations SQL client link. Log in by using the password from the Activity/Logs.
8. Write your query in the sandbox.
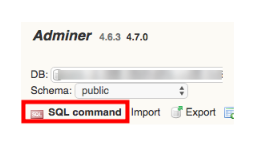
You will see the table loaded to the server under the name that you have defined for your table in the Input Mapping bucket (refer back to Step 5). In this tutorial, we named our table “titanic”. By clicking on the table link you will be able to see its structure.

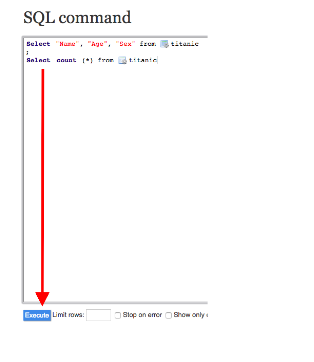
Click on the SQL command link to write a query.
For example, let’s say we only want to view the columns Name, Age & Sex from the titanic table. We would then write the following query:
Select “Name”, “Age”, “Sex” from titanic
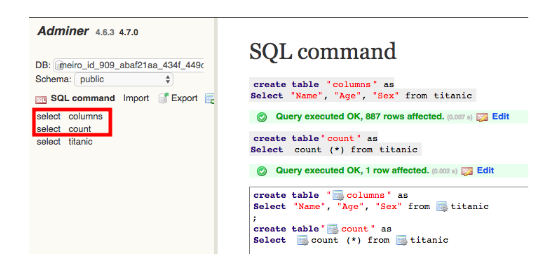
If you wish to add multiple queries, write each query in a separate line and separate them with ;.
In the example below, we have created another query for counting and fetching the total number of rows in the titanic table.

Once you are done writing your queries, click on the Execute button.
If the query has been successfully executed, the results, along with the query, will be visible at the bottom of the screen. The “Query executed OK” message indicates that the query is correct and ready to be used.
If you are happy with the results, save the results by creating the query create table and click on the Execute button.
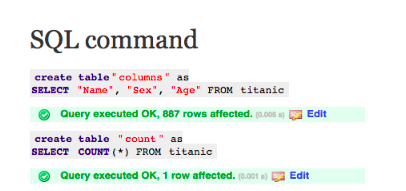
A table will be created and you should be able to see the content after clicking on the selected link.
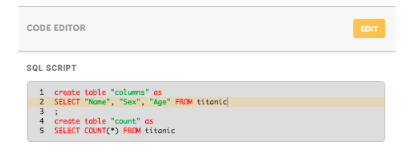
9. Copy the query from the server to the SQL script editor in the Postgres processor form and save it.
10. Set up the Output Mapping.
DB Table Name: This refers to the table you have created in the query. In this case, the tables are count and columns.
Output Table: This refers to the name of the files that will be visible in the Data Out bucket. For example: count.csv and columns.csv.
Delimiter: For CSV files, this will be a comma.
As we have created two tables from our titanic database in the sandbox, we need to indicate the corresponding two Output Mappings.
11. Un-check the Prepare sandbox field.

12. Run the query.
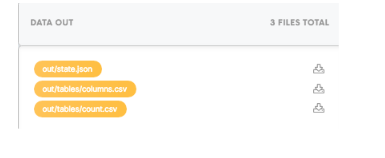
You should be able to see the result (columns.csv and count.csv tables) in the bucket Data Out.
No Comments