sGTM ME deployment guide
This guide describes hybrid deployment, which combines the best of Meiro SDK and sGTM. The hybrid deployment model is recommended when the client is already monitoring a large amount of events through Google Analytics with server-side tagging. For such clients, we provide a streamlined solution.
“Hybrid” deployment
Hybrid deployment is a recommended practice that combines the SDK and sGTM and brings significant advantages compared to using sGTM data collection only. In the hybrid mode, the SDK:
-
Is loaded asynchronously on the website.
-
Is initialized by calling the
MeiroEvents.initmethod. -
Directly sends at least the
page_viewevent type from the browser.
Hybrid deployment provides the following advantages compared to sGTM-only data collection:
-
Handles generating and storing of
meiro_user_id -
Handles generating, storing, and refreshing of
session_id -
Ensures the proper setting and refreshing of the 1st party
meiro_user_idcookie, with a duration of up to 2 years. -
Enables the functionality of web banners.
In order to use the hybrid deployment, it is necessary to place the following script inside the <head> DOM element on every website page. The following items need to be adjusted:
-
domain- domain of your ME server -
Set
outbound_link_tracking.enabledtotruein case you want to track also outbound link clicks automatically. It’s necessary to enable it in case you plan to use cross-domain tracking. In that case, you’ll also have to definecross_domain_whitelist.
Code Sample
<script type="text/javascript" >
  (function () {
    var domain = "me.example.com";
    var script = document.createElement("script");
    script.onload = function () {
      MeiroEvents.init({
        domain: domain,
        sync: {
          ga_cid: false,
          fb_cid: false
        },
        outbound_link_tracking: {
          enabled: true
        },
        cross_domain_whitelist: ["*.example.com"]
      });
      MeiroEvents.track("pageView");
    };
    script.src = "//" + domain + "/sdk/";
    script.async = true;
    document.head.appendChild(script);
  })();
</script>
sGTM configuration
Step 1: Add the Meiro tag template from the Community Template Gallery
1.1. Go to the Templates section in your server-side Google Tag Manager (sGTM) container.
1.2. In the Tag Templates box, click the Search Gallery button.
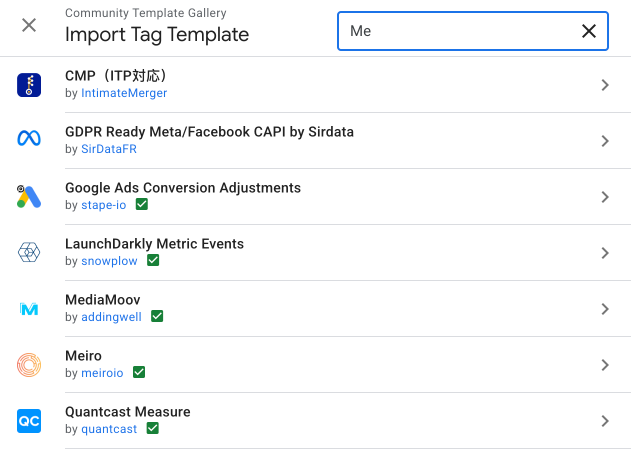
 1.3. In the Community Template Gallery, type
 Meiro in the search bar.
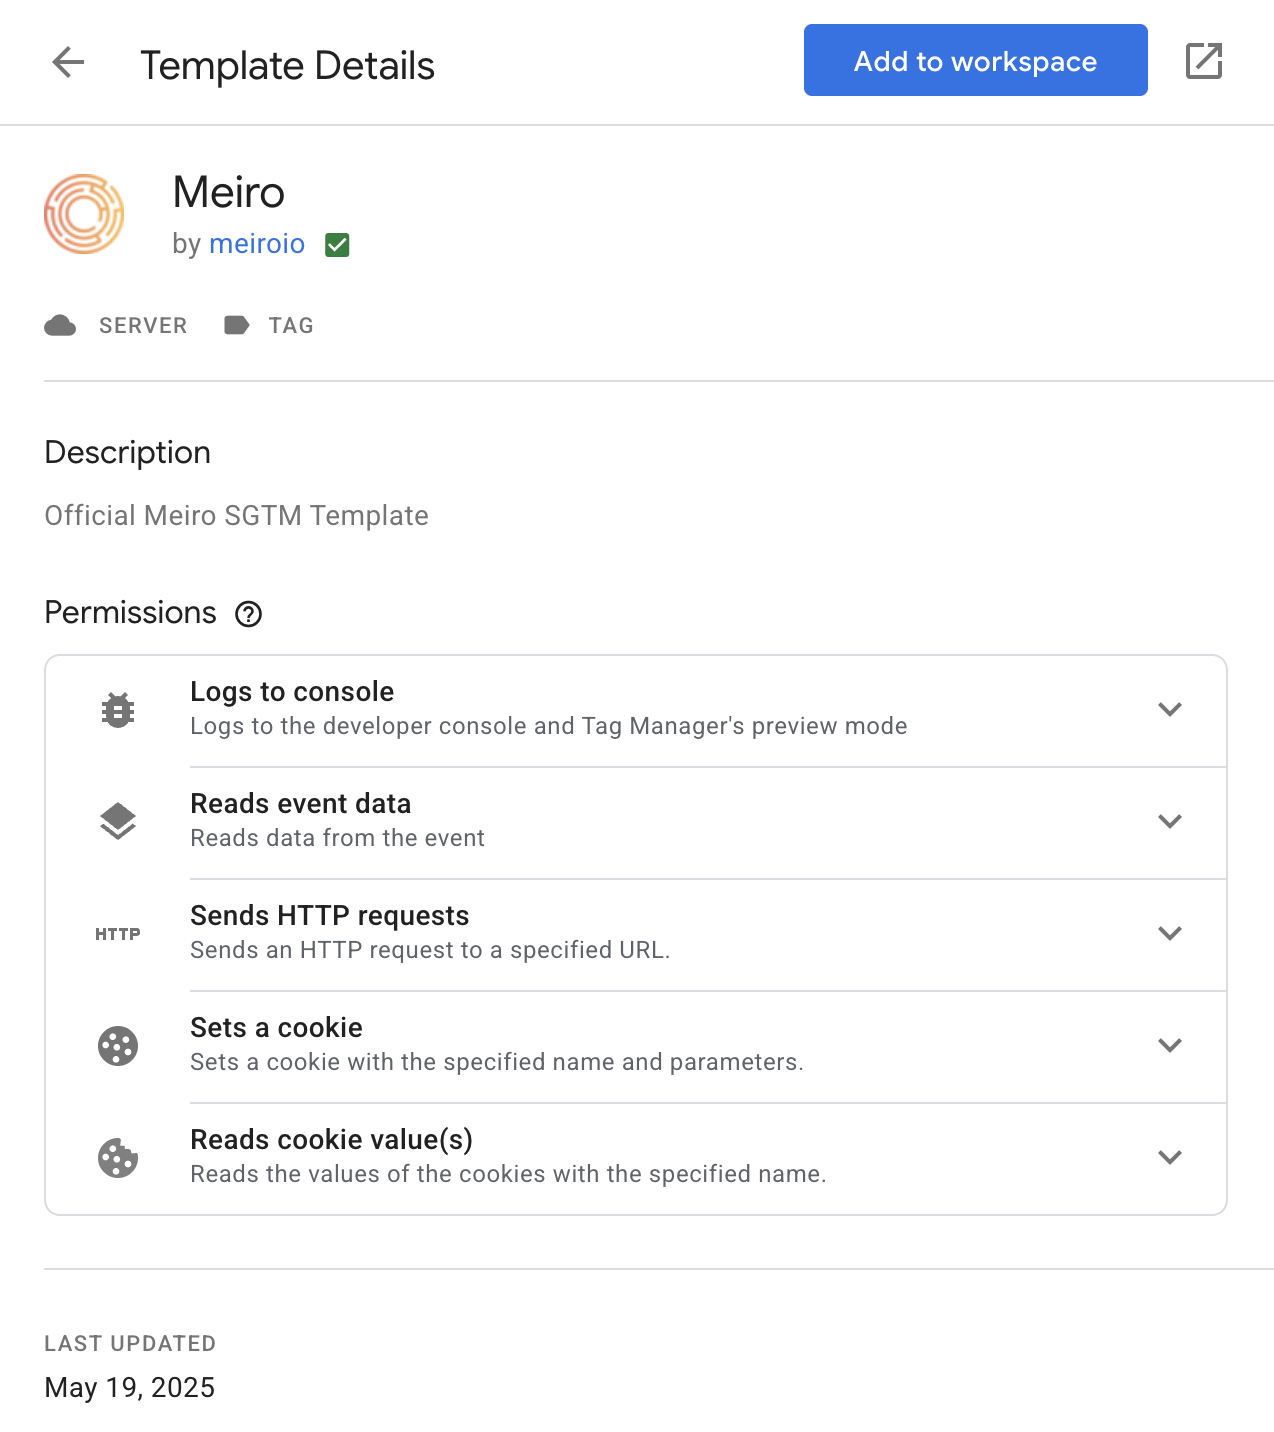
1.4. Click on the Meiro template listed by meiroio to view details.
1.5. Click Add to workspace on the template detail screen.
1.6. The template will now appear in your Tag Templates list.
Step 2: Set up the GA4 client (if not already configured)
Create your first tag
After completing the import of the Meiro template and configuring the GA4 client, your next step is to track the 'add to cart' event on our e-shop, which we are currently sending to Google Analytics. It's important to note that the implementation process may vary depending on whether you have deployed the sGTM server in a first-party context or not.
1st party context prerequisites
To read the values of the meiro_user_id and meiro_session_id_js cookies, you need to add variables. Navigate to the 'Variables' section, click on 'New' in the 'User-defined variables' section, and provide a variable name. Define the variable as 'Cookie value' and fill in the respective cookie name. Repeat this process for both the mentioned cookies.
3rd party context prerequisites
In a third-party context, it is necessary to update the origin 'add to cart' event and incorporate values from the meiro_user_id and meiro_session_id_js cookies into the event payload because the cookies are not sent to the sGTM server in this case. Subsequently, within the sGTM container, you will need to create different types of variables that can extract data from the event.
Trigger and tag configuration
Trigger configuration is straightforward, we want to process events where the Event Name equals add_to_cart in our case.
Now, create a new tag and name it as ‘ME Add to cart.’ Then select our Meiro template as the type and start filling in the necessary fields:
- Endpoint URL: fill in the URL where the event will be sent, e.g., https://me.store.meiro.io/
- Event type: select the proper event type, e.g., custom event. The list of event types is here.
- Event type details: In most cases, it is preferable to send the same event payload to Meiro as you are sending it to Google Analytics, ensuring a straightforward and quick implementation. Simply enable the 'Map GA4 Event Parameters into Meiro Custom Event Parameters' option, and your setup is complete. Additionally, you have the flexibility to exclude specific parameters if needed. In instances where your payload lacks a custom event type identifier, manual input becomes necessary. In our example, as depicted in the screenshot, we manually filled the
typefield withadd_to_cart. This manual inclusion allows for easy differentiation between various types of custom events.
- Client identification: During the setup process, it is important not to convert GA client and session IDs. Instead, choose the variables we created, as shown in the screenshot.
Besides the mentioned setup, there are some additional configurations. You can manually override certain event values or choose whether to map the consent mode from Google. The final step is selecting the preferred trigger, in our case, add_to_cart. Finally, press the ‘Save’ button, run preview mode, and check whether everything works as expected.


No Comments