Set export destinations
Learn from this article:
| Set destination workspaces in Meiro Integrations |
| Set the parameter in Meiro Business Explorer |
| Check your export in the segment |
Steps that happen for each export destination:
-
User clicks on the “Export” button in the segment from Meiro Business Explorer
-
Meiro Business Explorer will check parameters and based on the configuration it sets workspace variables based on the parameters.
-
Meiro Business Explorer will execute workspace in Meiro Integrations.
-
Meiro Business Explorer will wait and report the final state of the workspace in Meiro Integrations
Therefore, export destination needs to be set both in Meiro Integrations, as in Meiro Business Explorer.
1. Set up dedicated administrator accounts in Meiro Integrations and Meiro Business Explorer
As a pre-requisite, we create dedicated administrator accounts in both Meiro Integrations and Meiro Business Explorer.
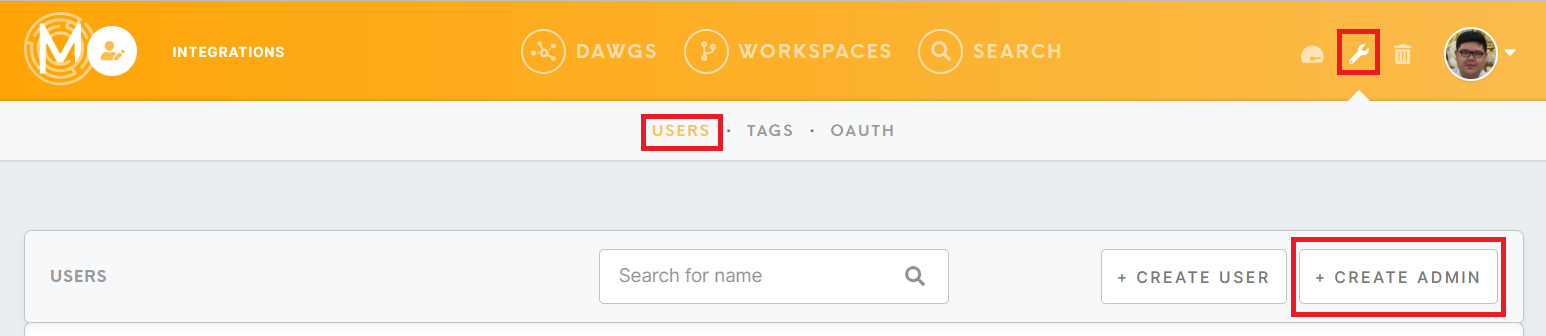
In Meiro Integrations, you can do so by navigating Tool -> Users -> Create Admin
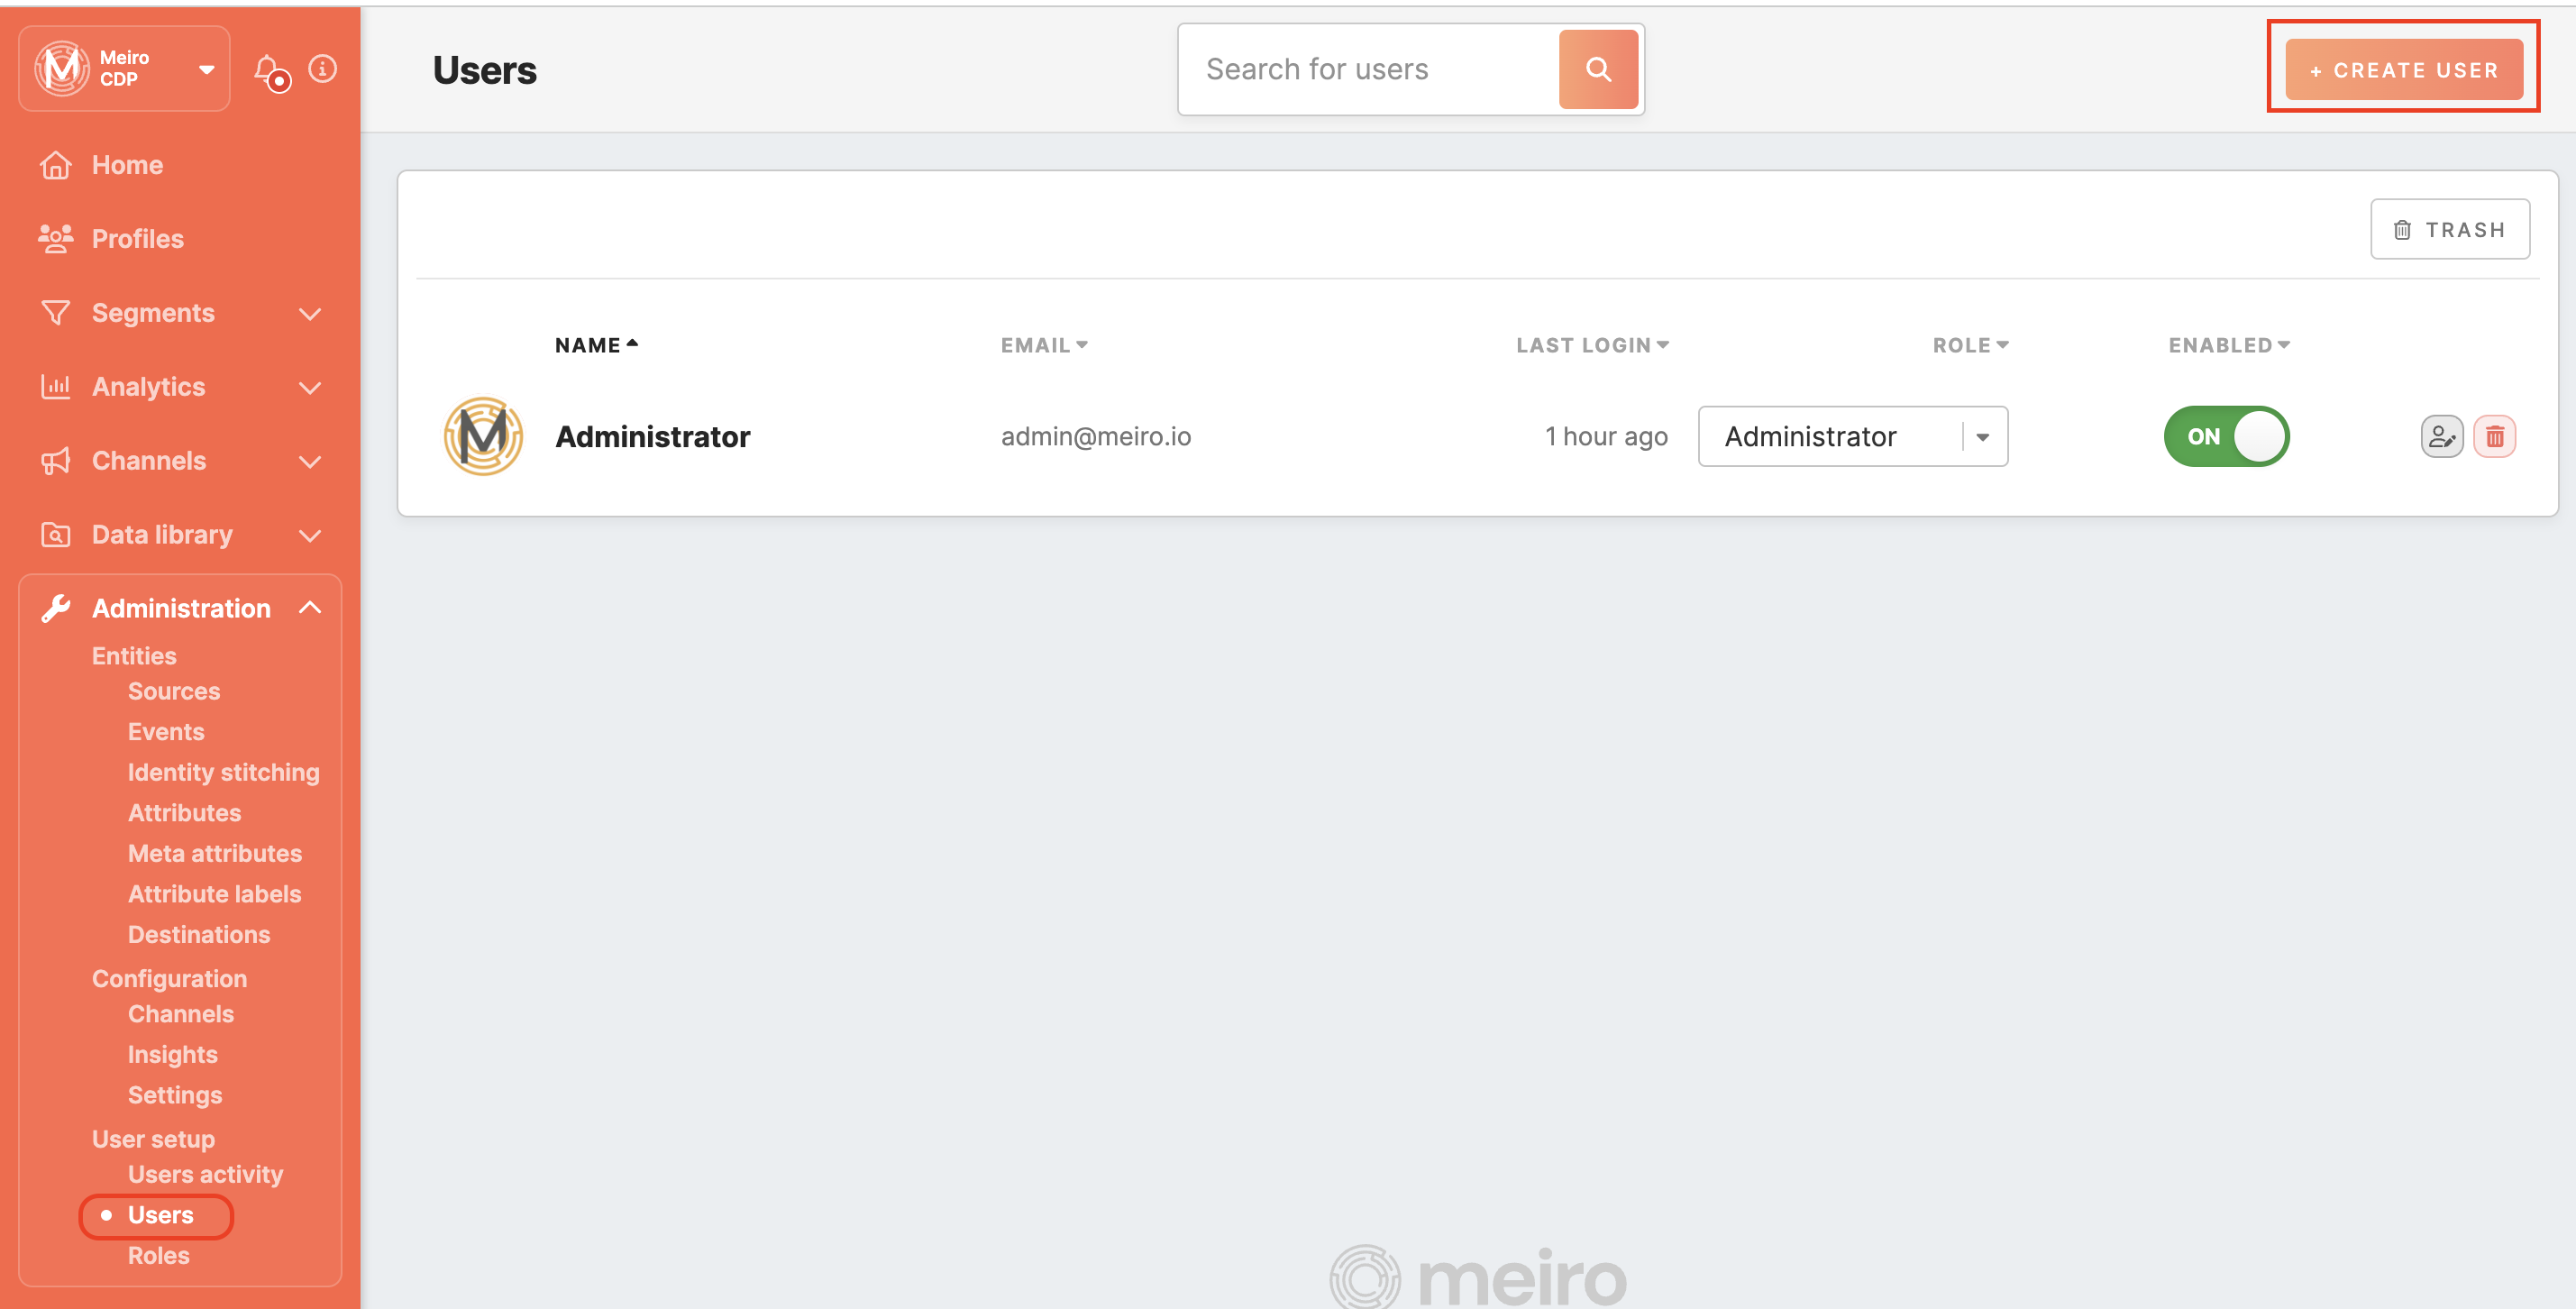
In Meiro Business Explorer, you can do so by navigating the Administration tab -> User setup -> Users -> Create User
When creating the accounts, we recommend using your email with '+destinations' or '+testing' behind the username.
For example, if your email is john.doe@meiro.io, we recommend using john.doe+destinations@meiro.io or john.doe+testing@meiro.io. This way, notifications will still be directed to your john.doe@meiro.io inbox, while both emails are treated as separate accounts in Meiro.
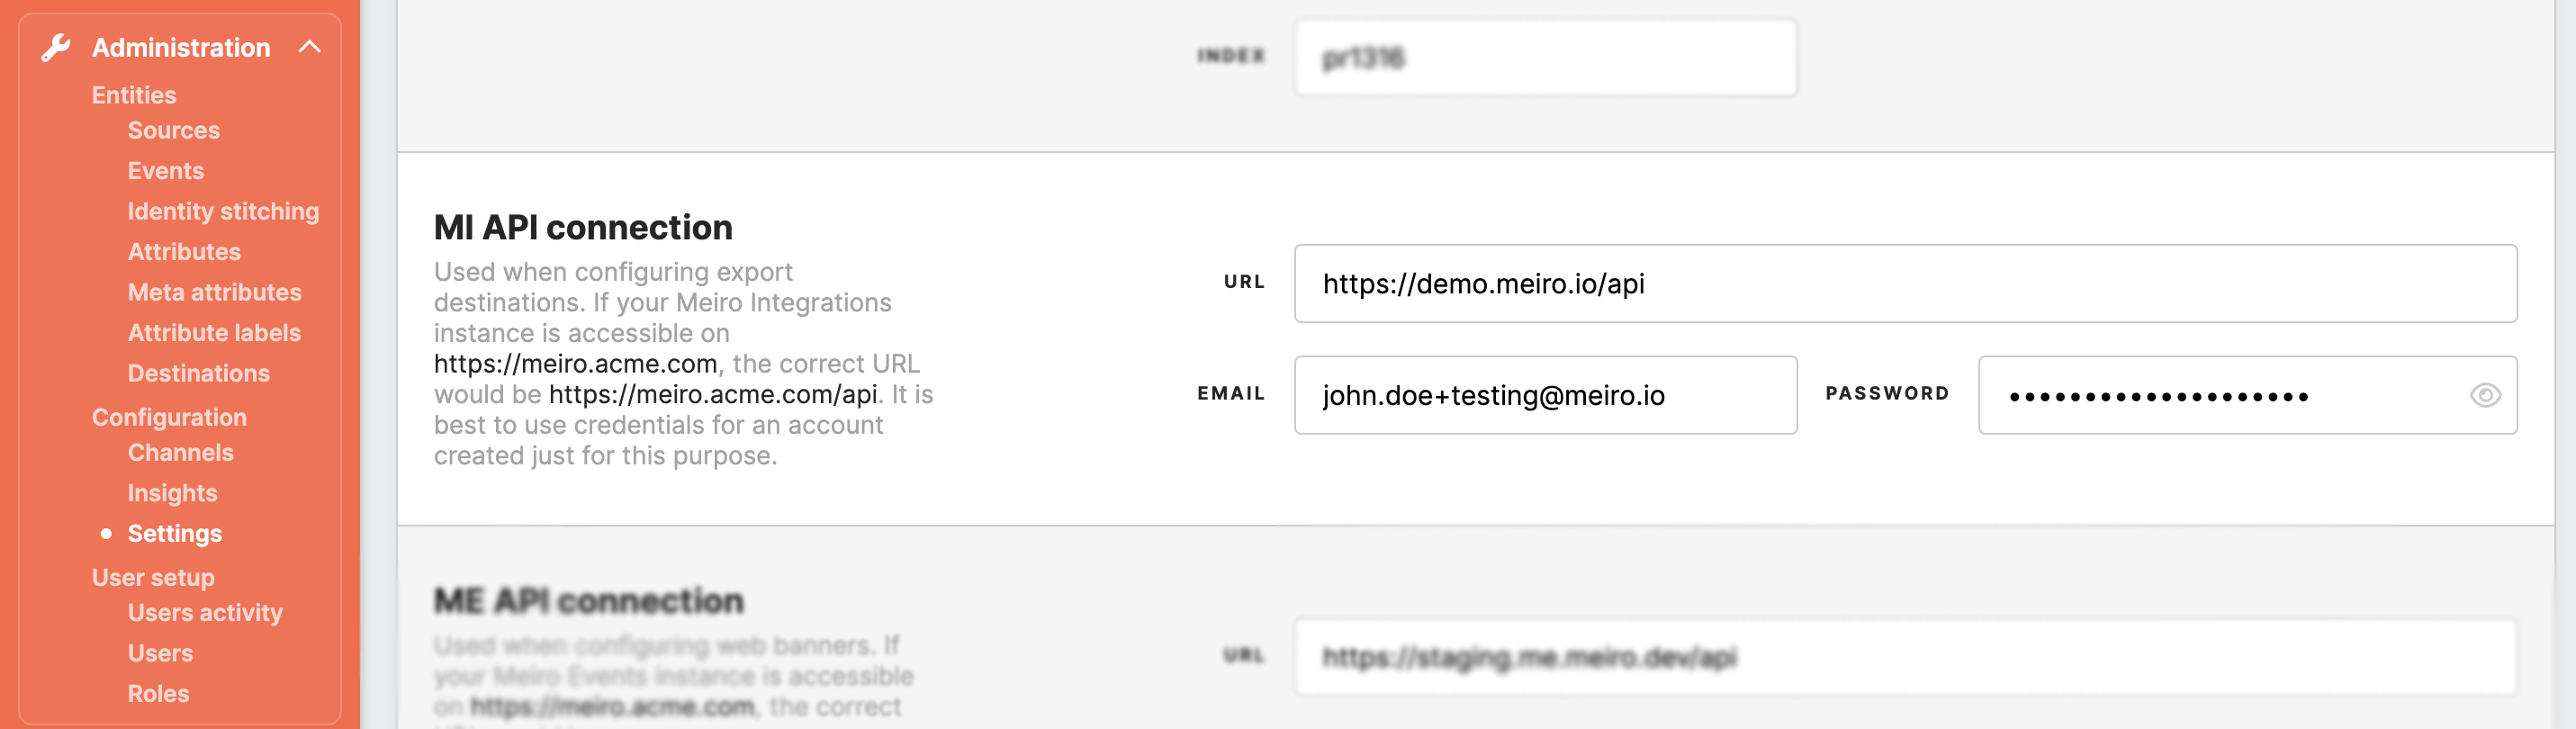
2. Set up Meiro Integrations API connection
The url is, in general, https://<your-instance-name>.meiro.io/api
3. Set up destination workspaces in Meiro Integrations
Next, set up the destination workspace in Meiro Integrations and connect it to the destination in Meiro Business Explorer.
Learn more: To learn how to set destination workspace in Meiro Integrations go to this video: https://youtu.be/f3EDE2jBzB4
Warning: When setting up the API URL variable, please use https://cdp.<client>.meiro.io/api instead of https://api.cdp.<client>.meiro.io API subdomain
4. Set the parameter in Meiro Business Explorer
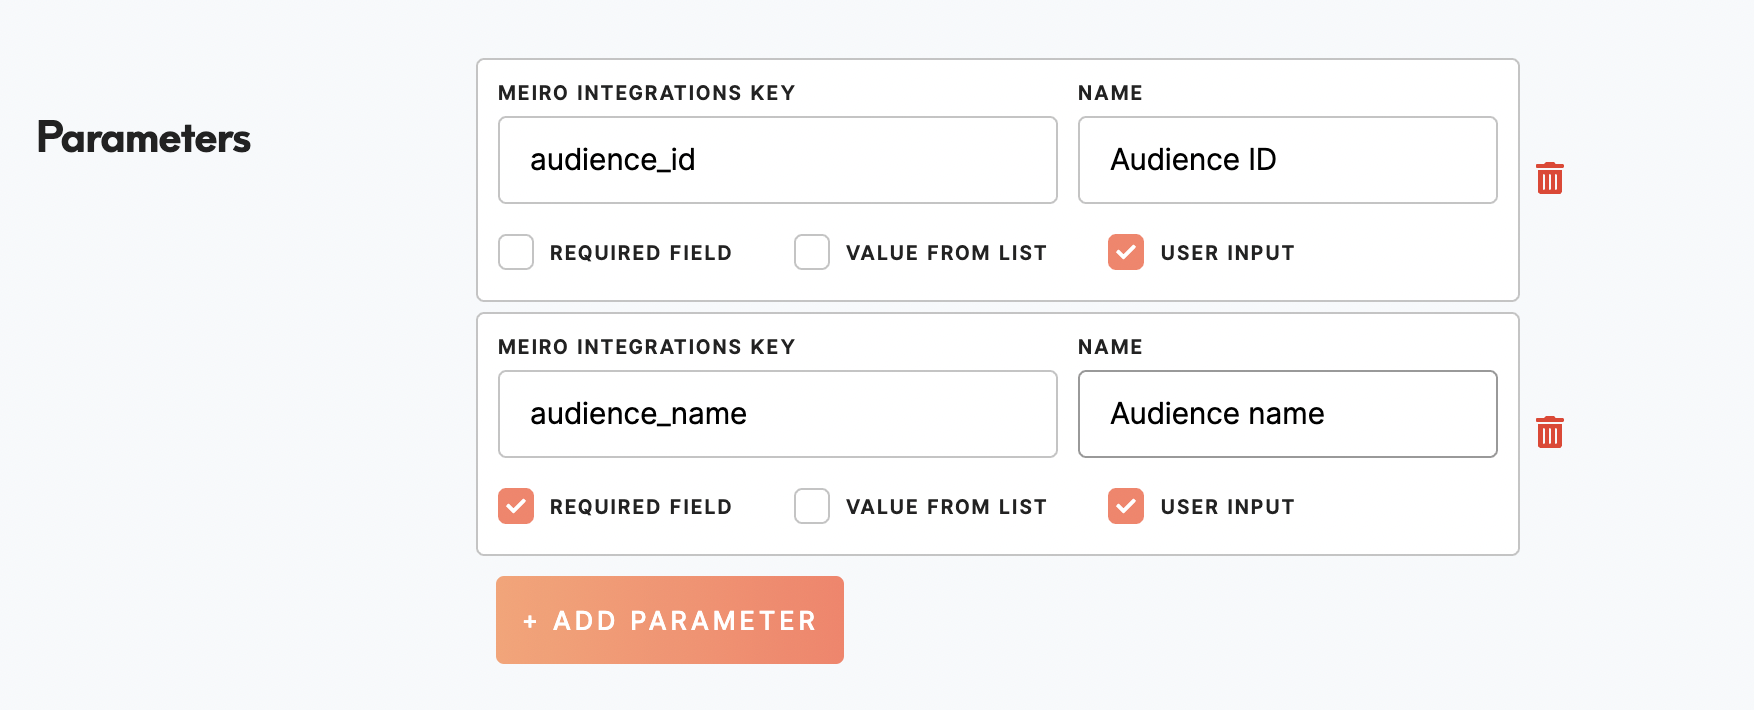
Parameters for the destination in Meiro Busines Explorer are Meiro Integrations workspace variables set by Meiro Business Explorer prior to the execution of workspace in Meiro Integrations.
Workspace variables in Meiro Integrations must be correctly used and its list is static.
If you want to set up parameter for Meiro Business Explorer, go to Set up > Destinations. For most of the exports (beside CSV) is possible to set Parameters on edit that open the destination form.
Learn more: about how to set parameters from this article.
Warning: If the parameter from Meiro Business Explorer does not exist in the workspace variable in Meiro Integrations, it will be created.
Warning: If the workspace variable is empty, it will be filled with new value.
Warning: If the workspace variable has a value, it will be overwritten by the value from the parameter.
5. Check your export in the segment
Select any segment and try to export the data to the destination.
After clicking export, Meiro Business Explorer will set the parameter in Meiro Integration workspace variables and execute the workspace. You can also see it in real-time in Meiro Integration itself.
No Comments