User setup overview
Within the Administration/User setup tab:
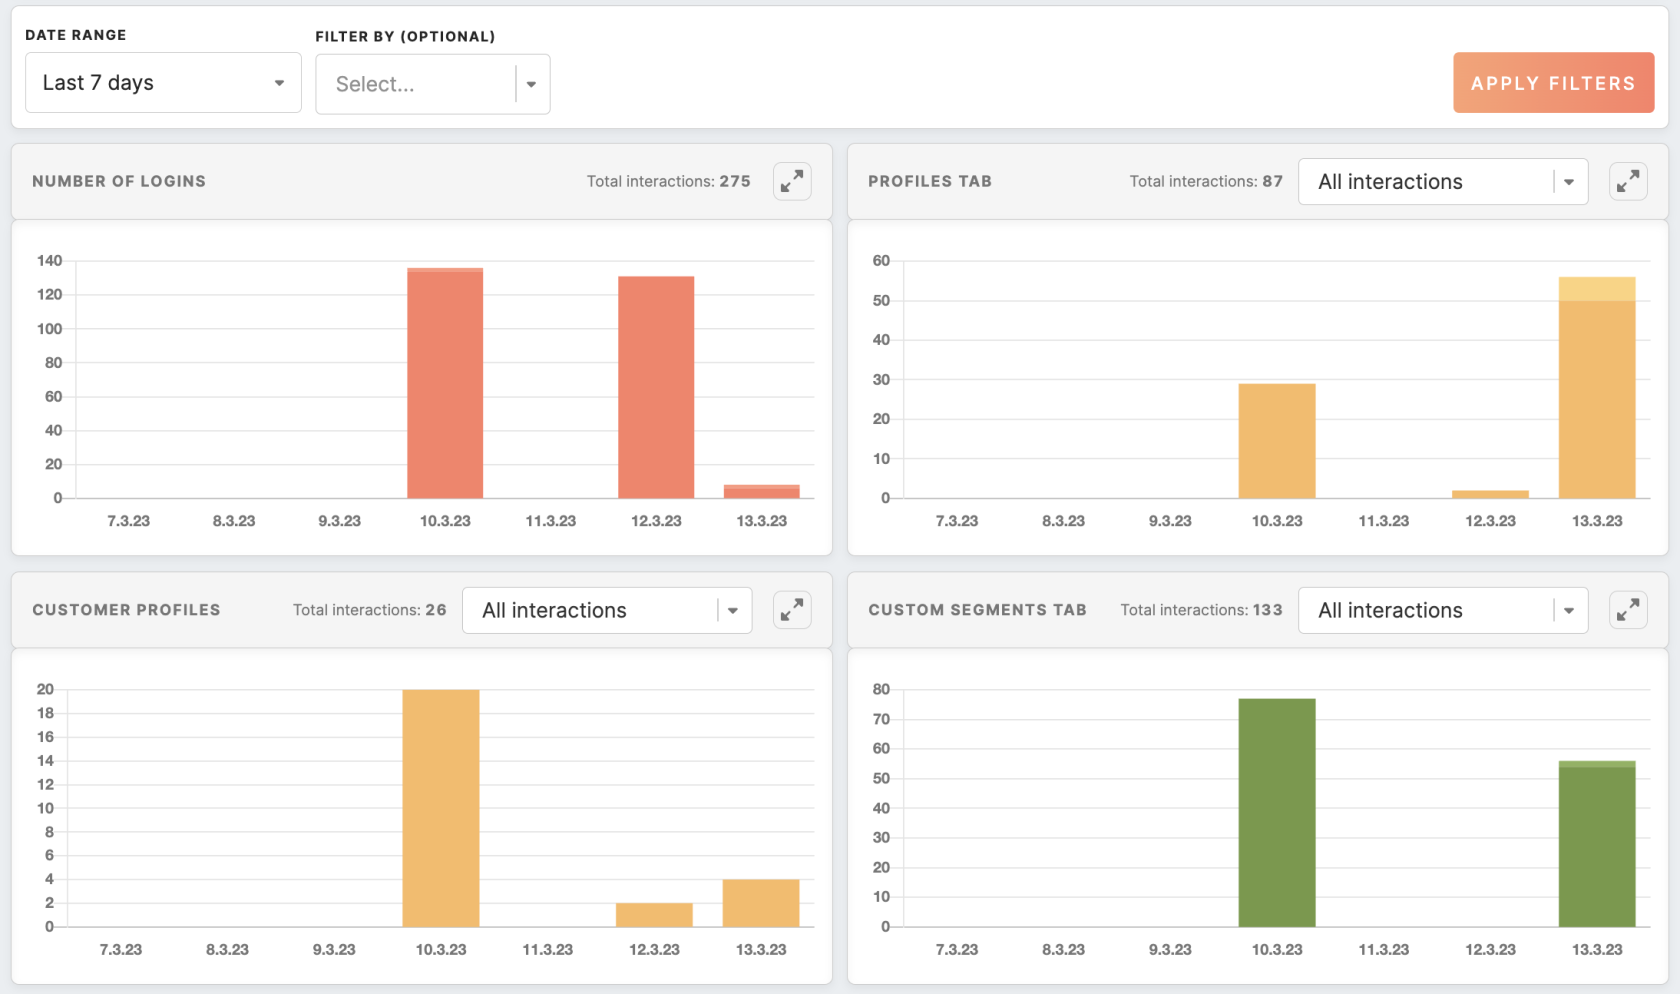
- Check the activity of users across Meiro Business Explorer
- Create/ Invite users
- Create/ manage user roles
Learn more: To learn about the Administration tab and its full description, please refer to this article.
1. Users' activity tab
To check the activity of users across Meiro Business Explorer, please go to the Users Activity tab.
2. Users tab
Add new users, and manage existing ones in the Users tab.
| Create/ invite user |
To create a user click on the "Create User" button. Enter the user's name and email address. If you enable the "send email invitation" toggle, an activation link will be sent to the provided email, which will expire after 5 days. If you disable the invitation, set a password for this user by yourself.
Click "Add user" to invite more people.
Choose the role for your new user. If you're inviting multiple users at once, they will all have the same role and permissions for segments.
Select the segments you want to invite the user to and specify the permissions (view/edit) you want to grant them. Remember: even if the user's role already grants permission to view/edit certain segments, you can still invite them to specific segments by selecting them. This will ensure that they receive notifications about those segments on the notification board.
Click on the "Save" button once you are done. |
| Manage users |
Under the Users subtab, manage existing users: edit or delete them. Deleted users can be found in the
Use the toggle to see system users that are hidden from MBE. To mark a user as a system and hide it from the interface, go to the user's edit page. |
3. Roles tab
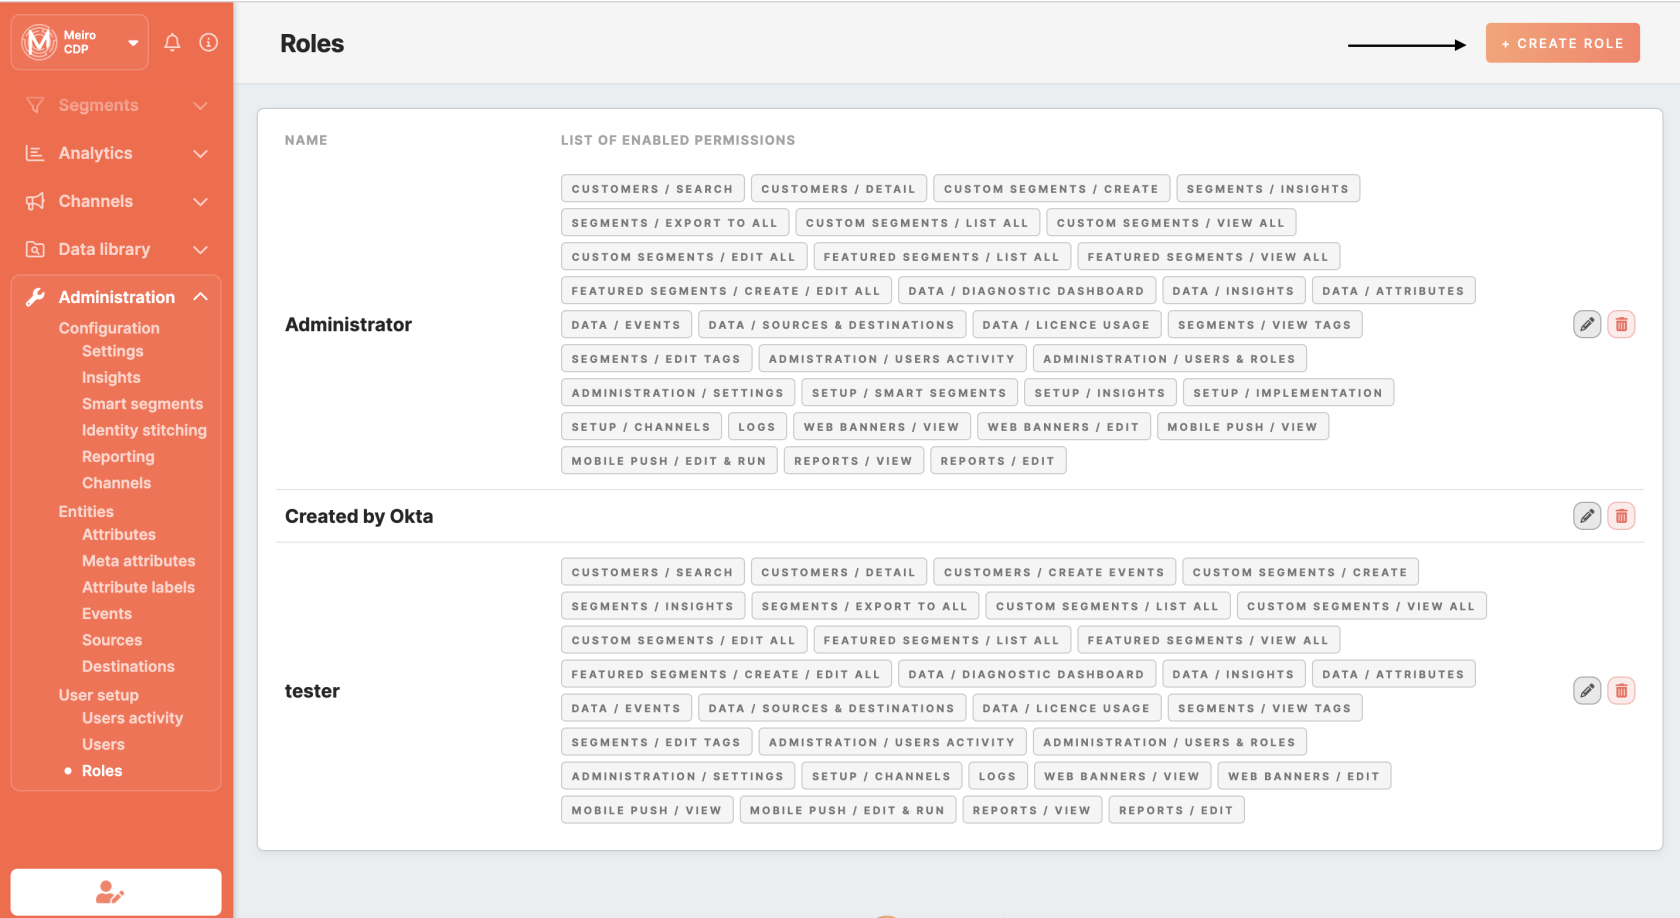
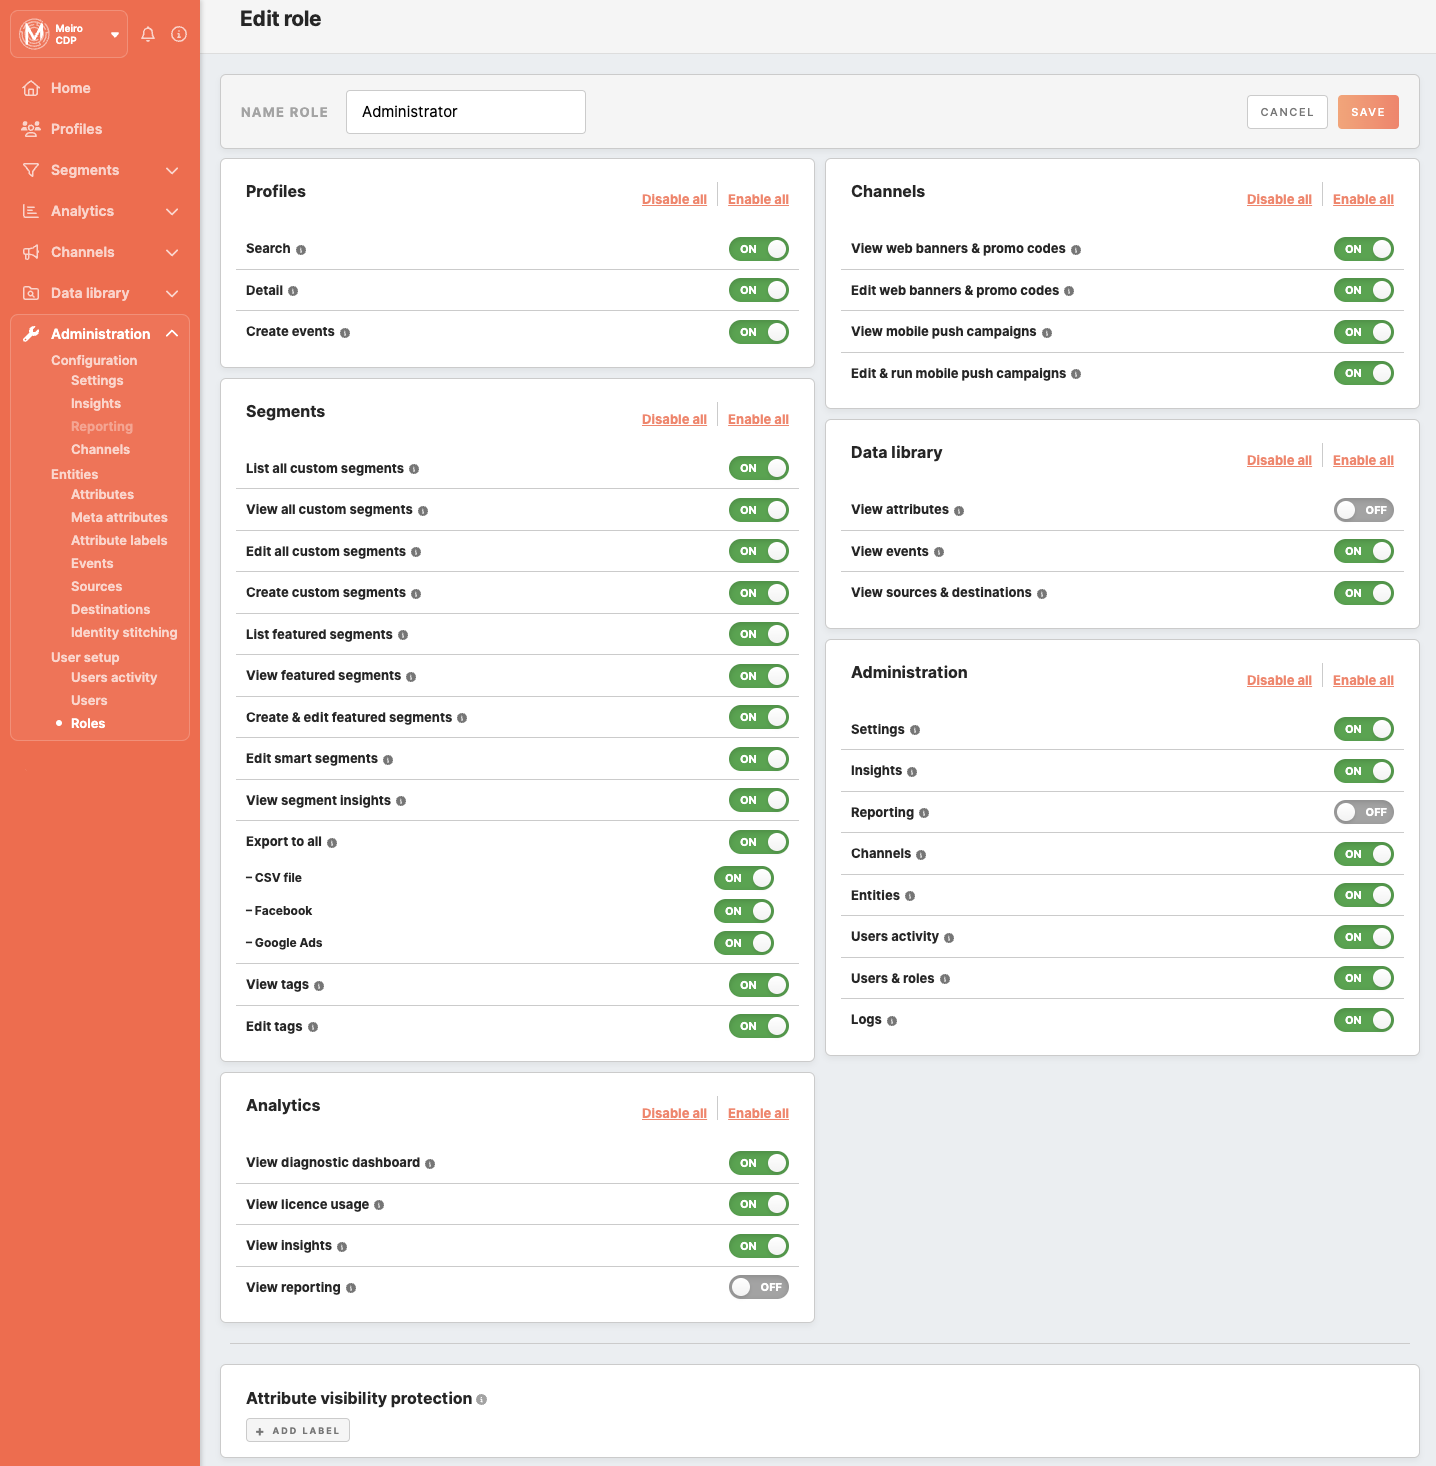
User roles define permissions granted to users. Roles are fully customizable, and already set roles are listed in the Roles tab.
To create a user role, click on the "Create New Role" button, name the user role, and specify permissions granted, as well as limitations for attributes values visibility. Read more here.


