Administrator's first steps
|
Learn from this article about: |
Within the Administration tab, it is possible to:
- Create/ Invite users,
- Create/ manage user roles,
- Set Meiro Business Explorer's administration settings.
Learn more: To learn about the Administration tab and its full description please refer to this article.
1. Users tab
Within the User tabs, it is possible to add new users, as well as manage existing ones.
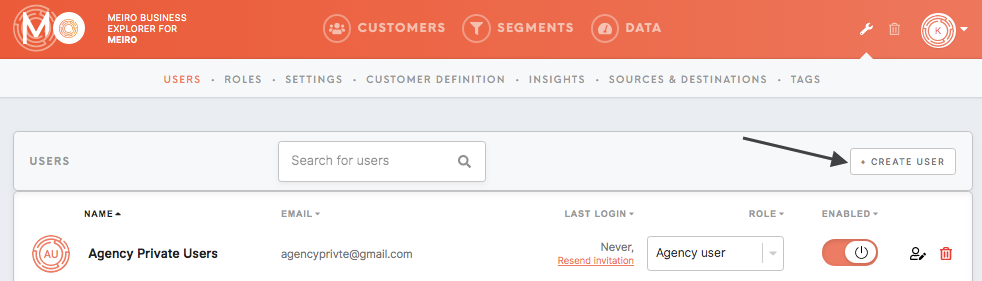
| Create/ invite user |
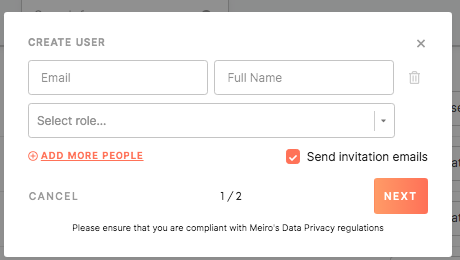
To create a user, please click on the Create New button. Specify email address, name and select role for your new user, you can also tick the box to send an invitation to the email account.
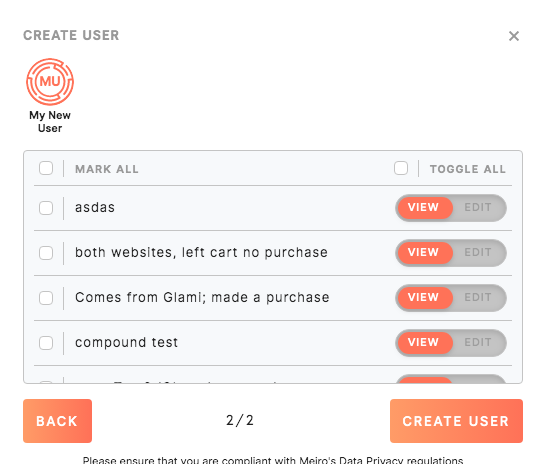
Choose segments you wish to invite your user to and click on the Create User button.
|
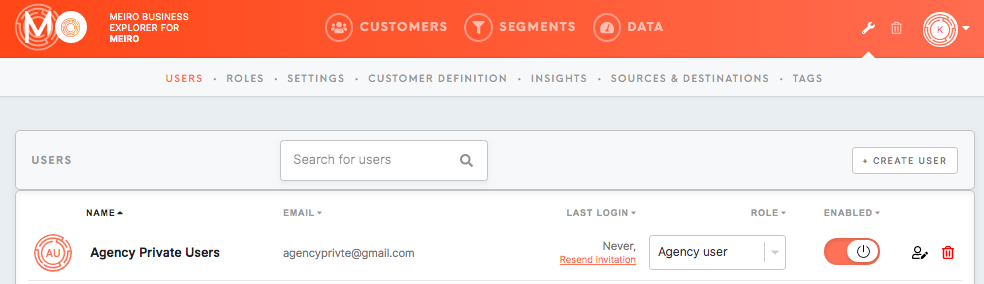
| Manage users |
Under the Users tab, you can also manage existing users: edit or delete (deleted users will be possible to found in the Trash tab). Learn more: To learn more about all features of the User tab, please go to this article.
|
2. Roles tab
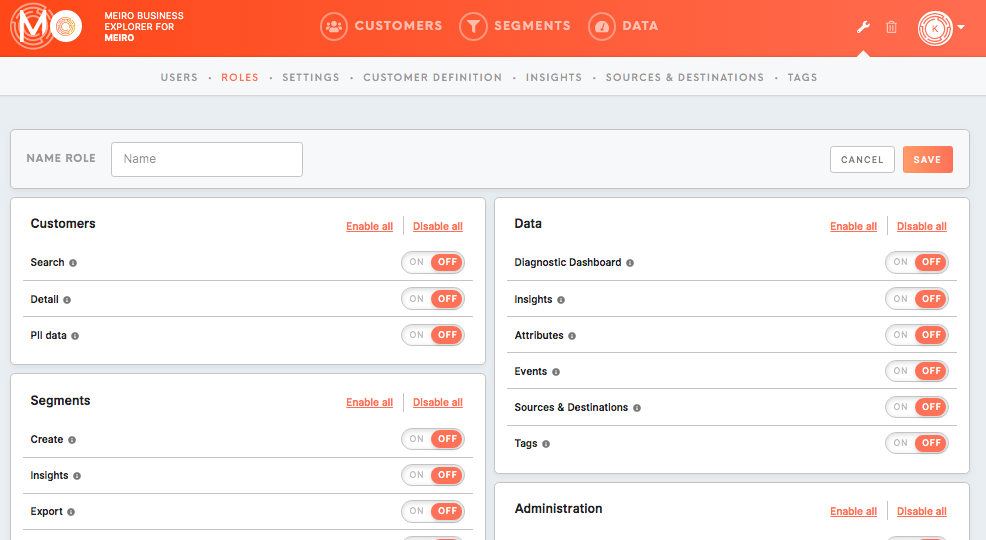
User roles define which permissions your users will hold. They are highly customizable. All already set roles are listed in the Roles tab. It is possible to create customized role with choosen set of permissions.
To create a user role, please go to the Administration tab/ Roles tab. Click on the Create New Role button. Name your user role and specify accesses you wish to grant. To save changes click on the Save button.
Learn more: To learn more about permissions, please go to this article.

3. Settings tab
|
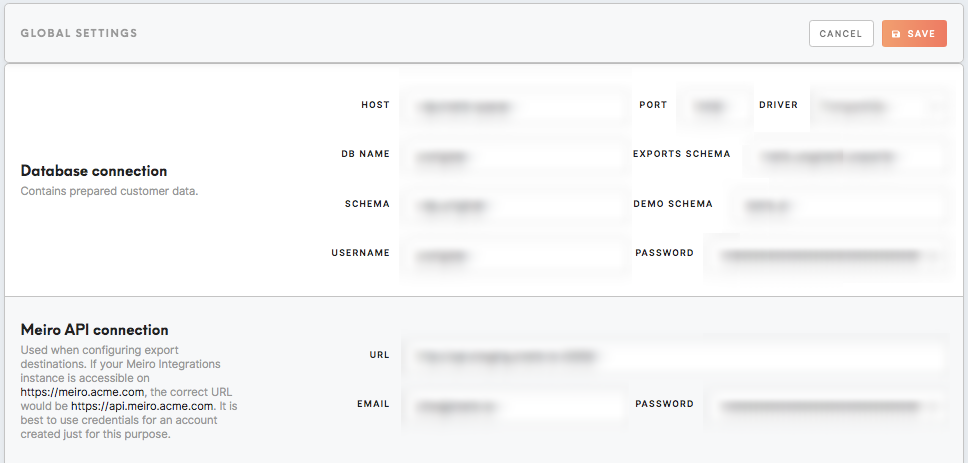
Settings: database and API connection (set by Meiro) |
The database connection, as well as the Meiro API connection, should be set by the Meiro team and be filled already. They should not be modified unless there is a reason behind it. If in doubt, please consult the Meiro team.
|
|
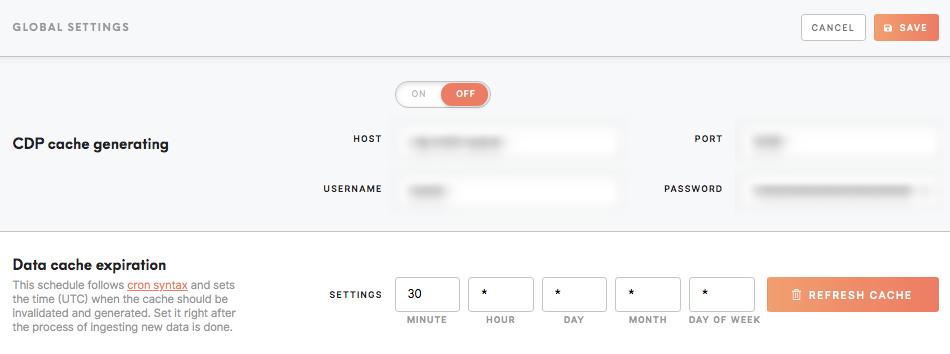
Data cache |
Set data cache expiration or refresh cache manually(Refresh Cache button).
You may want to refresh the cache manually for example, if you wish to have the most up to date data as soon as possible. Also, certain updates will be visible only after the data cache (change of customer mandatory attributes, change data sources in the Diagnostic Dashboard).
|
|
Maintenance notification email |
Set maintenance email where all the alerts will be sent (for example when there are segments that contain invalid attribute names, the non-existing attributes that have been deleted or any other critical errors that appeared).
|
|
PII protection (optional) |
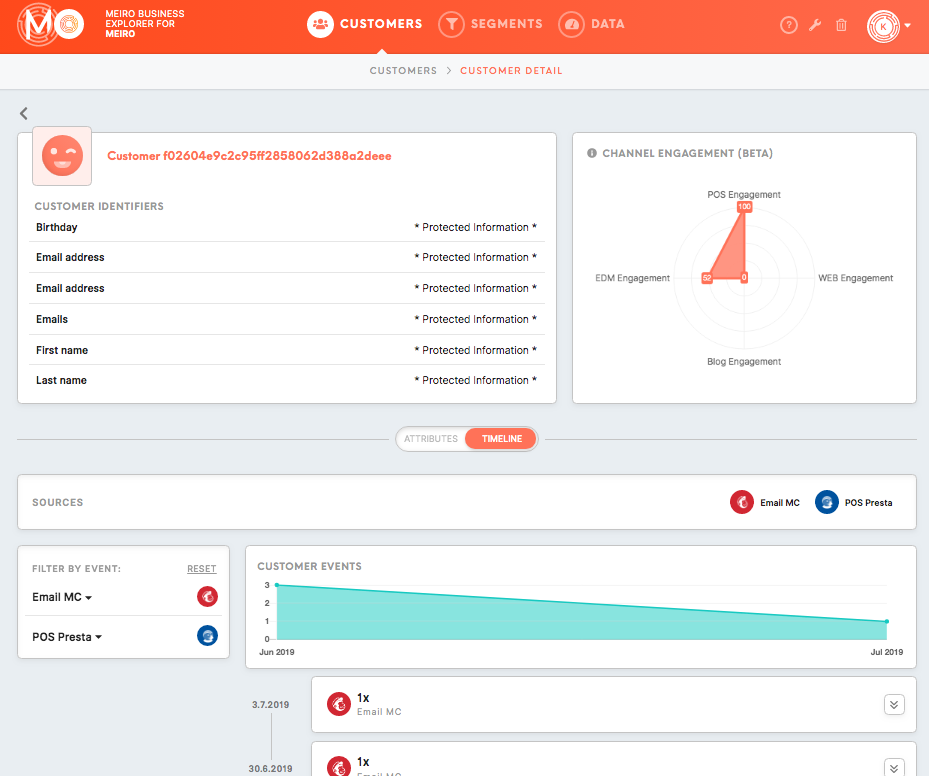
Enable/ disable PII data. Attributes with labels set under the PII protection section will be hidden from users with no rights to see PII data.
Attributes, when the PII data is enabled, will be marked as "Protected information".
Learn more: To learn about user roles and how to hide PII data from users on user role level, please refer to this article. |
|
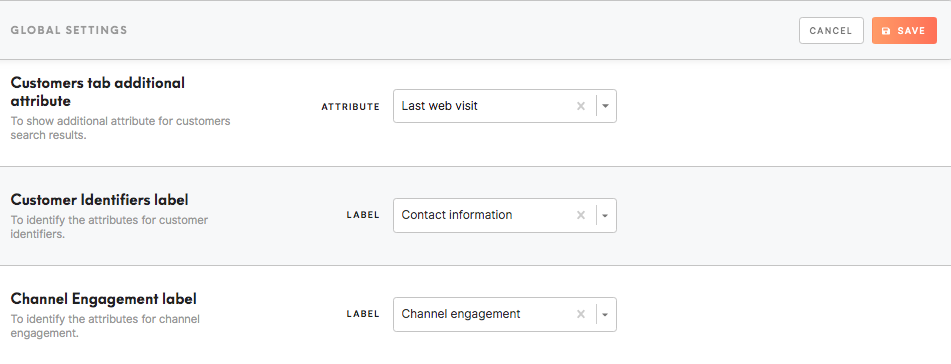
Attributes global settings |
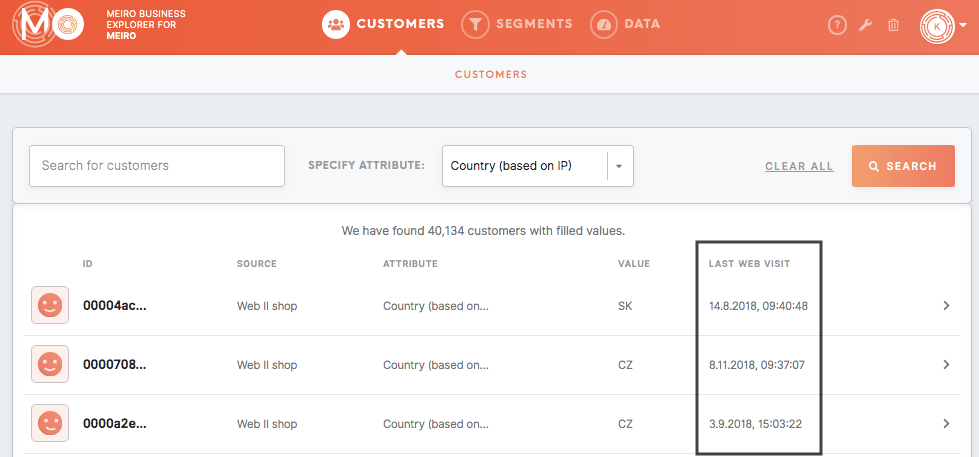
In the lower section of the Settings tab, is possible to set labels for certain areas on Meiro Business Explorer. Usually those are already set by the Meiro team.
You can pick the right label and click on the Save button to save the changes.
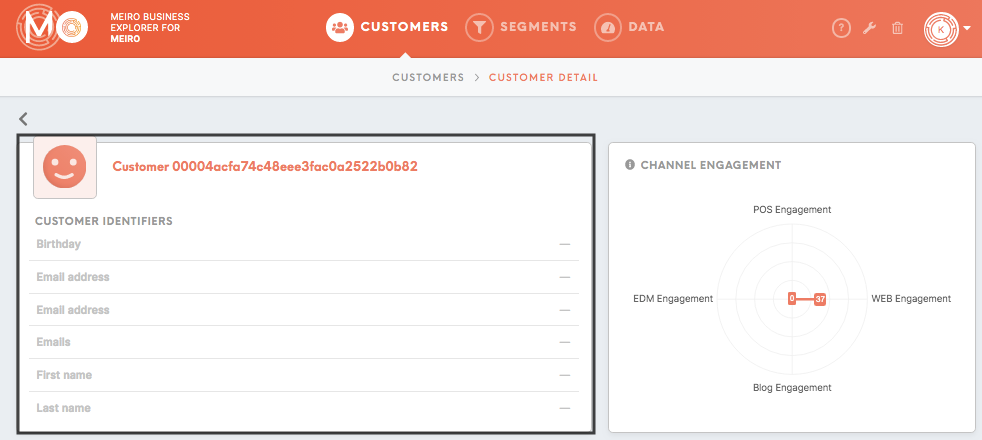
Label for the Channel Engagement Set Channel Engagement attributes that will be visible in the Channel Engagement of your customer profiles. Learn more: To learn what is Channel Engagement and how to set it up, please go to this article. |


Warning: Make sure to save changes in the Settings tab and click on the Save button.