Tab: Administration
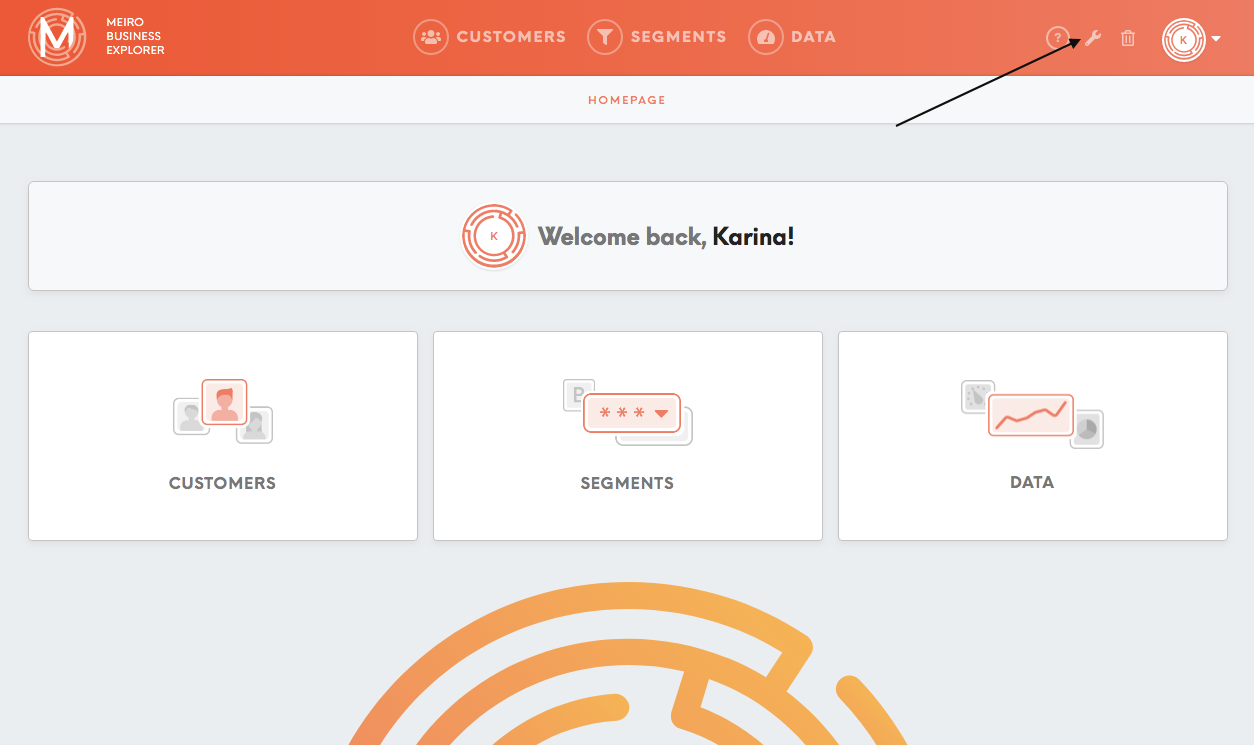
The Administration tab is only available to users with an administrator-level of access.
The Administration tab contains tabs:
- Users,
- Settings,
- Customer Definition,
- Insights,
- Sources & Destinations,
- Tags.
For more information and practical tips, please go to: 
Users tab
 On the users' page, you can view the total list of users who have been authorized access to Meiro Integrations:
- Names of users,
- Email addresses,
- Last login and an option to resend the invitation,
- Role (to learn more about available roles and accesses please refer to this article),
- Statuses of users (enabled/disabled).
As an administrator, you can within the Users tab:
- Invite a new user/ admin (by sending an invitation email to a given email address),
- Create a new user/ admin account (this is done without confirmation by email, the newly created user will have admin level of access assigned by default),
- Change the assigned role of a user,
- Enable or disable the user (disabled users will be greyed out),
- Resend invitations to users,
- Edit names, emails and passwords,
- Remove a user (the removed user will remain in the Trash tab and can be restored).
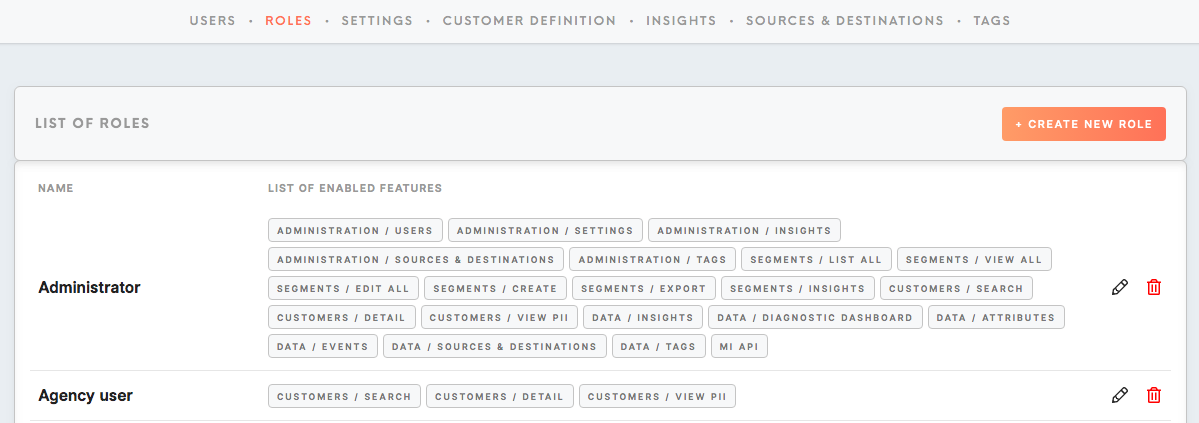
Roles tab
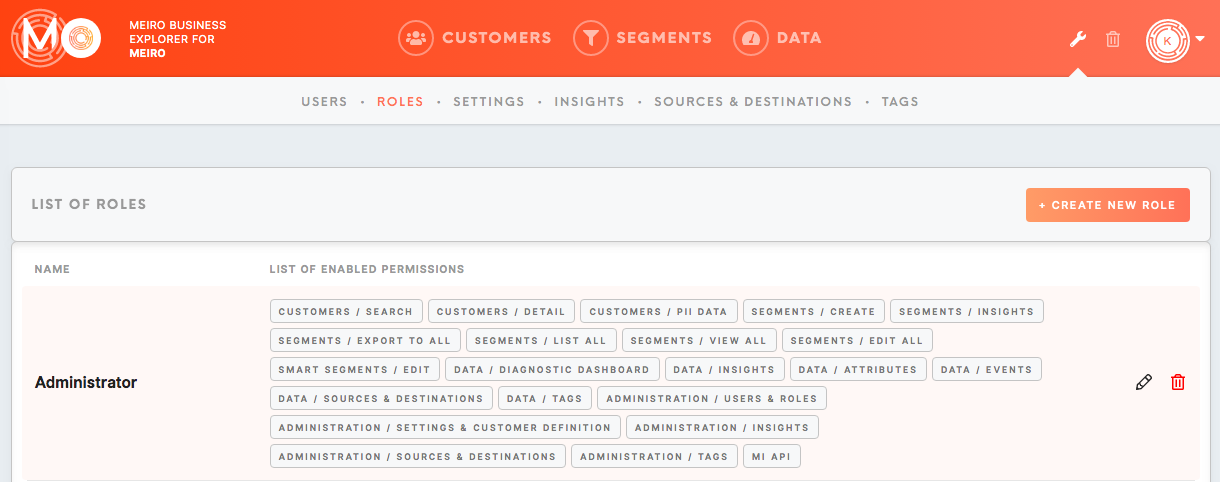
With the Roles tab is possible to set and customize multiple user roles.
An administrator can:
-see a list of existing roles and edit them
-name a new user roles
-choose a set of accesses for this user.
To learn how to set up user role and what accesses are possible please refer to this article.
Settings tab
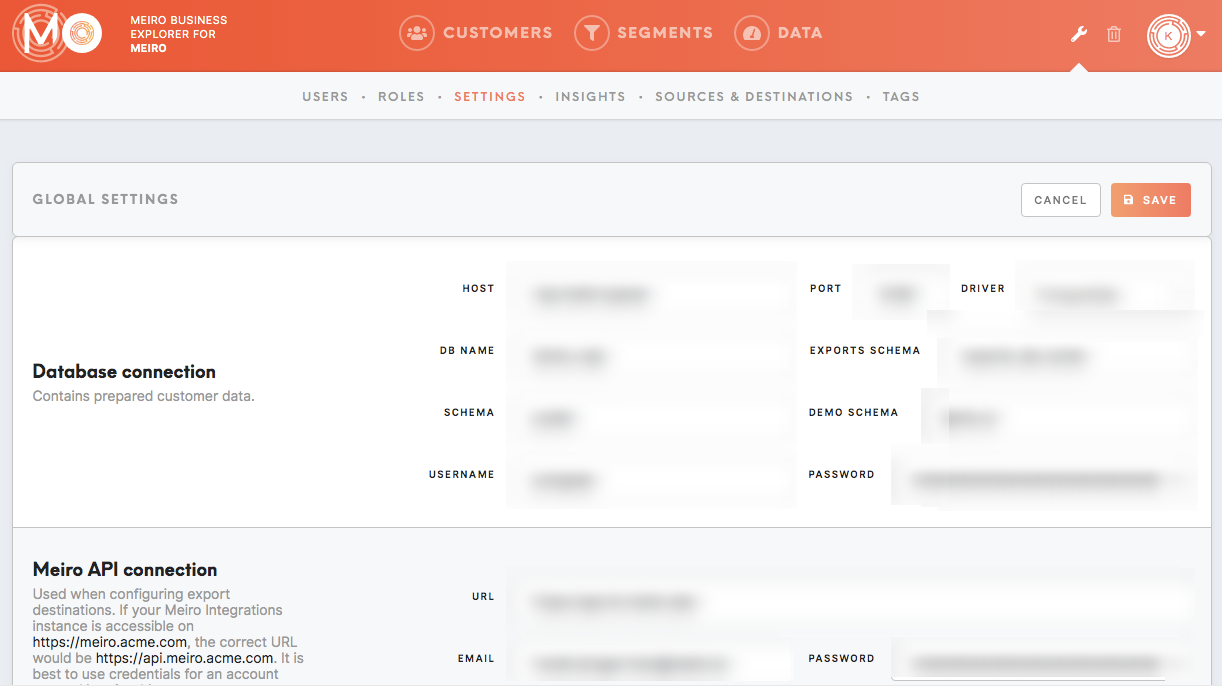
The administrator can change overall settings for Meiro Business Explorer.
Database connection where customer data is being prepared. It is usually set by the Meiro team.
Meiro API connection and the API settings. It is usually set by the Meiro team.
Customer tab additional attribute to show additional attribute for customers search results.
Customer Identifiers label for attributes in Customer Identifiers in the Customer Detail tab.
Channel Engagement label for attributes in Channel Engagement in Customer Profile.
Data cache expiration that follows cron syntax and sets the time when the cache should be invalidated and generated. The administrator should set it right after the process of ingesting new data is done. It will be displayed in the Diagnostic Dashboard (“Data updated: h/min ago”)
PII Protection that enables or disables data protection basedfor onattributes themarked particularwith chosen label.
Maintenance notification email where all important notification will be sent.
Customer
To Definitionlearn
Inmore thisabout tab,each anfeature, administratorplease can set attributes mandatory for customers profile stitching. This means that any attribute that will be marked in this tab as a mandatory will needgo to be present in order to include the customerAdministrator's infirst dataset available for segmentation. Attributes can be set with an operator AND/ OR applied to all chosen attributes.
For example, if an email address and web cookie are set as mandatory attributes, customers with web cookie attribute only will not be available for segmentation.
Changes will be visible after cache refresh. In order to quicken the update, an administrator can manually refresh the cache in the Administration tab/ Settings tab.

.
Insights tab
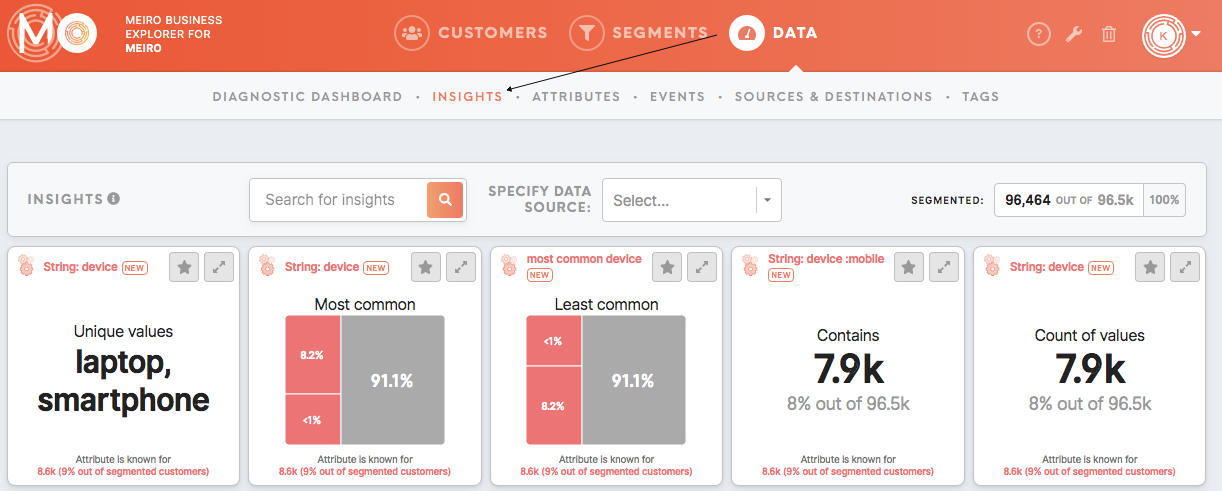
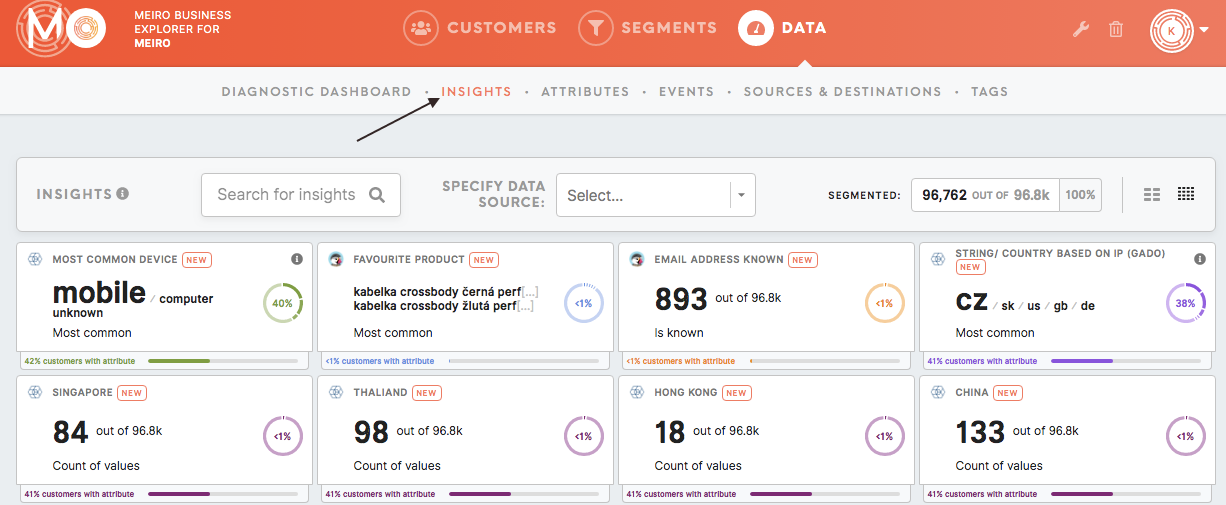
Insights are a set of tiles that summarize the data that matter for you.
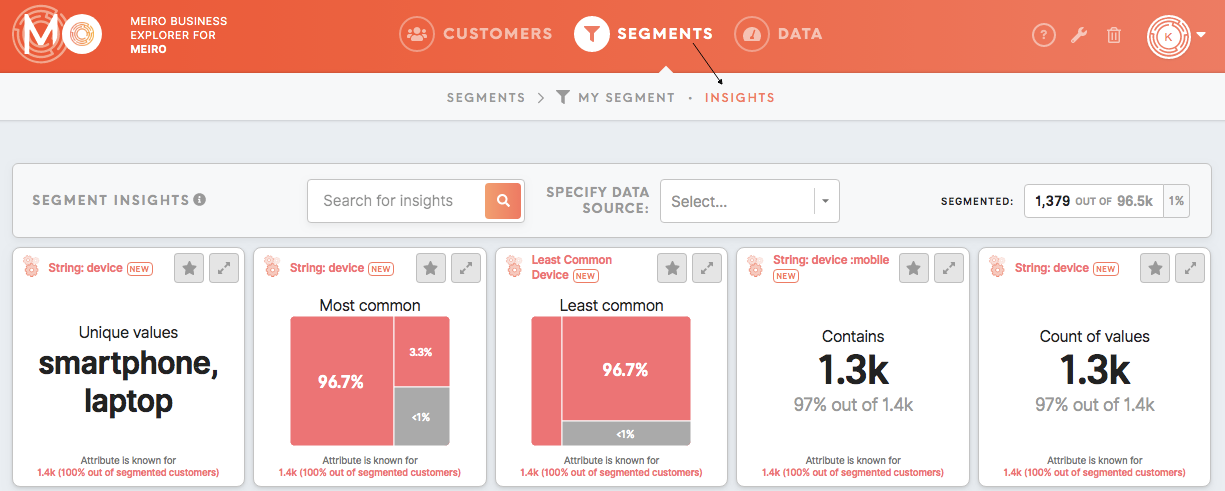
Insights will be displayed in the Data tab/ Insights tab displays insight values for your whole customers' database or for each segment in the Segment Detail/ Insights tab.
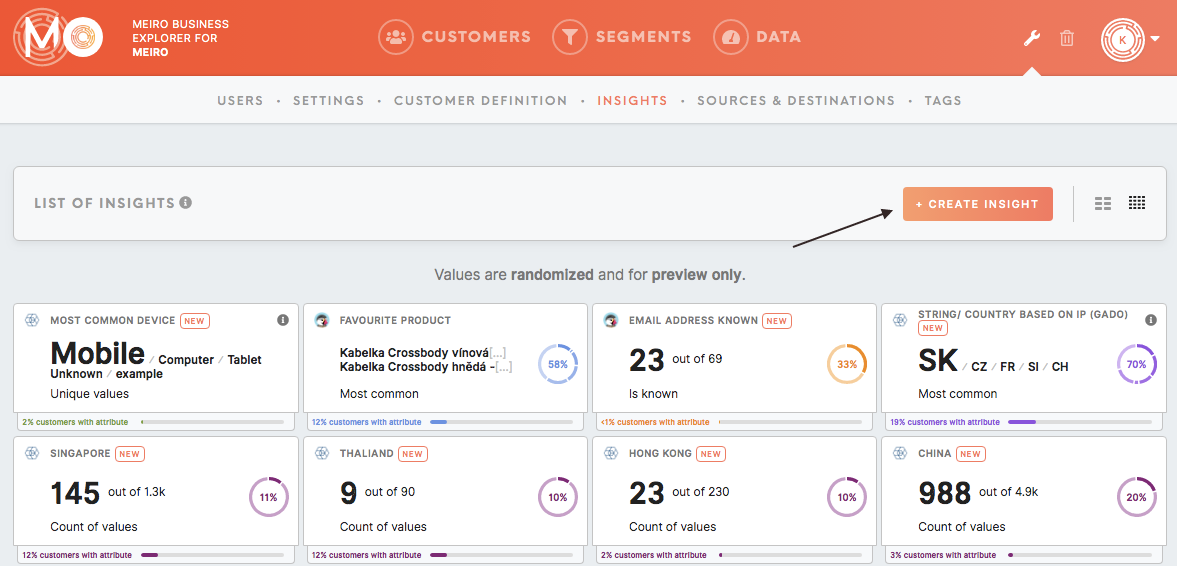
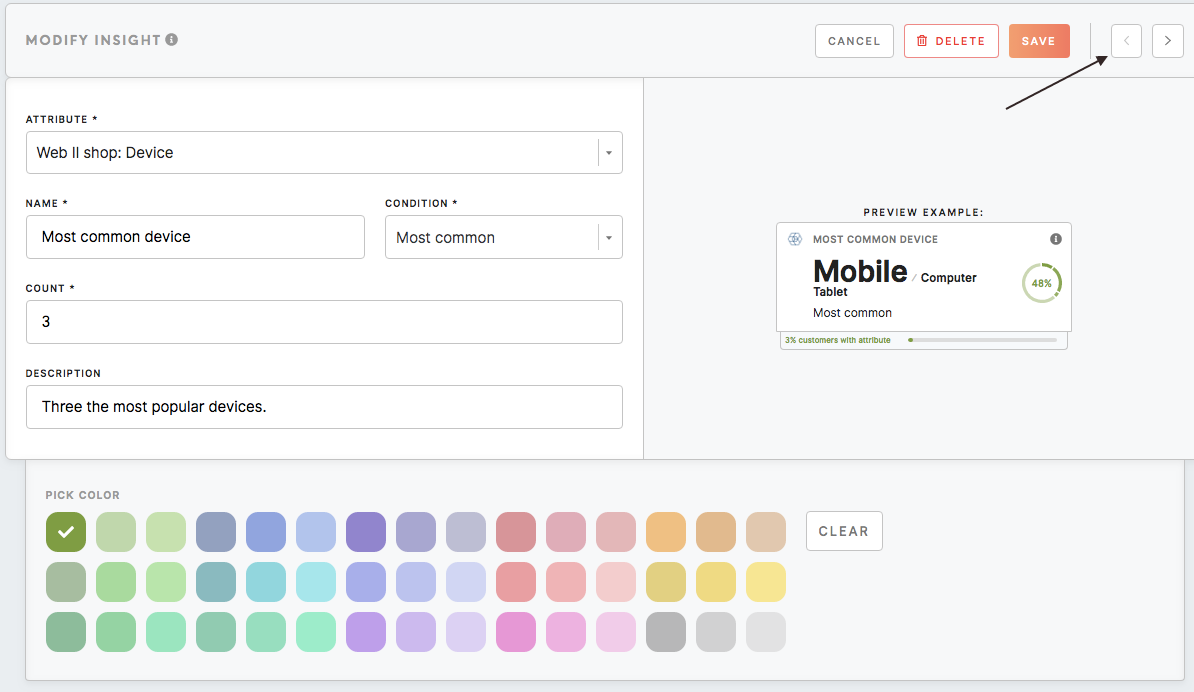
In the Administration tab/ Insights tab, an administrator can create new insights as well as edit existing ones. Insights'
Please note that values displayed in the Administration tab are randomized and for preview only.
To seelearn insightshow calculatedto forcreate your customers' databaseinsight, please go to the Data tab/ Insights tab or see the Insights tab for your segments in the Segments tab/ Segment Detail tab.
A list of insights will be visible for users for each segment in thethis Segment Detail tab, as well as for the all customers' database under the Data tabtutorial.

Click on the Create Insight button to create a new insight tile.
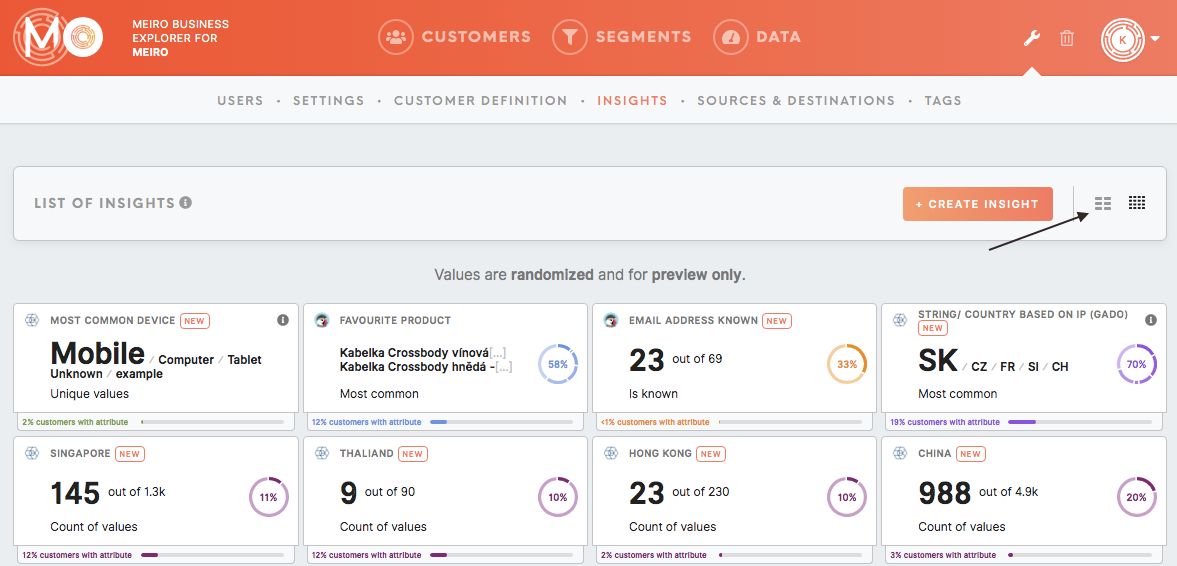
Choose the way how insights are displayed: either 2-columns or 4-columns view.
By default, the view is always set up as 4-columns.
The 2-columns view can be suitable for bigger screens.
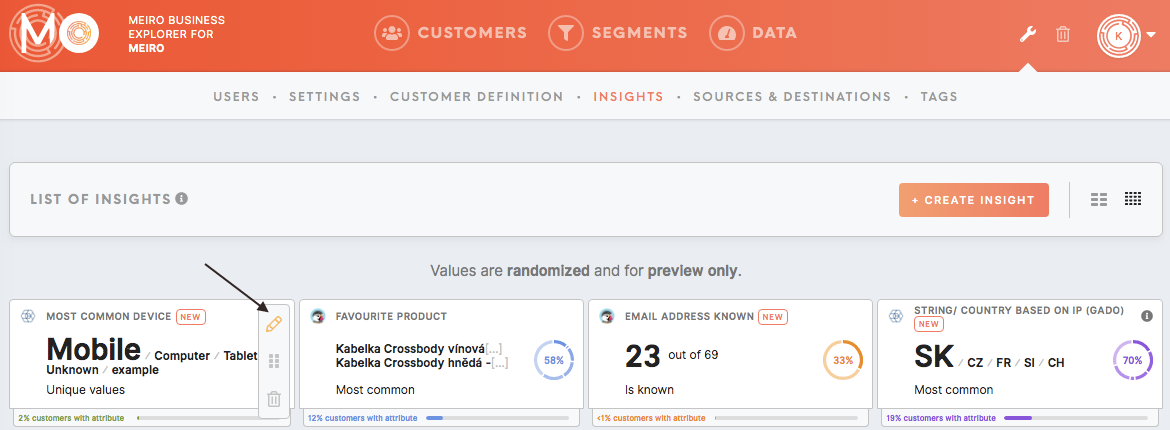
Insight tile that has been already created can be:
Edited,Moved,Deleted (removed insights are not stored and can not be recovered from Trash).
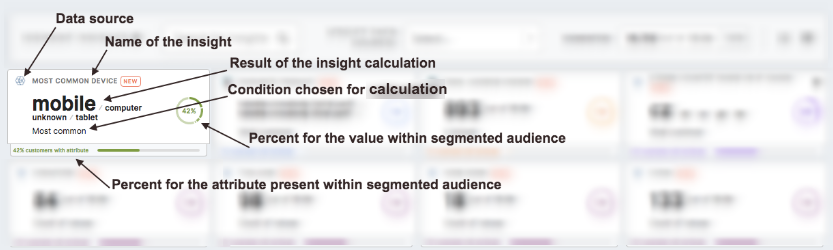
For each insight is possible to change:
Name and description of a particular insight.What attributes and conditions are calculated for each insight.Colors of a tile.
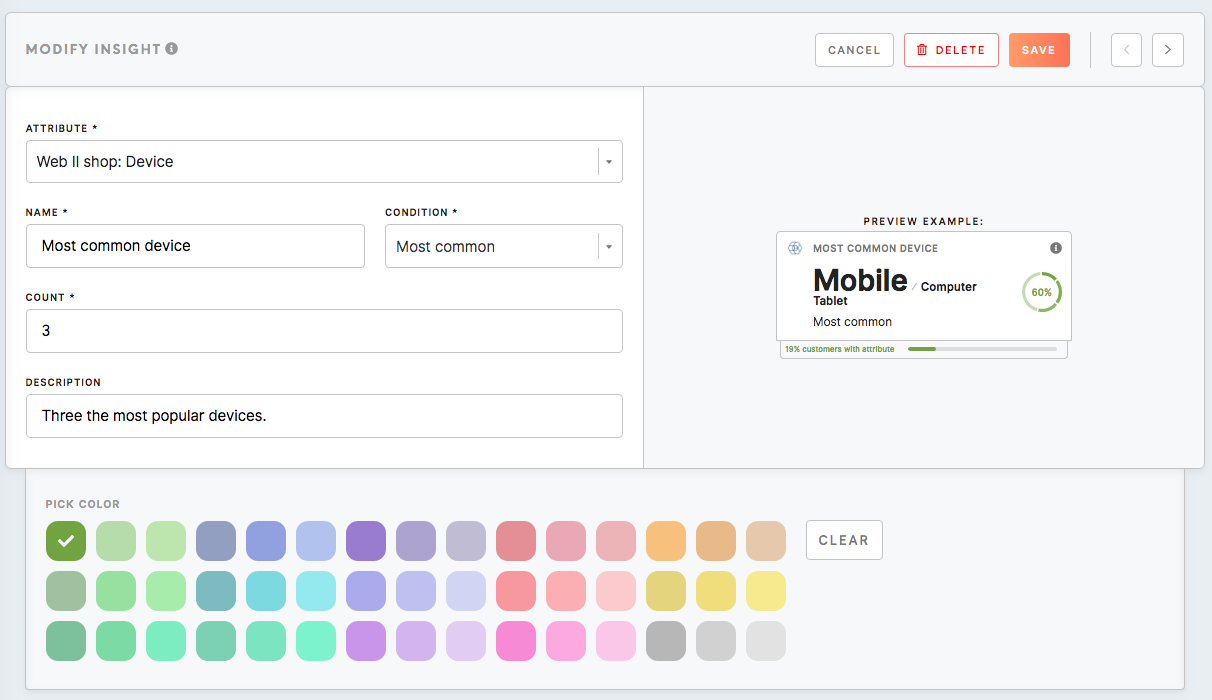
Flick through all insights with next/previous arrows on the top-right corner.
Sources & Destinations tab
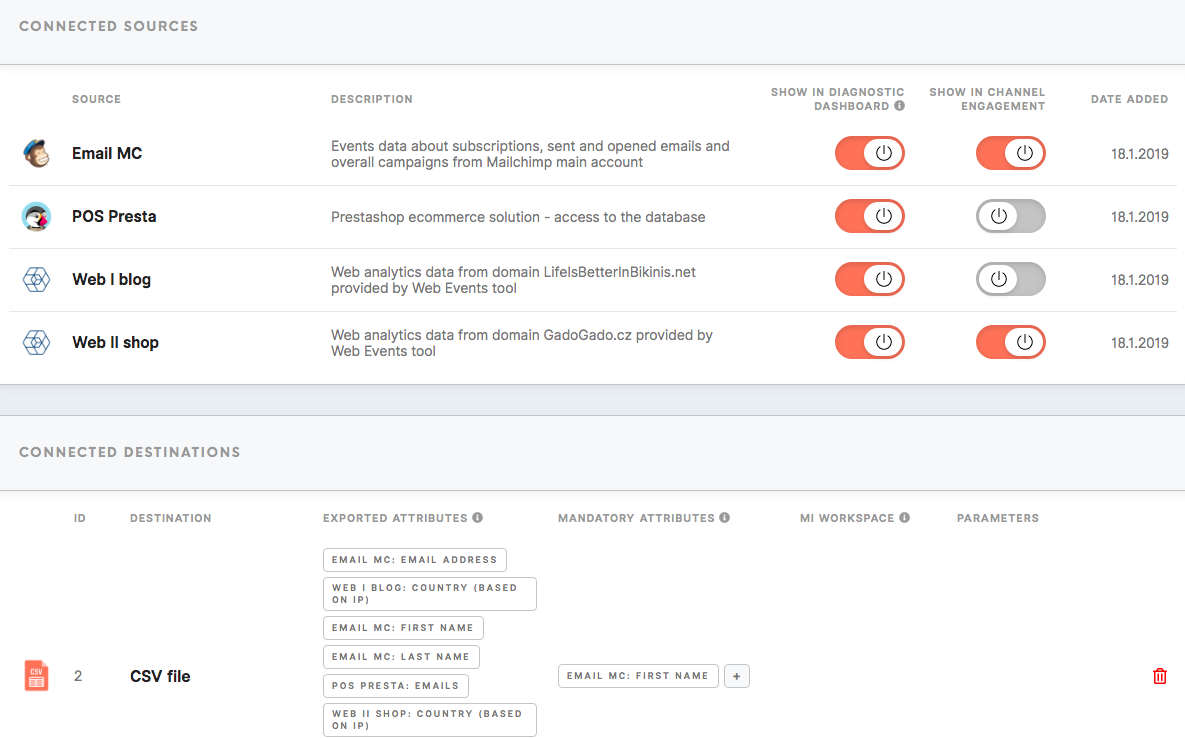
You can find and edit connected sources and connected destinations under this tab.
Under Connected Sources, you have:
- Name of the source,
- Description,
- Diagnostic Dashboard (Number of Unique Customers Identified Across x Sources and Number of Customers Identified Per Source) settings,
- Channel Engagement settings,
- Date added.
Under Connected Destinations, you have:
- Name of destination,
- The ID of the destination
- Exported attributes settings (attributes that will be exported to your chosen destination). This field is mandatory to fill. The default operator for exported attributes is "and".
- Mandatory attributes setting (attributes that must be present in order to export to the destination).This is not a mandatory field but additional attribute filter(s) on top of exported attributes. Export may sometimes contain only exported attributes. Operators "and"/ "or" are available to choose for all the attributes.
- MI workspace (Applicable if an MI connection is defined.) If your MI connection is defined, it is possible to choose a Meiro Integrations workspace as a destination.
- Parameters that allow for some destinations to set up destination precisely. An administrator can set up/ delete the parameter’s key, name and define if a parameter is required.

- Trash icon where you can choose to move a destination to the Trash tab ( it can always be recovered).
The administrator of Meiro Business Explorer can edit attributes for destinations, as well as delete destinations. The administrator can restore deleted destination from the Trash tab.
Sources and destinations can be also added or removed by Meiro analysts. Simply contact the team at Meiro!
A list of all sources and destinations is visible for users in the Data tab (under the Sources & Destinations tab).
Tags tab
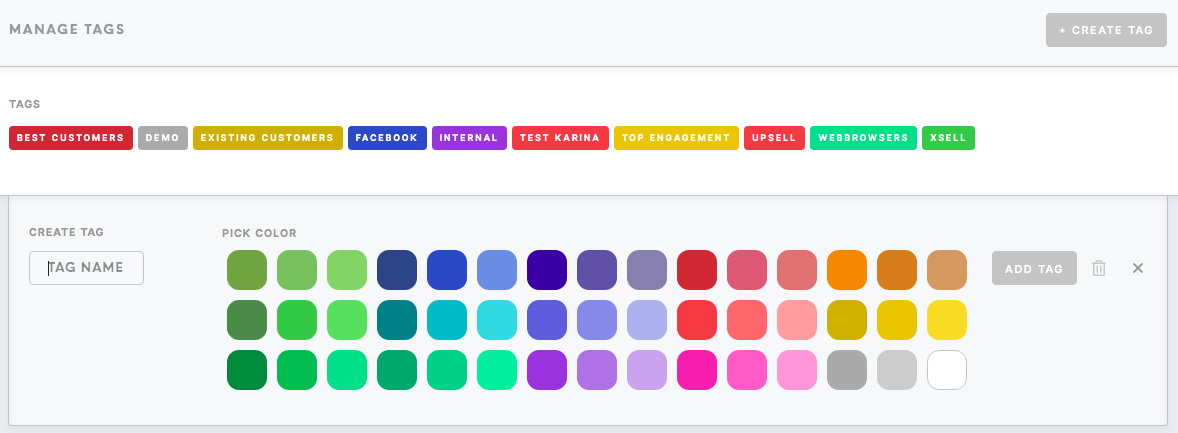
The administrator can: