Content form of email campaign
Creating an email campaign
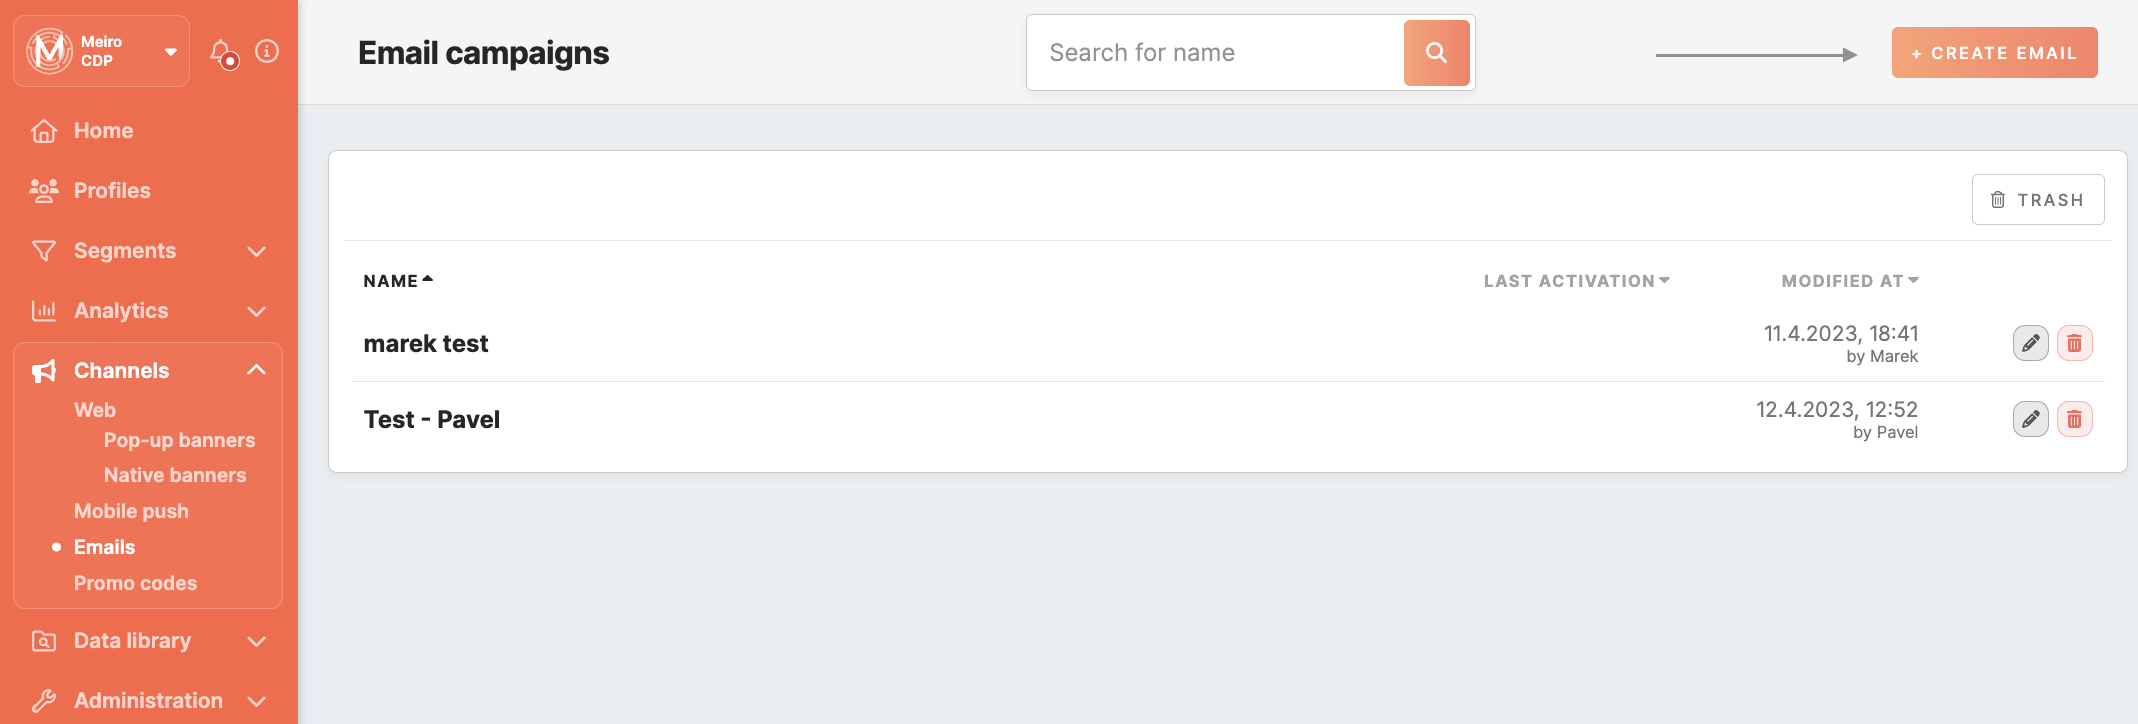
You can create an email campaign by creating a standalone email campaign in Channels > Emails. Clicking on the 'Create Email' button on the top will bring you to Email settings.
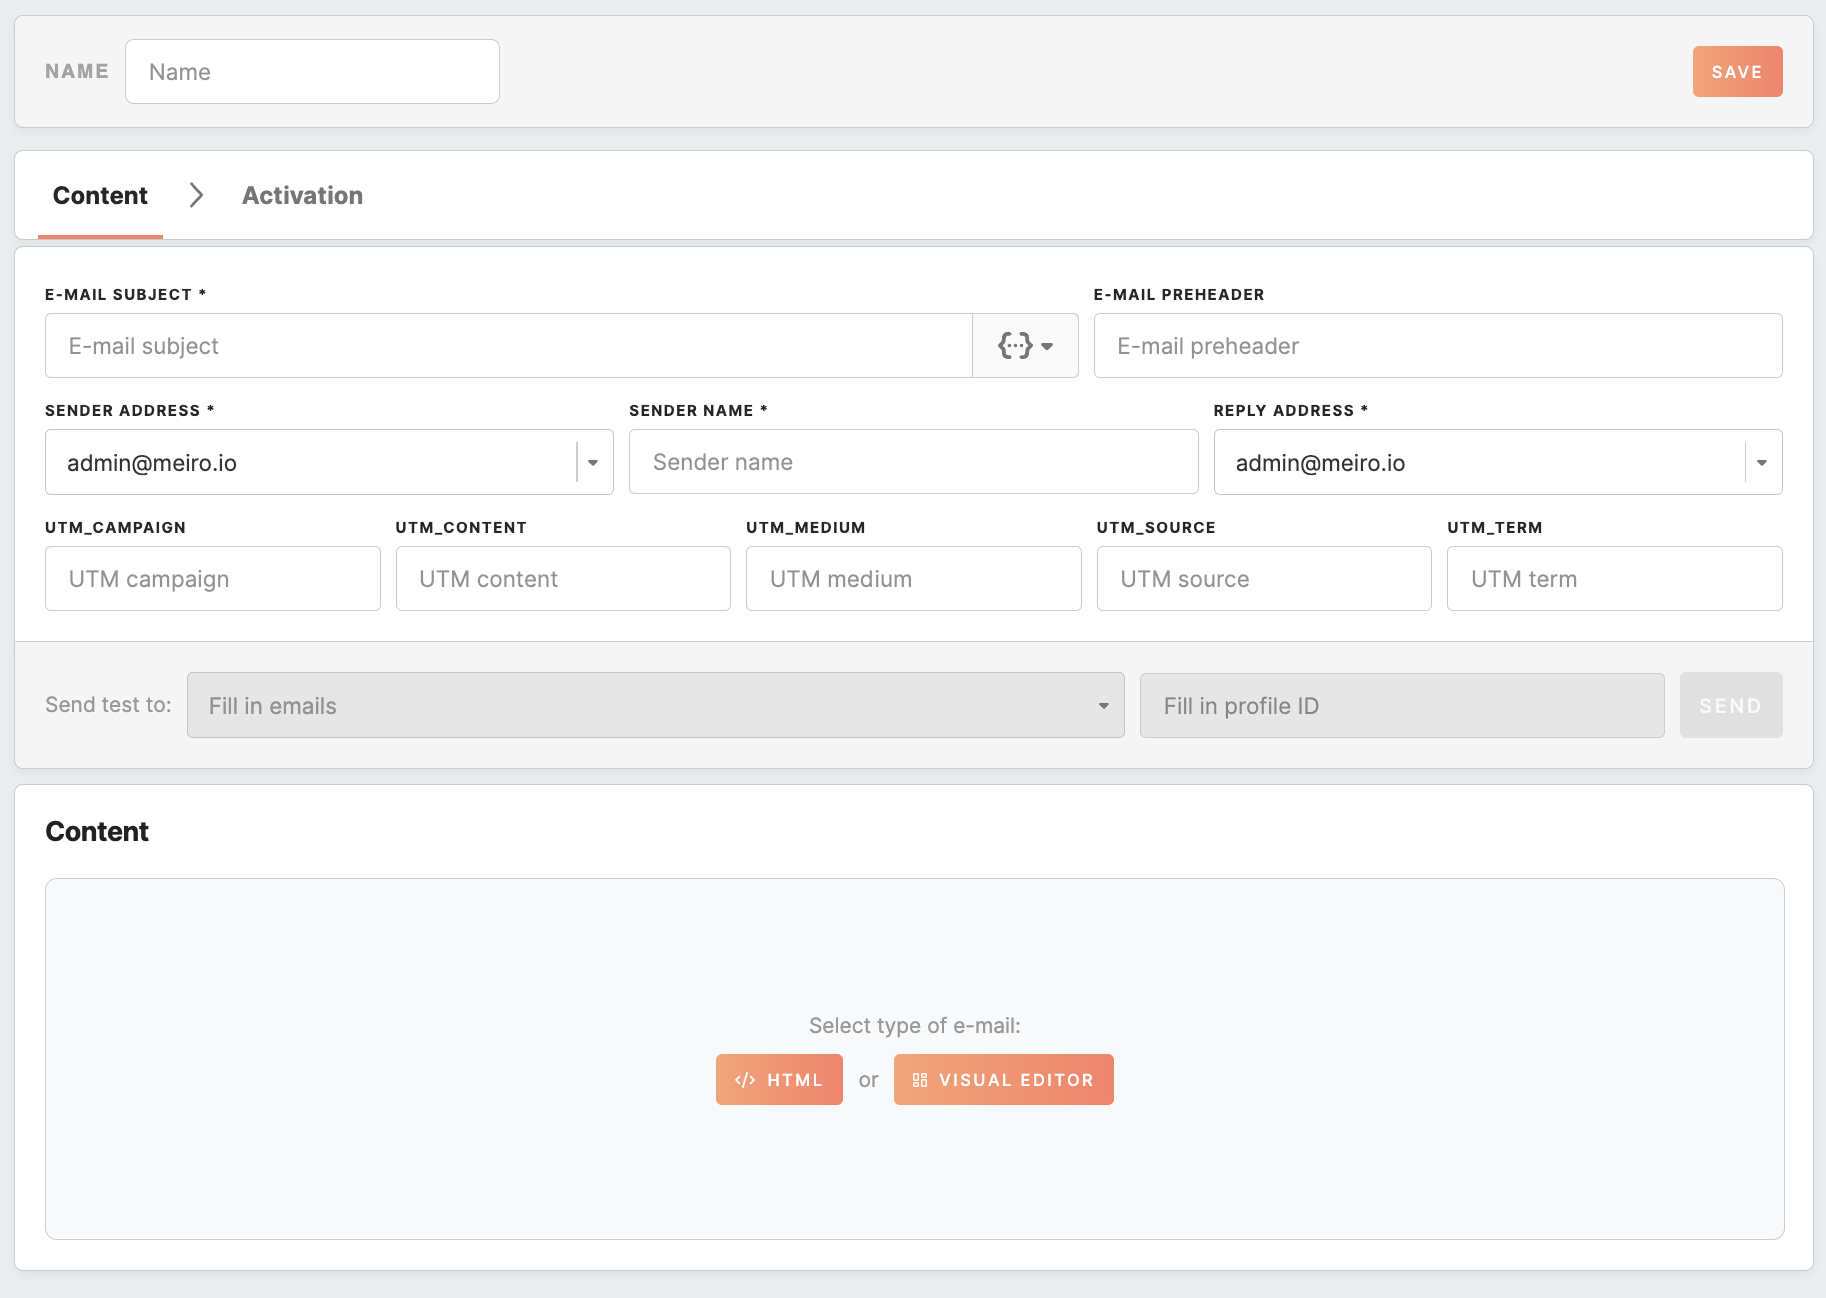
A new window with the content form will be opened:

Creating an email template
Once you have filled in the required and necessary fields, you can move on to creating your email content. At this point, you will have two options to choose from:
-
Use the Visual Editor to construct a new email: this option allows you to use a drag-and-drop interface to create an email layout and add text, images, and other design elements to your email.
-
Use the HTML builder to construct a new email: This option enables you to build an email using HTML code. This method is best suited for users who are proficient in coding and want to have greater control over email design and functionality.
Regardless of which option you choose, both builders offer different advantages and can help you create professional-looking emails that resonate with your audience.
Step-by-step guide for Visual Editor
Here is a step-by-step guide on how to use the Visual Editor:
-
Start by clicking on the "Visual Editor" to proceed with creating the template. The editor is divided into two main sections: the right-hand panel and the main editor window.
-
The right-hand panel contains a variety of content blocks that you can add to your email template. These content blocks include text blocks, images, buttons, social media icons, and more.
-
To add a content block to your email template, click on the block on the right-hand panel and drag it to the desired location in the main editor window. You can then customize the content block by clicking on it and using the configuration tab that appears.
-
You can personalize an email campaign using the attribute picker. When the email is sent, the attributes will be replaced with the profile attributes value, e.g., first name, last name, abandoned product in the basket, etc. This will make the email more personal.
-
To preview your email template, click the "Preview" button at the top of the editor. This will allow you to see how your template will look on different devices, such as desktop computers and smartphones.
-
Once you've finished designing your email template, click the "Save" button to save your changes.
Learn more: about the content blocks and their configurations available in the Email Editor.
Step-by-step guide for HTML builder
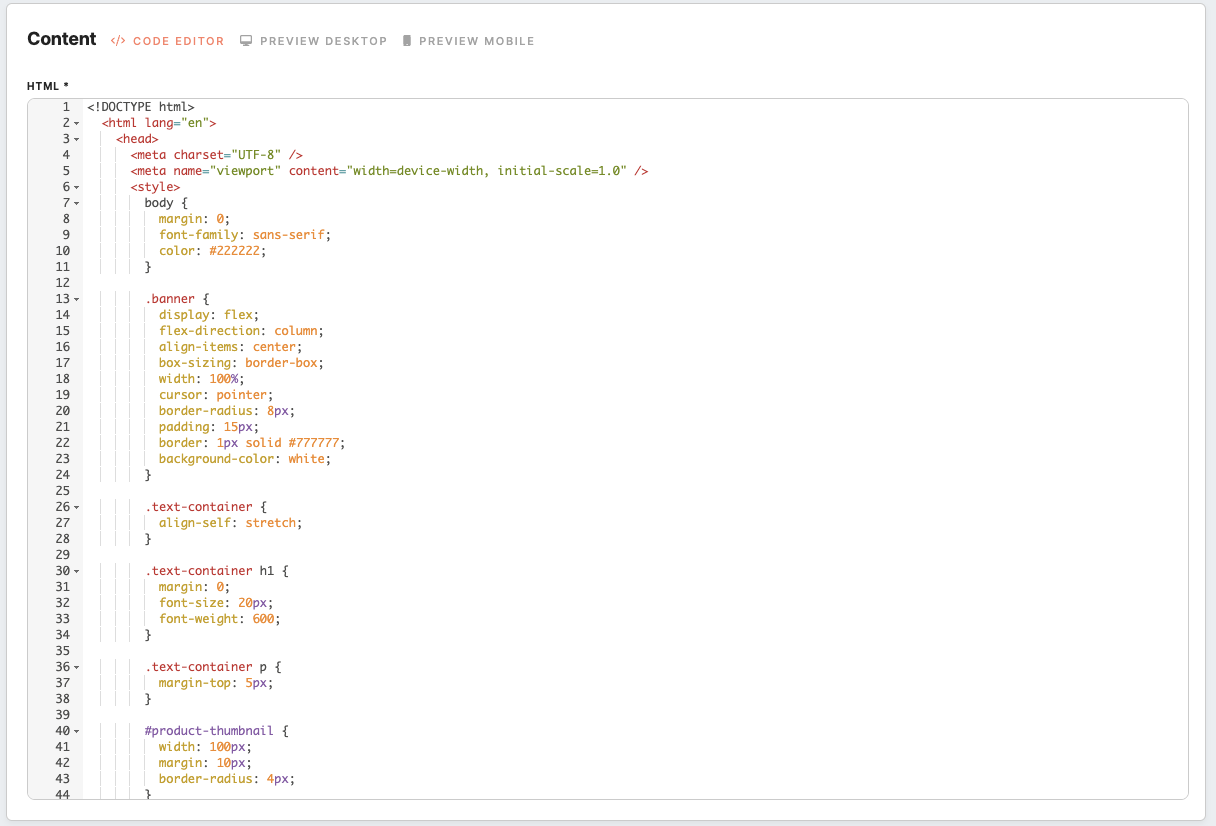
If you already have HTML Email templates created before, you can copy and paste them into our editor to get started. The HTML builder offers advanced customization options for those with a strong understanding of coding.
Here is a step-by-step guide on how to use the HTML Builder:
-
Once you choose a layout for HTML Builder, you will be directed to the email editor interface. Here, you can insert HTML code and other design elements to create a customized email template.
-
Personalize an Email using liquid syntax to the attributes. This syntax allows you to dynamically insert profile-specific information into your emails, making them feel more personalized and relevant to your audience.
- To preview your email template in real time, click the "Preview" button at the top of the editor. You can make adjustments as necessary to ensure the email looks and functions the way you intended.
-
Once you've finished designing your email template, click the "Save" button to save your changes.
Personalize Emails
Personalization refers to the practice of tailoring messages to individual customers based on their specific data. This allows businesses to communicate with their audience on a more personalized and individual level. The level of personalization can range from simple methods like addressing customers by their name to more advanced approaches like customizing email content based on segmentation or providing personalized recommendations.
Learn more: about personalization in this article.article.
Preview & test
Preview
You can switch between the mobile and desktop views of your message to view and edit content. You can check how the content will display on a mobile phone without going sending a test message. Any changes made to the mobile view will also be reflected on the desktop view.
Test
To test your email campaign, you must first save it using the "Save" button located at the top of the page. Once you have saved your campaign, you will be able to proceed with testing.
You can choose to test your email template in various ways. For example, you can send a test email to yourself or to a group of users to confirm that your design, images, and text appear as expected on different email clients and devices. You can also test your email with attributes to make sure that the personalized content is populated correctly. Furthermore, you can check the links in your email to make sure they work correctly.

To start testing, you need to fill in the following:
Click on the Save button to apply your changes in the email campaign and enable the activation tab.
Learn more: about the activation of an email campaign.