Journeys Step Types
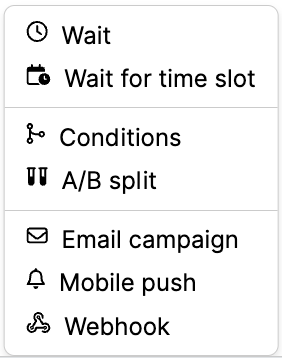
In a Journey Canvas, various steps (nodes) can be added to create a dynamic and engaging customer journey. These steps allow you to define the flow, conditions, and actions customer entities will go through as they progress along the journey. Below are the key steps or nodes that you can use to build out your Journey Canvas effectively:
Wait node
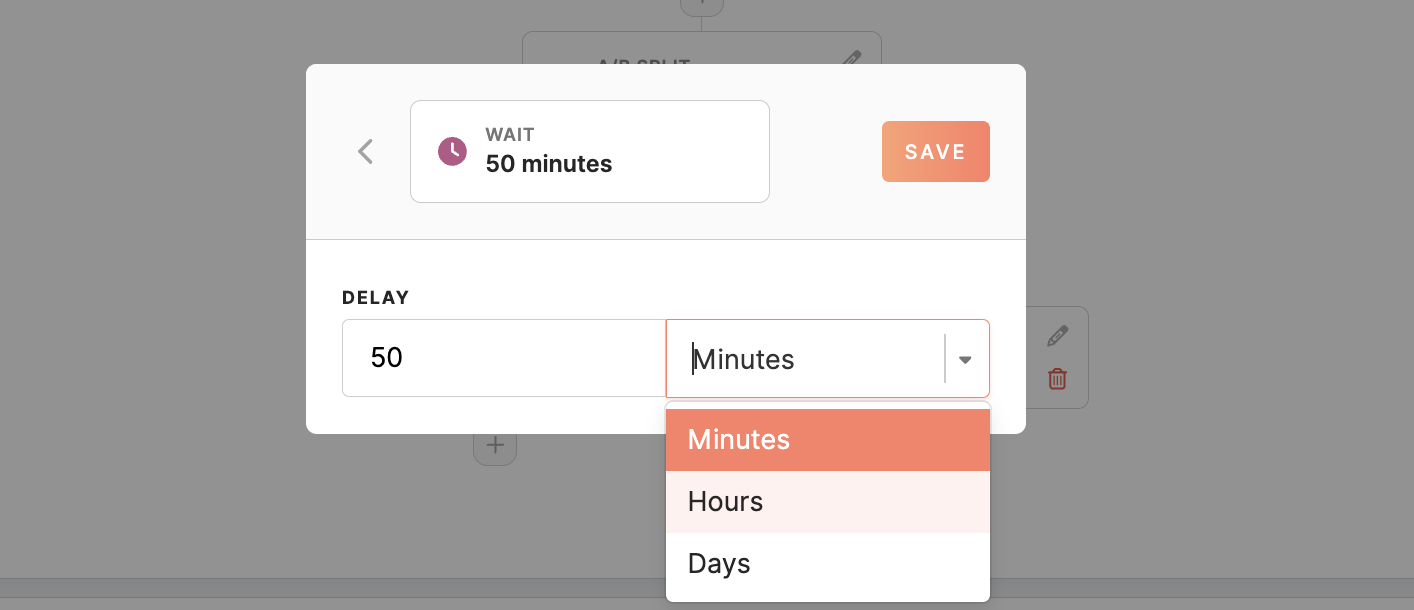
This node allows you to introduce a delay in the journey flow. You can specify the delay in minutes, hours, or days, allowing you to control the timing between two actions.
Wait for time slot node
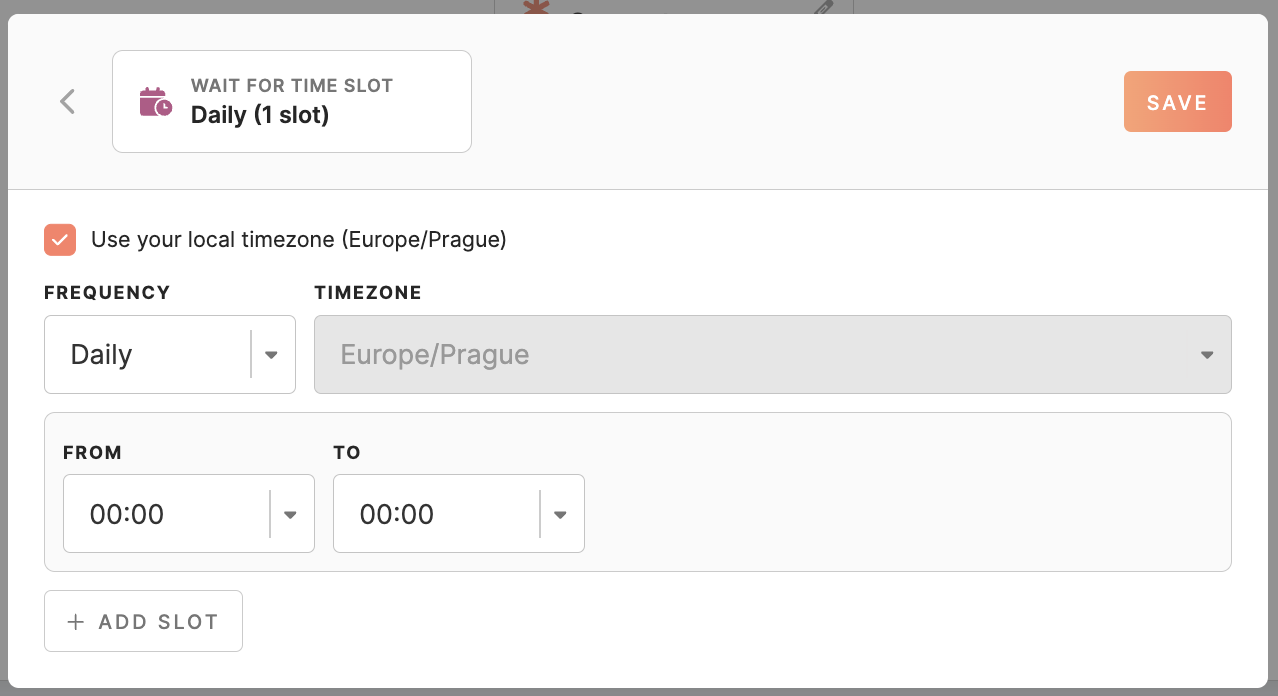
Similar to the 'Wait' node, this node introduces a delay but in a more structured manner, using slots. These slots can be set to trigger at different frequencies: daily, weekly, or monthly.
-
- For daily slots, you only need to specify the start and end times.
- For weekly slots, in addition to the start and end times, you can select specific weekdays (Monday-Sunday) when the slot should be active.
- For monthly slots, you can set the start and end times, specific days of the month (1-30), and the last day of the month.
When the timeslot comes to place, only then the customer entities will be processed by the journey.
You can also use the checkbox to wait for the time slot of your local timezone or select any other.
Condition node
This node enables you to set conditions that profiles must meet to progress through specific paths in the journey. You can create multiple conditions based on attributes or events to tailor the journey flow.
- Conditions based on attributes: The attribute condition works exactly like segment conditions, allowing you to set specific criteria based on profile attributes.
- Conditions based on events: The structure is straightforward by choicing between and/or operators for your conditions. You can specify how far back in history the system should look for an event using the "in the last" option. And remember, you need to define at least one path for your conditions to work effectively.
- There's a default path named "not_matching" with an index of 0, which can be utilized by output nodes irrespective of the conditions set.
Each condition created in the node generates a new path, in addition to the default "not_matching" path. This setup enables diverse routing options based on profile attributes or event criteria.
When an entity enters the condition node, it undergoes evaluation against each defined condition. If it matches Condition 1, it proceeds along the corresponding path. Similarly, if it matches Condition 2, it follows the associated path. If the entity does not meet the criteria for any condition path, it is automatically directed to the "not_matching" path.


