How to set insights
Learn what are insights and how they work
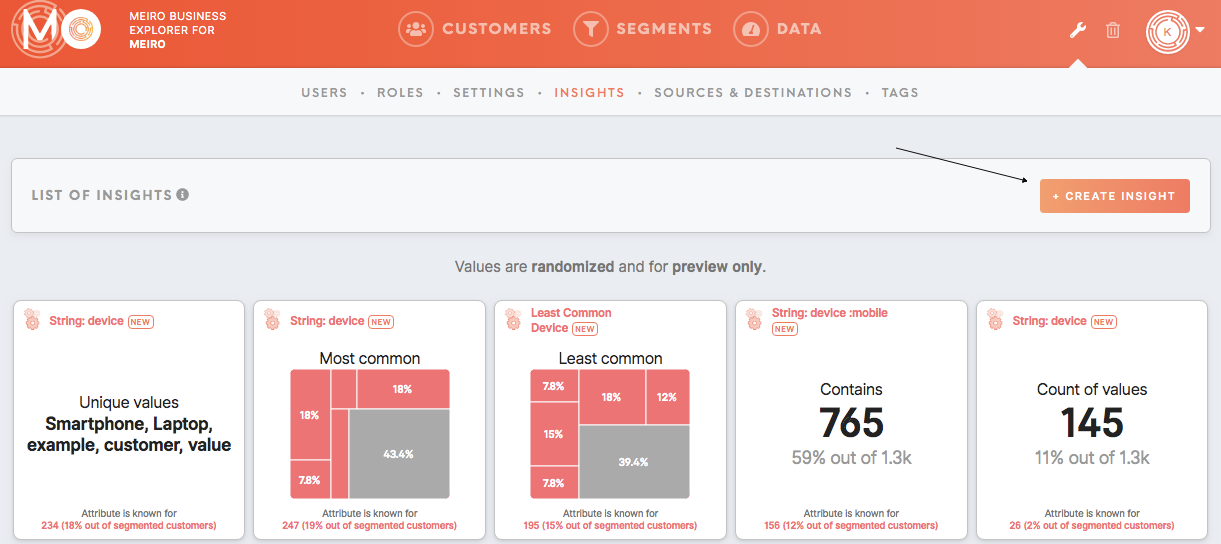
1. To create an insight, please click on the Create Insight button.
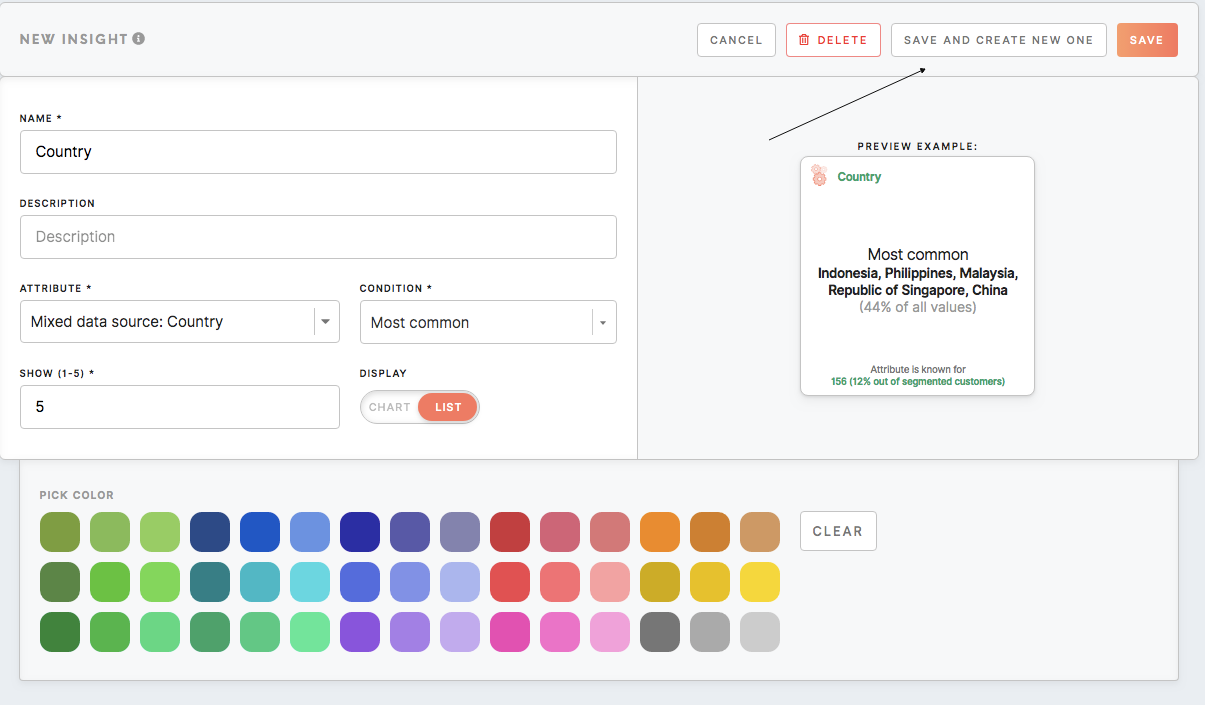
2. Then fill all needed information:

Name (mandatory)
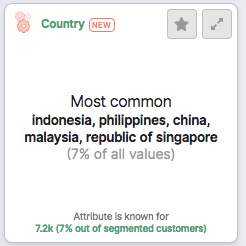
The name will be displayed in the top of the tile.
Description (optional)
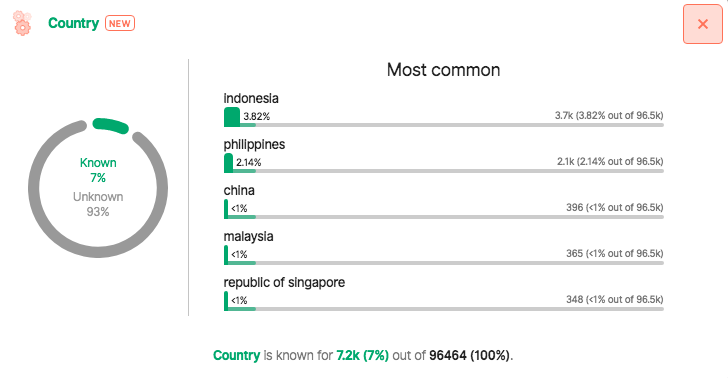
The description will be displayed in the expanded tile.
Attribute (mandatory)
The insight will be calculated for the attribute you choose.
If you are not sure which attribute to pick, please go to the Data tab/ Attributes tab to check available attributes.
Condition (mandatory)
For each attribute, you will be able to pick certain conditions that fit its data type. As conditions depend on attributes, to select the condition you should first pick attribute.
Further details displayed for particular conditions (mandatory)
For some conditions, additional parameters need to be filled.
Pick a color (optional)
Optionally you can change the color of a tile. If you will not pick the color, the color chosen for attribute data source will be used.
3. After editing please click on the Save button or Save and Create New One button. Changes will be saved in the real-time.
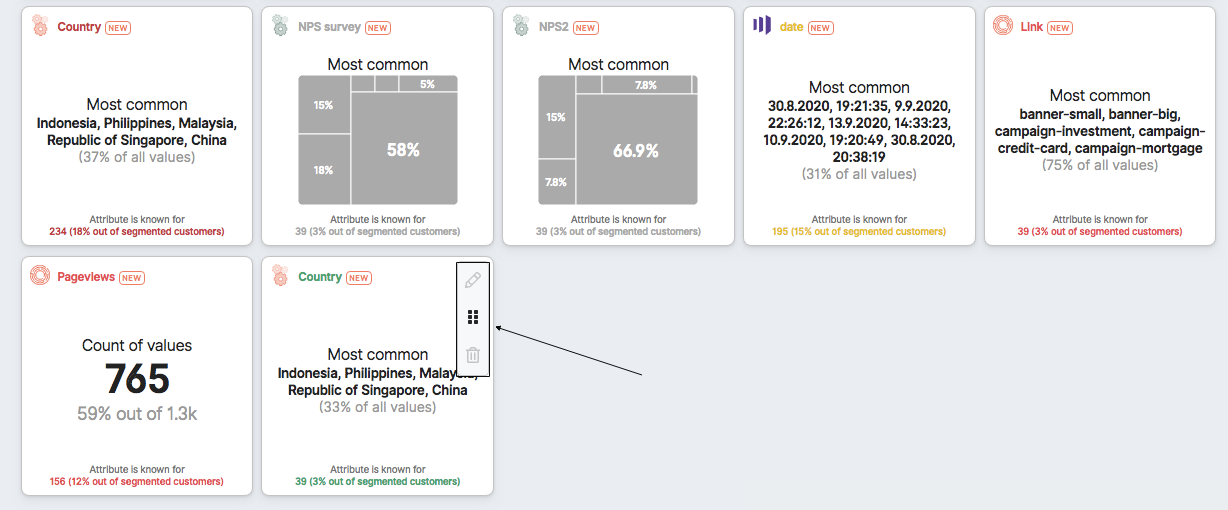
4. Insights' tiles can be also moved around through a simple drag-drop system, edited further or delete insight tile at any time.
5. Set up insight tile will be visible in the Data tab/ Insights tab with insight values for your whole customers' database or in the Segment Detail/ Insights tab with insights for each segment.