Web: how to set promo codes in banners
|
Prerequisites To work with 1. Meiro Events must be implemented. 2. Meiro Events API connection must be set in the Administration/ 3. Channels/Web 4. For |
Promo codes tab
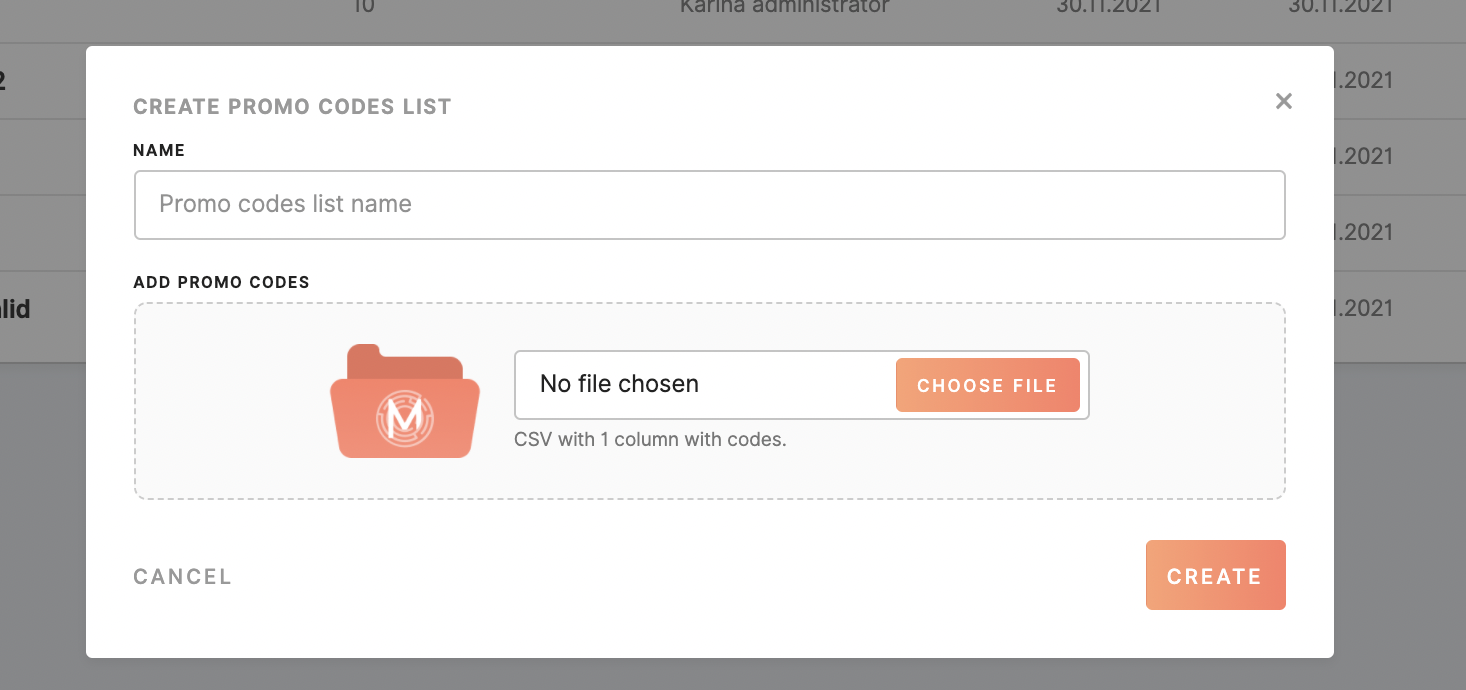
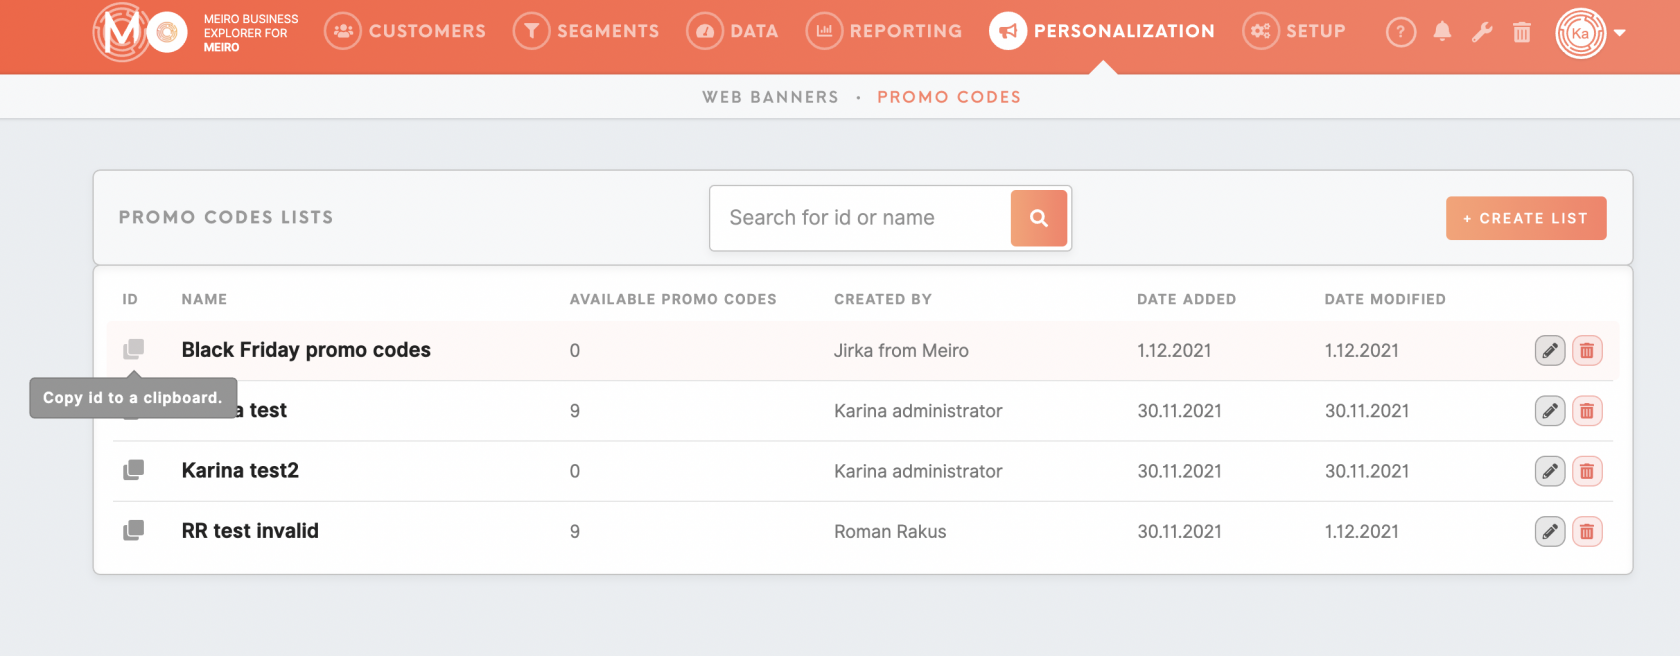
The “Promo codes” setting is under the PersonalisationChannels tab in Meiro Business Explorer. Here you can add the list of codes your cms generated.
To create a listlist, thea CSV file with codes is required. Make sure there is only one column containing the codes and nothing else in the CSV file.
Warning: most of theMost programs format CSV correctly, but some may need manual inputinput, e.g., Numbers. When formatting manuallymanually, it is important to insert values into double quotes "" e.g. "!@#$%^&*(),.;'k2" "PROMO{!}" "PROMO{!}" "quotes:""".
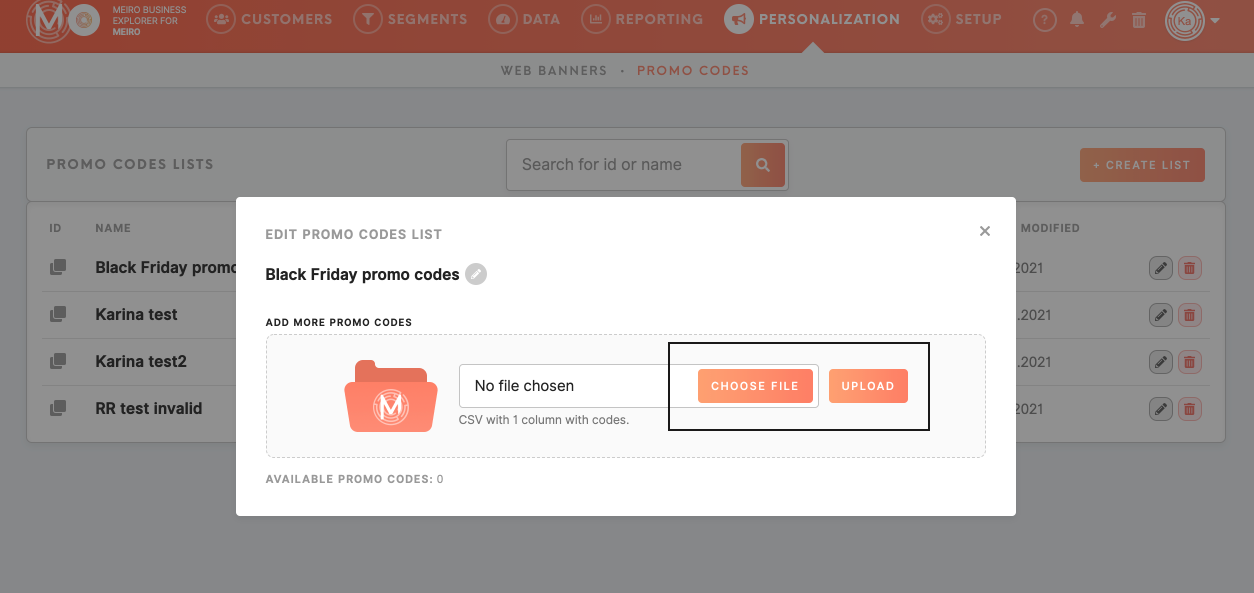
When another CSV file is uploaded - the incremental addition will occur - duplicates will be ignoredignored, and new entries will be added intoto the database.
Warning: We do not recommend keeping one long list and re-uploading it many times. If some codes are used, they are no longer in the list and will not be treated as duplicates when re-uploading the original list - it will cause used codes to be added back onto the list again.
Web banners tab
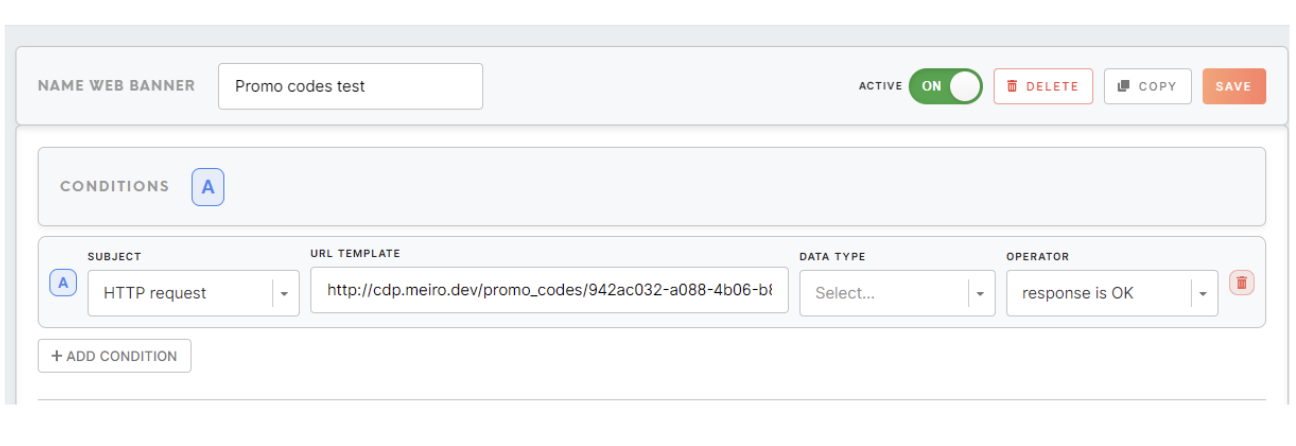
When setting up a web banner, set an API call that confirms the code from the list you intend to use.
For example: https://cdp.{{CLIENT_INSTANCE_NAME}}.meiro.io/promo_codes/&listID
The list ID can be obtained by clicking on the button next to the created promo code list.
<body style="background: white; margin: 0">
  <p id="promo-code"></p>
  <script>
    const bannerResponses = window.parent.MeiroEvents.getWebBannerHttpResponses()
    // if you know that you have only one http request in the banner, you can
    // access the response directly at 0 index of the array, otherwise you have
    // to find it in the array by request URL
    if (bannerResponses[0]) {
      document.getElementById("promo-code").textContent = `Code: ${bannerResponses[0].data.promo_code}`;
    }
  </script>
</body>
The topmost code from the list is taken and deleted.


