Web banners: how to set promo codes in web banners
Promo codes tab
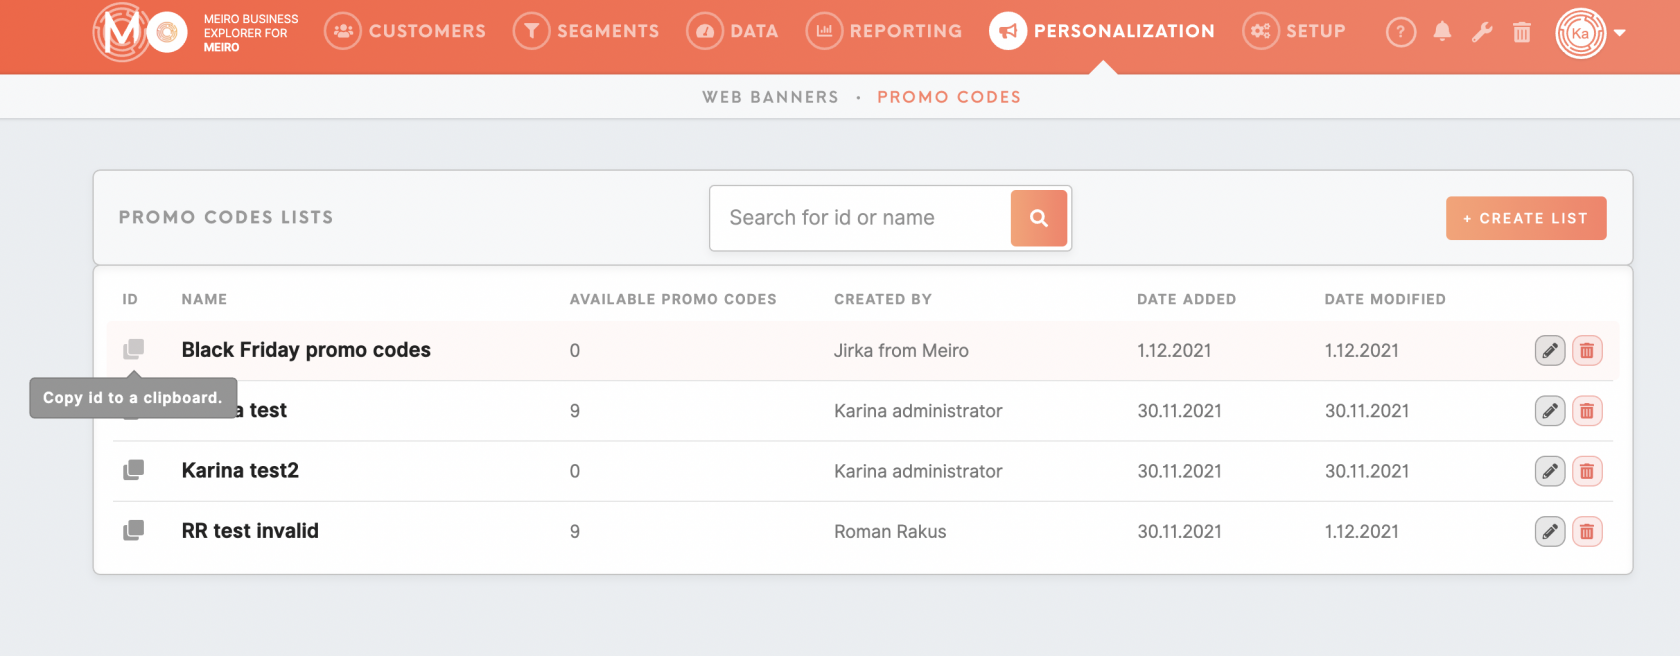
The “Promo codes” setting is under the Personalisation tab in Meiro Business Explorer. Here you can add the list of codes your cms generated.
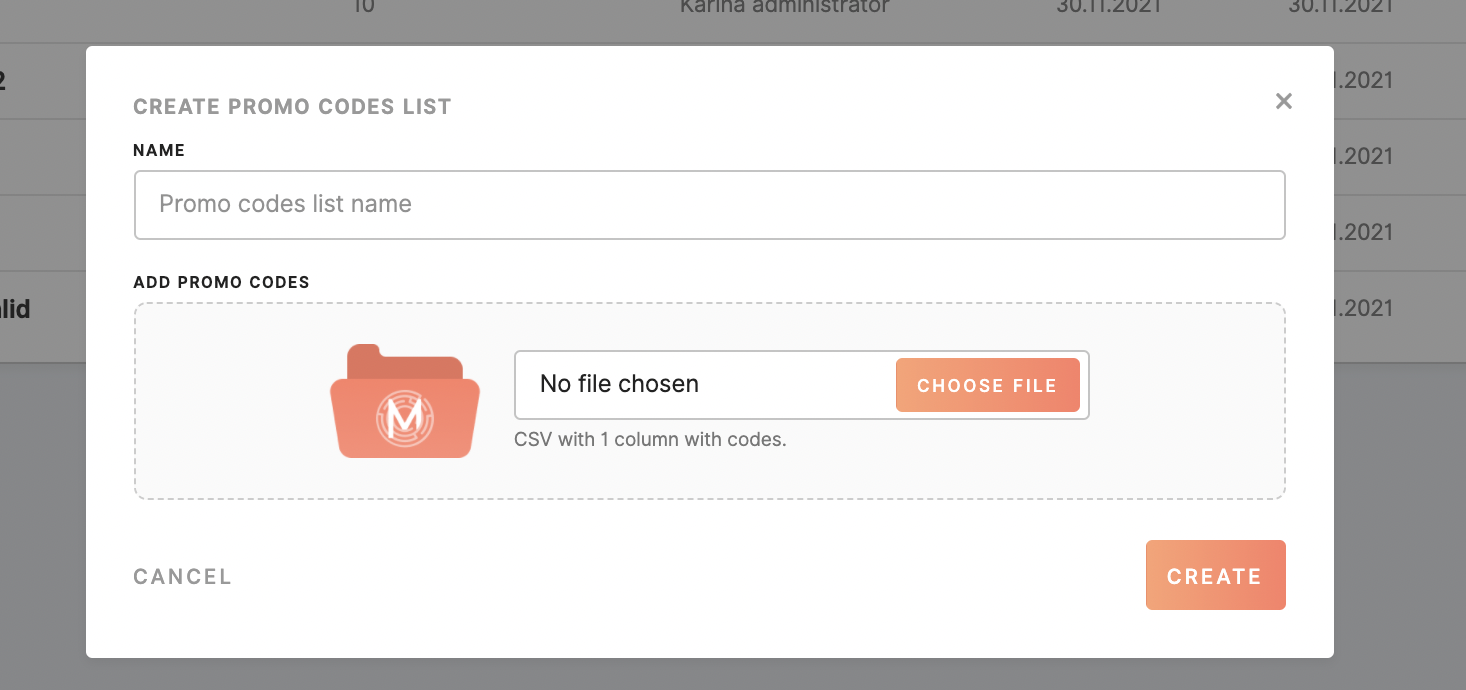
To create a list the CSV file with codes is required. Make sure there is only one column containing the codes and nothing else in the CSV file.
Warning: most of the programs format CSV correctly, but some may need manual input e.g. Numbers. When formatting manually it is important to insert values into double quotes "" e.g. "!@#$%^&*(),.;'k2" "PROMO{!}" "PROMO{!}" "quotes:""".
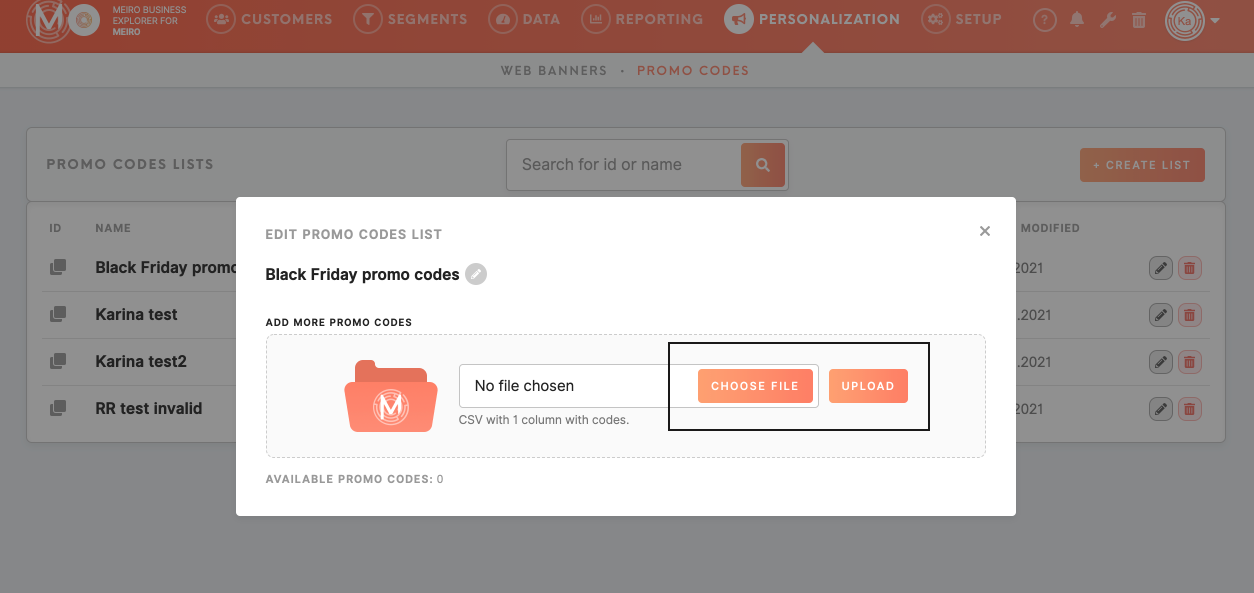
When another CSV file is uploaded - the incremental addition will occur - duplicates will be ignored and new entries will be added into the database.
Warning: We do not recommend keeping one long list and re-uploading it many times. If some codes are used, they are no longer in the list and will not be treated as duplicates when re-uploading the original list - it will cause used codes to be added back onto the list again.
Web banners tab
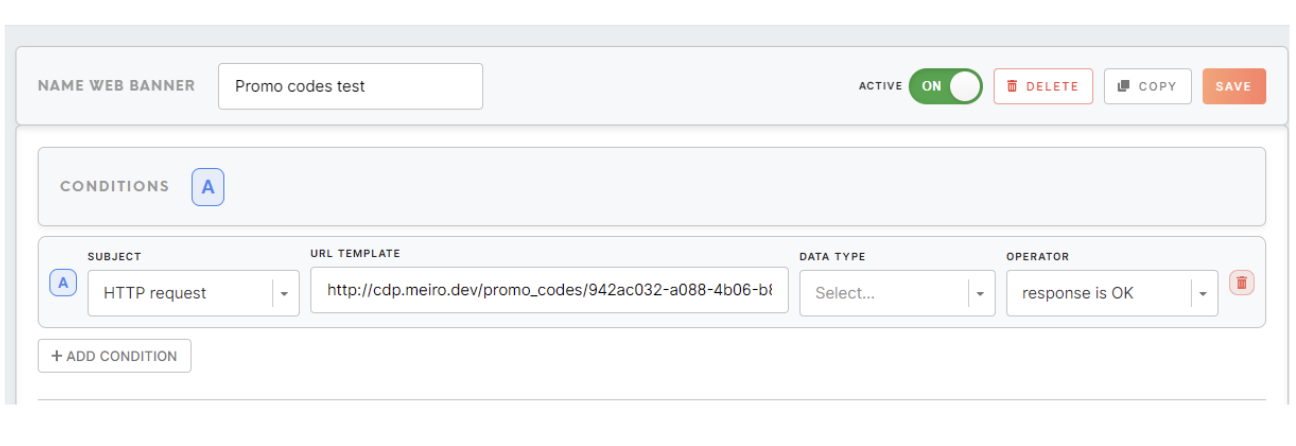
When setting up a web banner, set an API call that confirms the code from the list you intend to use.
For example: https://cdp.{{CLIENT_INSTANCE_NAME}}.meiro.io/promo_codes/&listID
The list ID can be obtained by clicking on the button next to the created promo code list.
<body style="background: white; margin: 0">
  <p id="promo-code"></p>
  <script>
    const bannerResponses = window.parent.MeiroEvents.getWebBannerHttpResponses()
    // if you know that you have only one http request in the banner, you can
    // access the response directly at 0 index of the array, otherwise you have
    // to find it in the array by request URL
    if (bannerResponses[0]) {
      document.getElementById("promo-code").textContent = `Code: ${bannerResponses[0].data.promo_code}`;
    }
  </script>
</body>
The topmost code from the list is taken and deleted.


