Web banners: displaying and testing a web banner to a segmented audience
|
Prerequisites for web banners
To work with web banners, first, they need to be set by the Meiro team:
1. Meiro Events must be implemented.
2. Meiro Events API connection must be set in the Administration/ Settings tab.
3. Web banners tabs must be enabled by the administrator for your user role.
4. For embedded web banners it is required to place a DOM element with a unique ID in the HTML code of the website where the banner will be displayed.
To use segments with web banners, there are additional requirements:
1. The relevant segment must be created in the Segments tab.
2. The Meiro User ID attribute must be added to WBS - Please contact the Meiro team to set this up.
|
1. How to display a web banner to segmented audience

- In the web banner settings form, insert as condition Server: HTTP request
- Input a URL to the URL template field.
URL should look like this:
https://cdp.qbank.meiro.io/wbs?attribute=ps_meiro_user_id&value={{cookie:meiro_user_id}}&segment=567
Condition to show the banner only to customers belonging to the particular segment:
response is ok

Condition to show the banner only to customers not belonging to the particular segment:
string - contains - status - error

Explanation of each part of the URL:
|
URL part
|
Meaning
|
|
cdp.qbank.meiro.io
|
This is the URL of your CDP instance.
cdp.<client_instance_name>.meiro.io
|
|
wbs
|
The CDP path that Meiro Events will access when a user visits your website. Do not modify this URL part.
|
|
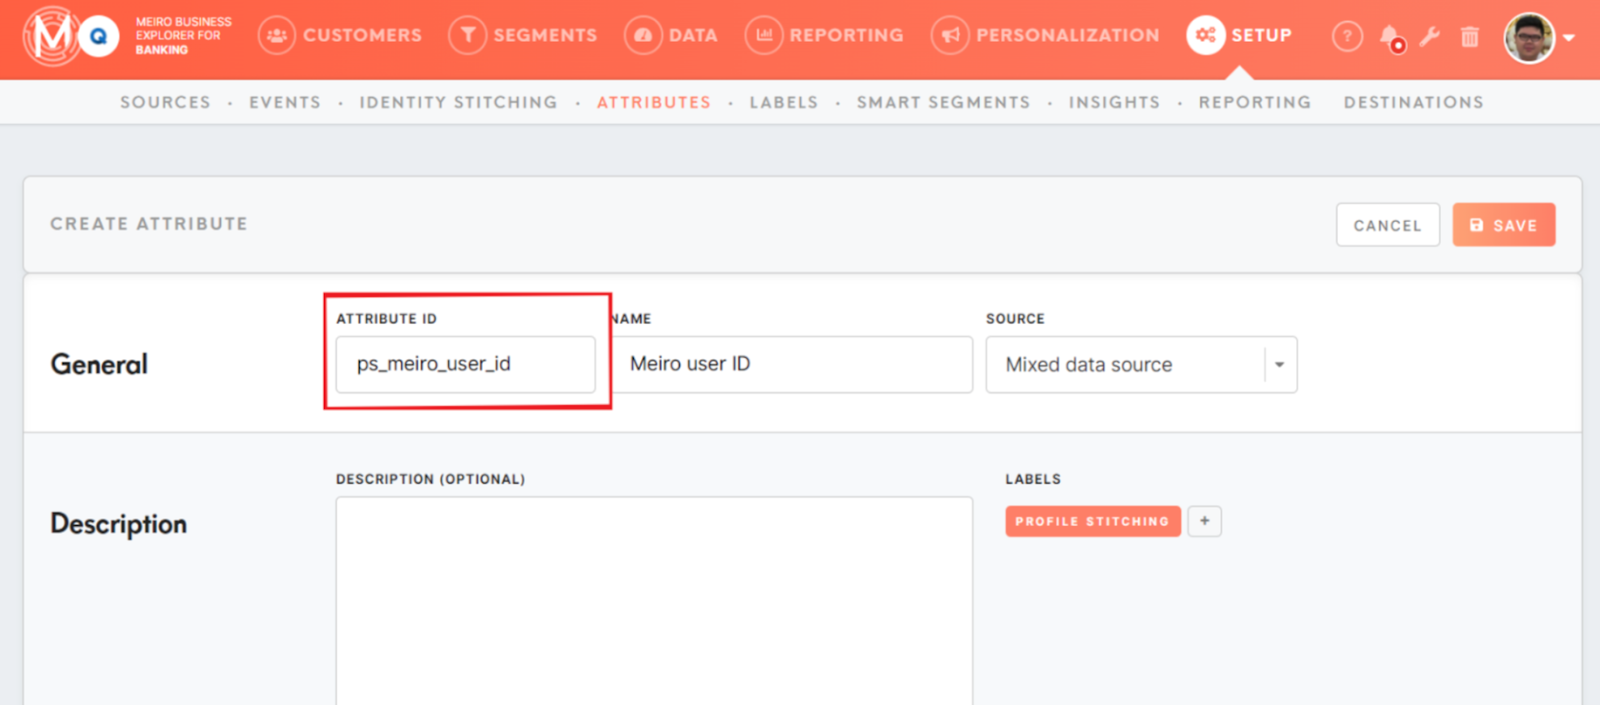
attribute=ps_meiro_user_id
|
The Attribute ID contains Meiro User IDs of your customers.
You can retrieve this id in the Setup-> Attributes tab of your Meiro Business Explorer instance.
|
|
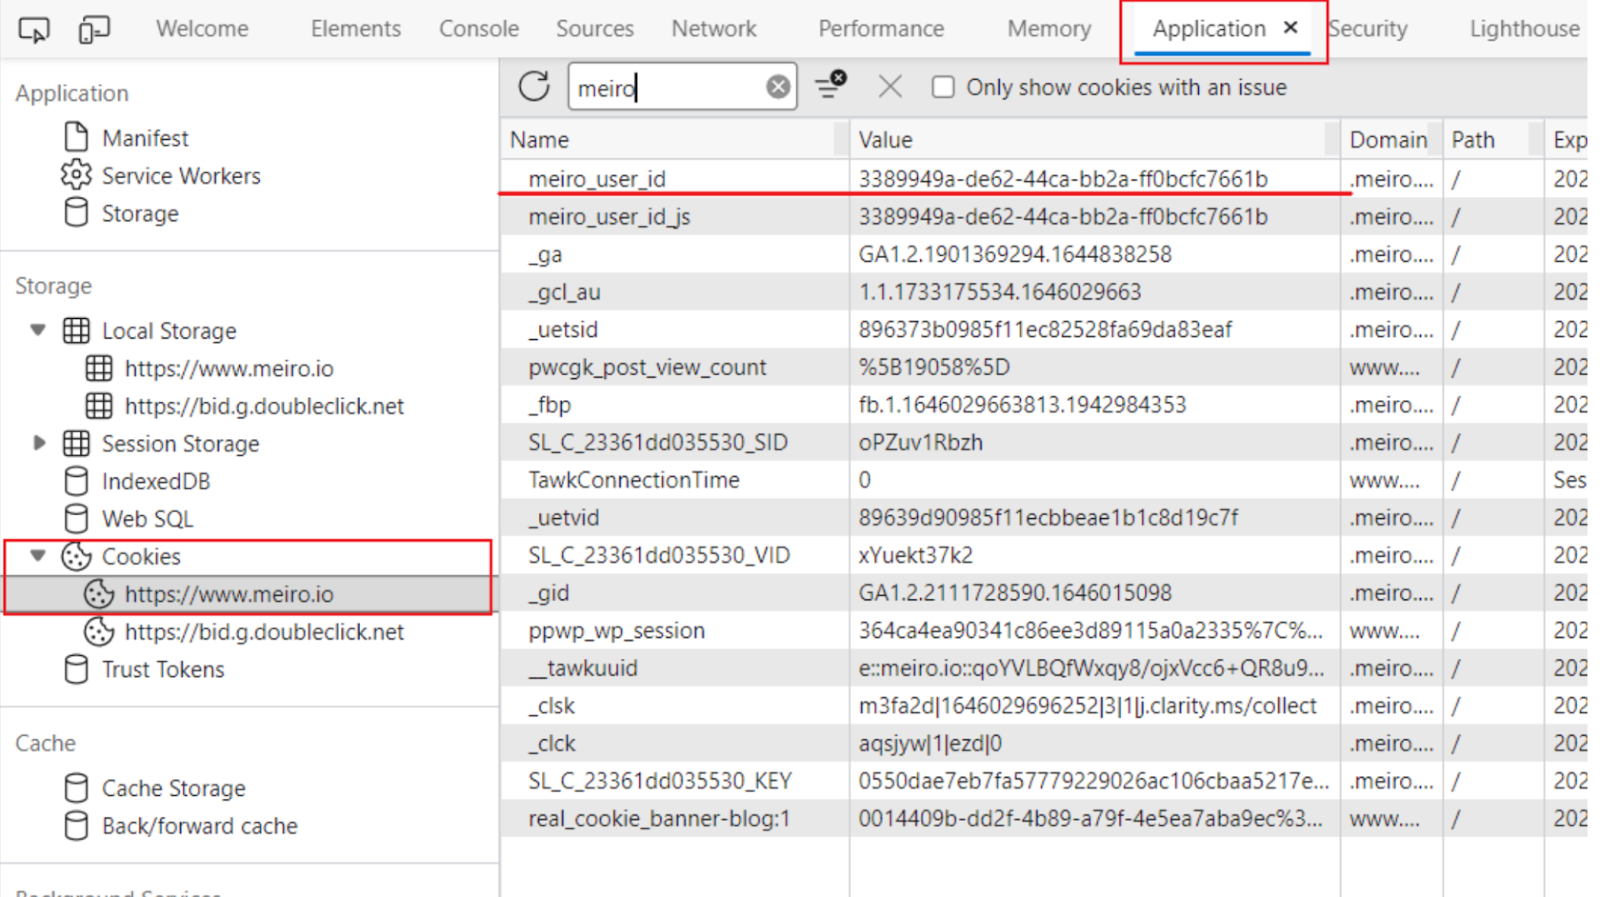
value={{cookie:meiro_user_id}}
|
The field name contains the Meiro User IDs of your website cookie.
Usually, it should be meiro_user_id but it may change depending on the implementation.
You can find this field name when you visit your website, go to Dev Tools->Application->Cookies
|
|
segment=567
|
The segment ID of the segmented audience that you wish to display the web banner to.
You can retrieve this number from:
the URL of your segment

segment detail

|
2. How to test a web banner for segmented audience
To test a web banner for only a certain segment of customers, it is necessary to set the meiro_id cookie of someone belonging to the segment.
For example: the banner is being displayed only to people from the segment with ID 490.

Warning: We strongly advise using only the fresh anonymous windows for testing different cookies!
1: Open the segment with the corresponding ID.

2: Open a single customer view of someone from this segment.
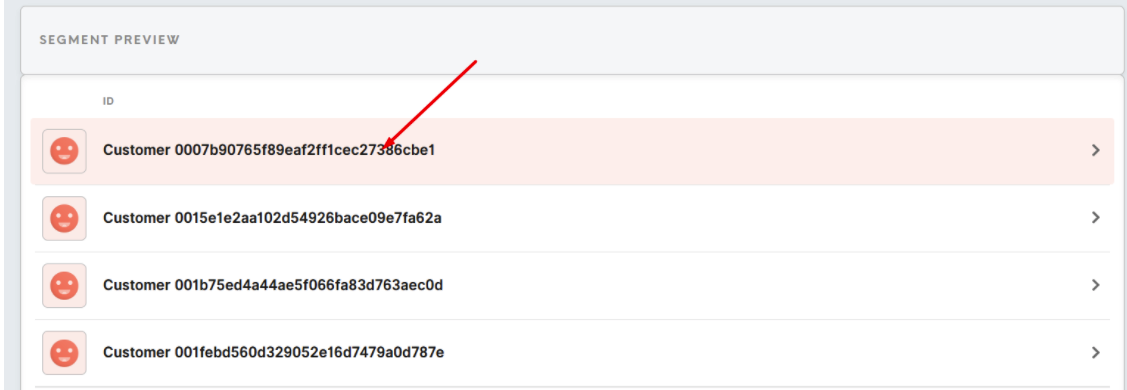
3: Copy to clipboard Meiro user ID.

4: Methods of testing
First method by changing cookies manually:
Visit the URL when the banner is being displayed and open Developer Tools of the browser. Go to Application tab and change the cookie value manually for both 'meiro_user_id' and 'meiro_user_id_js'.

Learn more: about how to open Developer Tools on Chrome, Safari, Microsoft Edge, Firefox
Second method through the console input:
document.cookie="meiro_user_id={{meiro_id_cookie_value}};domain=.{{your_domain}};path=/;secure;samesite=strict"
document.cookie="meiro_user_id_js={{meiro_id_cookie_value}};domain=.{{your_domain}};path=/;secure;samesite=strict"

5: Hard refresh (CTRL + F5) your browser and the web banner will be displayed.