Setup guide: smart segments
Setup guide is for setting up Meiro Business Explorer, usually, it is done by the Meiro team.
Set Smart Segments in the Setup/ Smart Segments tab that will be visible to users in the Segments/ Smart Segments tab.
1. Set Smart Segments
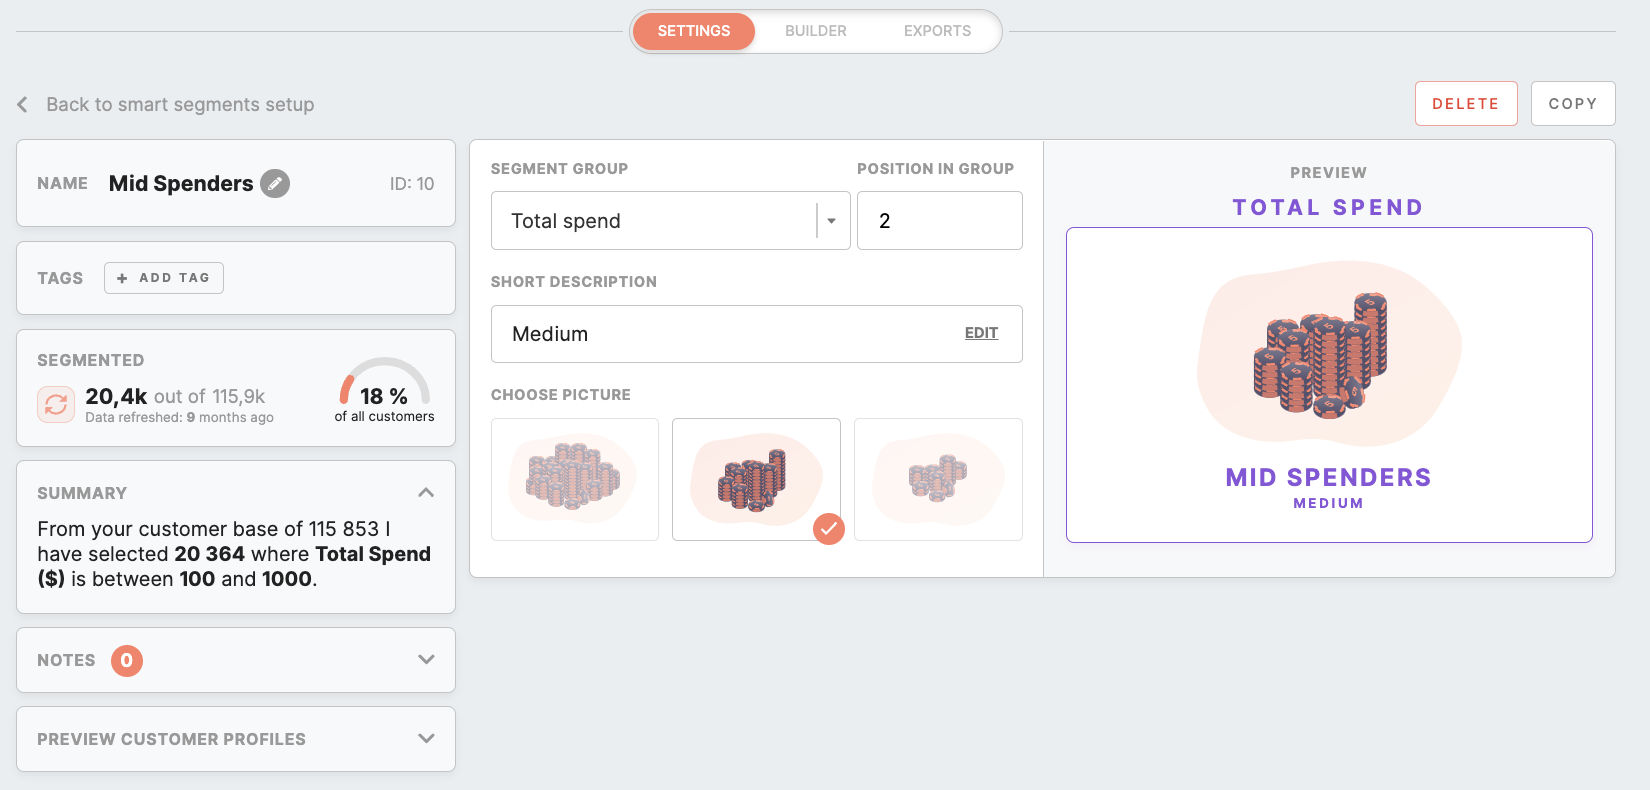
Click on the Create Smart Segment button. Choose the Smart Segments name. If you will not choose the name your segment will stay unnamed.
Fill out the form:
| Name Your Segment | Insert the name of your Smart Segment |
| Short Description | Insert the further specification of your segment |
| Position in group | Smart Segments are groups of 3 for the same attribute in one row. You can choose if this segment will appear as first, second, or third. |
| Choose Picture | For each Smart Segment, you should choose the picture that will be visible in the Smart Segments tab. |
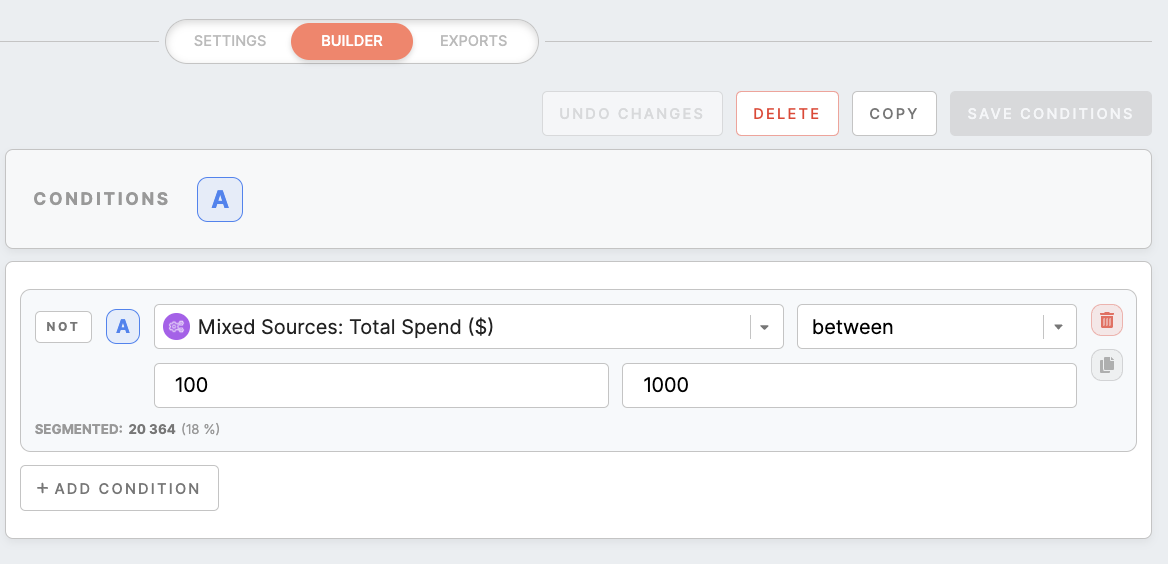
Choose the right attributes and conditions and click on the Save Conditions button.
2. Smart Segments groups
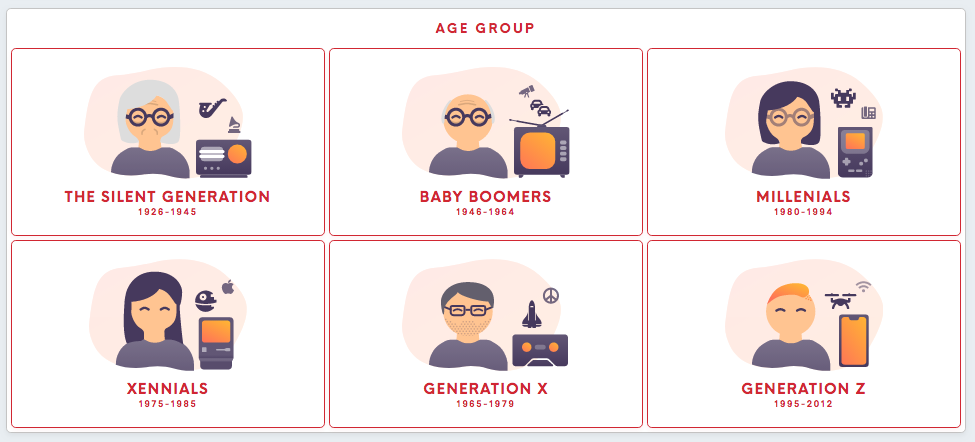
Below you can find segments that are currently possible to set as a smart segment.
Remember: Please keep in mind that setting particular segments depend on your customer database and available events/ attributes. If you need any other segment that is listed below, please contact the Meiro team.
Remember: There will be no default conditions displayed if there are no conditions set.
3. Permissions needed
Please keep in mind that view and edit of Smart Segments will depend on permissions that have been granted to the users:
| Permission | What it allows |
| Segment Create | allows the user to copy Smart Segment to My Segments and edit it further there. |
| Segment Insight | allows the user to see the Insights tab for each Smart Segment. |
| Segment Export | allows the user to set export destinations for Smart Segment after it has been copied to My Segments. |
| Customer Detail | allows the user to see Customer Detail tabs for Smart Segments. |
| Smart Segment | allows the user to edit the Smart Segments tab. |
Learn more: To learn more about user roles please refer to this article.


