Setup guide: export to Salesforce Marketing Cloud
Salesforce Marketing Cloud is a marketing automation platform for delivering relevant, personalised journeys across channels and devices — enabling marketers to deliver the right message at the right time throughout all phases of the relationship.
With the Salesforce Marketing Cloud as a destination on Meiro Business Explorer, one can create audience segments on the Meiro Business Explorer, export to the marketing cloud as a data extension and target them with a more personalised message in the email or marketing campaigns.
Here are the steps to connect Meiro CDP to Salesforce Marketing Cloud:
| 1 |
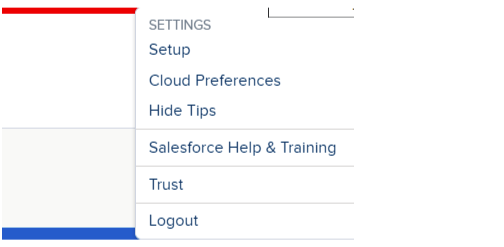
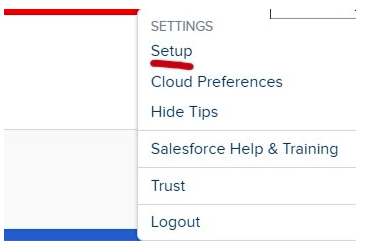
Go to the top right hand corner of the interface. Click on Settings > Setup.
|
| 2 |
Click on Apps > Installed Packages > New.
|
| 3 |
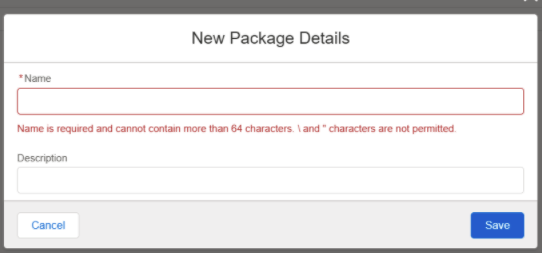
Fill in the “Name” and “Description”.
|
| 4 |
Click on “Add Component” under Components section.
|
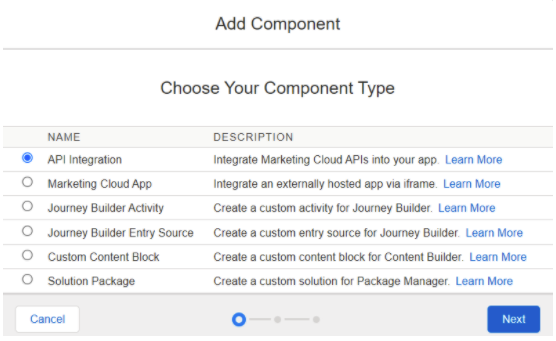
| 5 |
Select “API Integration”.
|
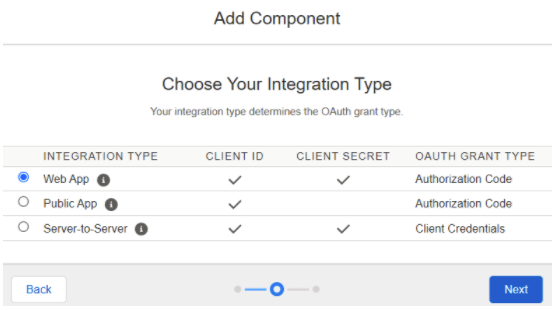
| 6 |
Select “Web App”.
|
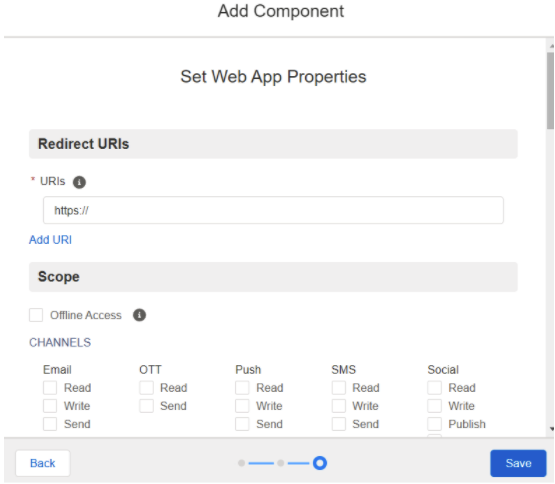
| 7 |
Obtain the URI from the Meiro team. Grant Meiro with the following access and click “Save”.
|
| 8 | Inform Meiro team that step 1-7 are completed and they will set up the connection on Meiro Integrations for you. |


In addition, you will need to grant API access to the user profile on Salesforce Marketing Cloud in order for the Meiro team to use the API endpoints to push data into the data extensions.
| 1 |
Go to the top right hand corner of the interface. Click on Settings > Setup > Cloud Preferences.
|
| 2 |
Click “User Settings”.
|
| 3 |
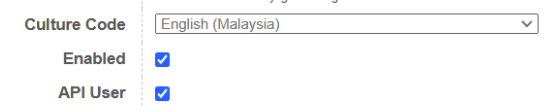
Check the “API user” box to enable the user profile access to API.
|