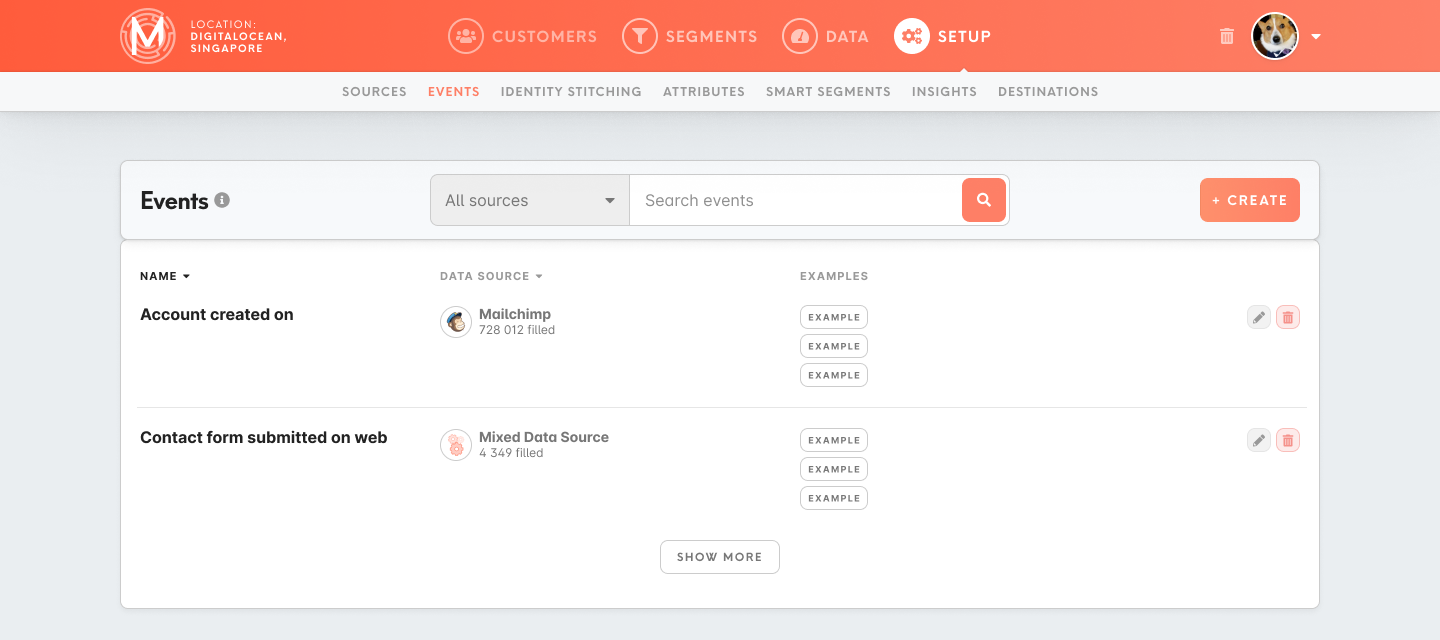
Set events
Within the Events tab is possible to set attributes that will be used through Meiro Business Explorer. Events will be listed in the Data tab/ Events tab.
1. To create an event, please click on the Create button.
2. Fill in the form for the event.
General
Name
Specify the name of the event. It is a mandatory field, can be edited later.
Sources
Pick the right data source. It is a mandatory field. It will not be possible to edit it later.
Event Type
It is an input field where you can specify the type of event or drop-down to select event type from available event types (for example page view, transactions).
Event Version
Create here event version that you can refer to it later.
Schema
The schema describes the way how event payload should be displayed in the user interface, mainly in the Customer Detail/ Timeline.
It has a customizable title in which you can use \"${place_holder}\" to display value directly from payload. Then, underneath, you can list as many items from payload as you want. You can name them, set JSON Path to the value in payload, select type as one of string, datetime or number, and set a format of the display as ul (bullet list), p (paragraph) or ahref (clickable URL).
Title
Set the title of your payload for your event. The event title is the more detailed name for the event. For example event type "Order Status Updated" maybe have the title "The customer's order changed the status to Awaiting bank payment" to specify event further.
Add items for your event that you wish to display and set their (as it is set in the Meiro Integrations):
Name
Name event item.
Type
Set the type of the item. For example, it can be a list of products or a simple product.
Format
Set the format of the item.
Path
Specify the path for the item.
An example of an event from the Data tab/ Events tab:


